How to Use Synology Photo Station Uploader for Moments
Synology Photograph Station is an app for your Synology NAS to manage all of your photos. Using the Photo Station app, yous can organize your photos into albums and portfolios, share your photos and albums with other people and get feedback. The Photo Station app has other advanced photo management features that will help y'all in your day-to-day tasks.This article volition show you how to install and employ the Synology Photo Station app on your Synology NAS. So, allow's become started.
Installing Synology Photo Station:
To manage photos with your Synology NAS, you have to install the Photo Station app. The Photograph Station app is available in the Bundle Center of your Synology NAS.
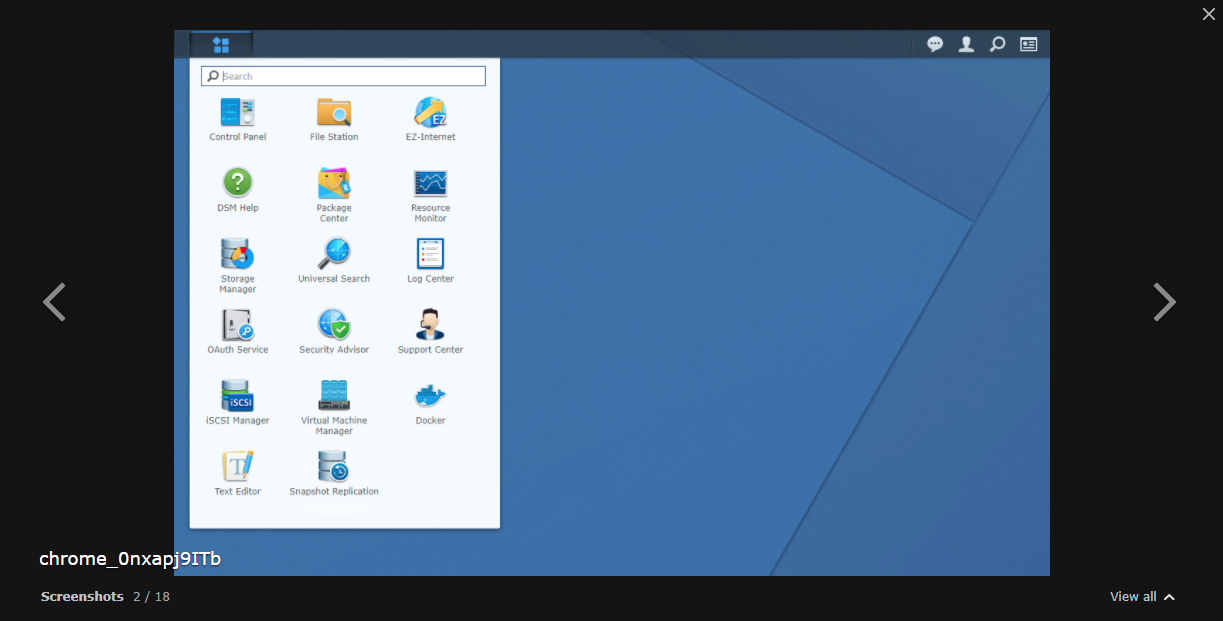
So, open the Package Eye app as marked in the screenshot below.
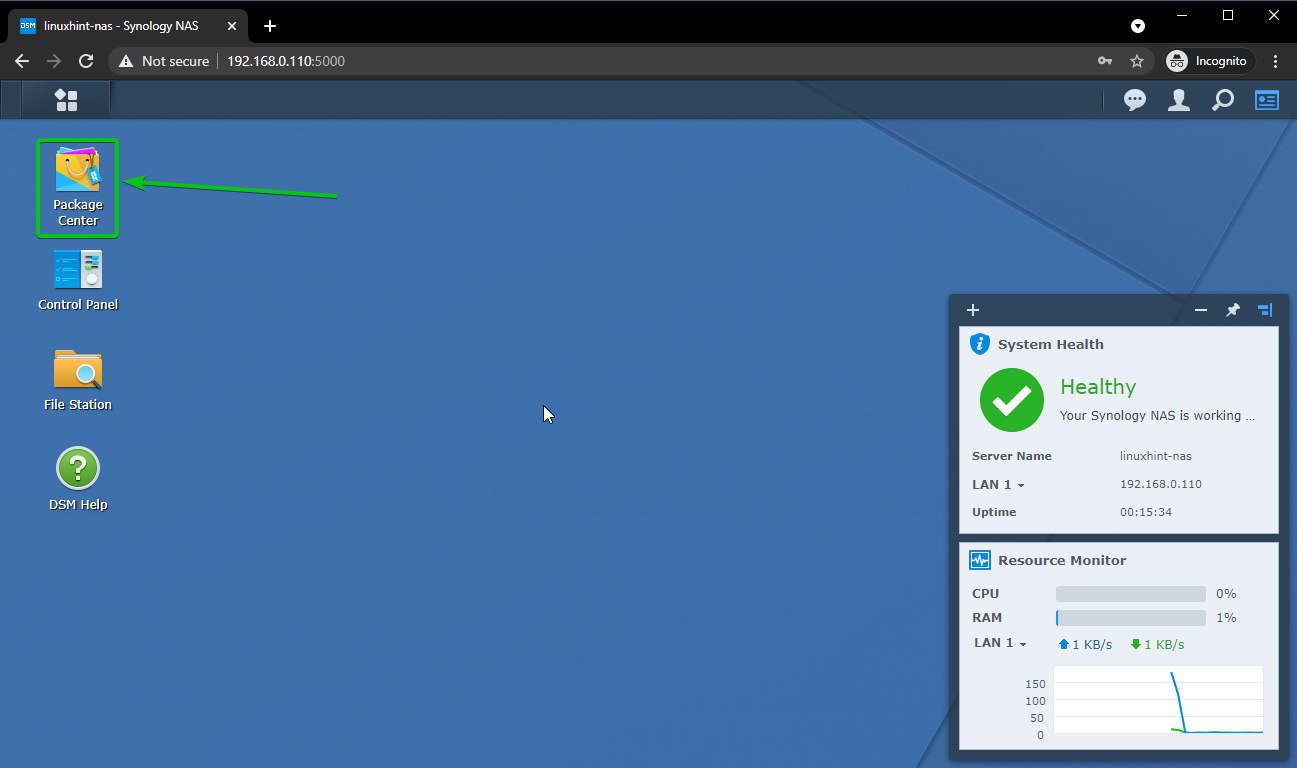
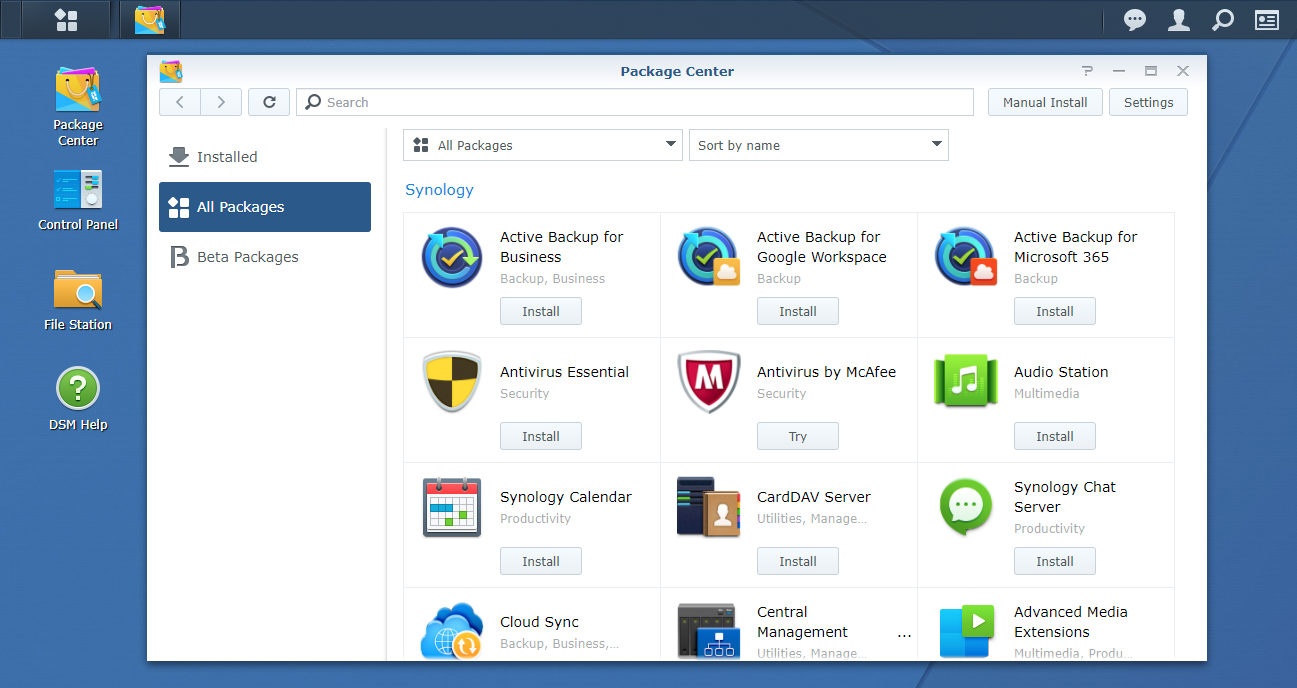
The Parcel Center app should be opened.
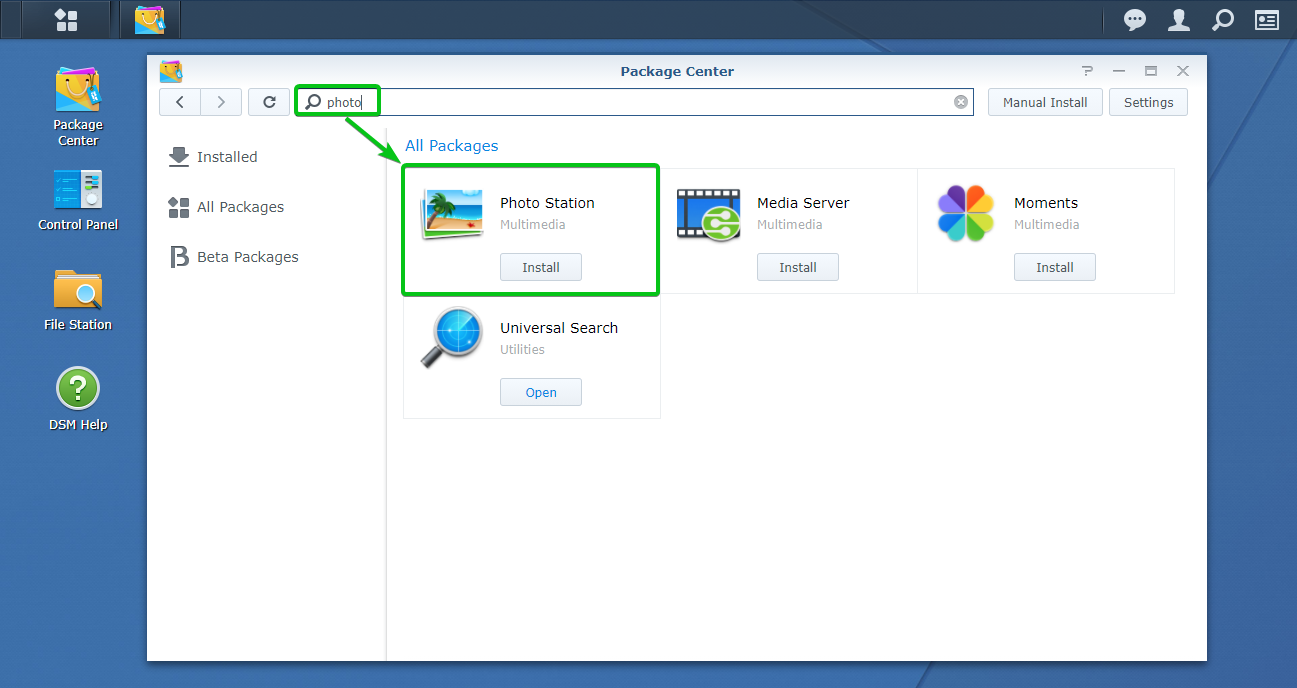
At present, search for the apps that match the keyword photograph.
As you can come across, the Photo Station app comes up in the search consequence.
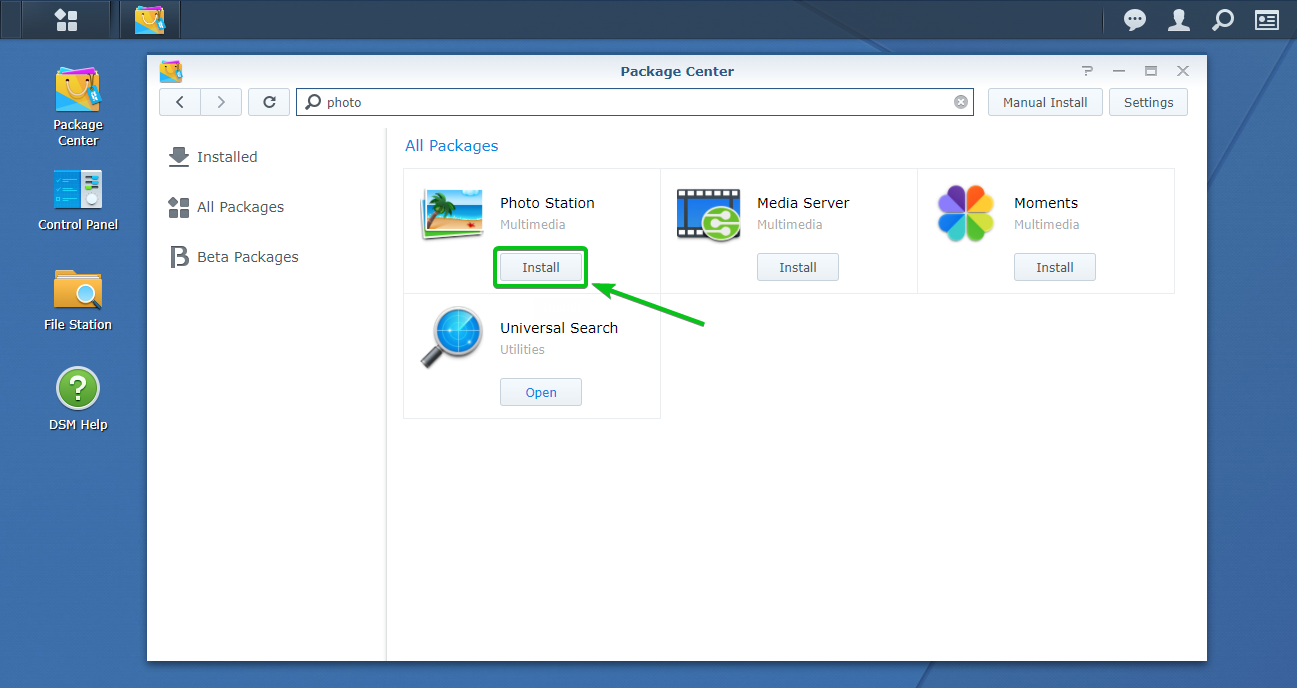
Click on the Install button of the Photo Station app as marked in the screenshot below.
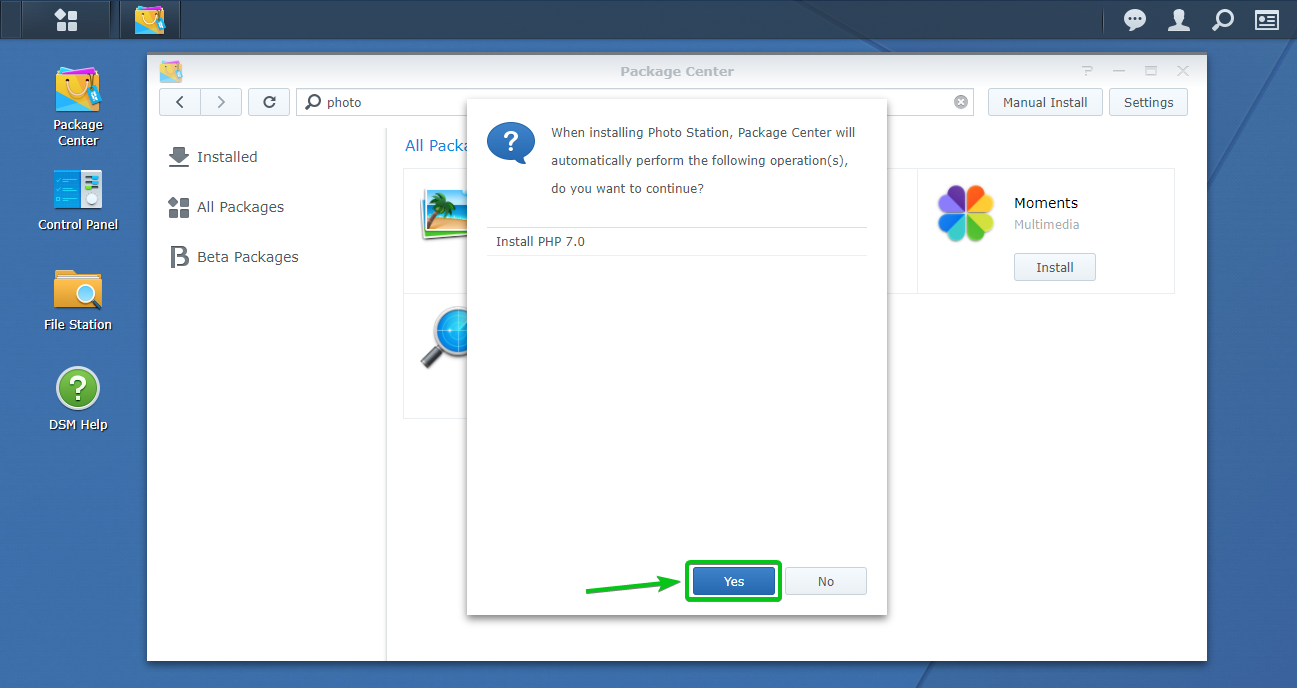
The Photo Station app depends on the PHP seven.0 app. Then, you will be asked to install information technology as well.
To install the PHP 7.0 app, click on Aye.
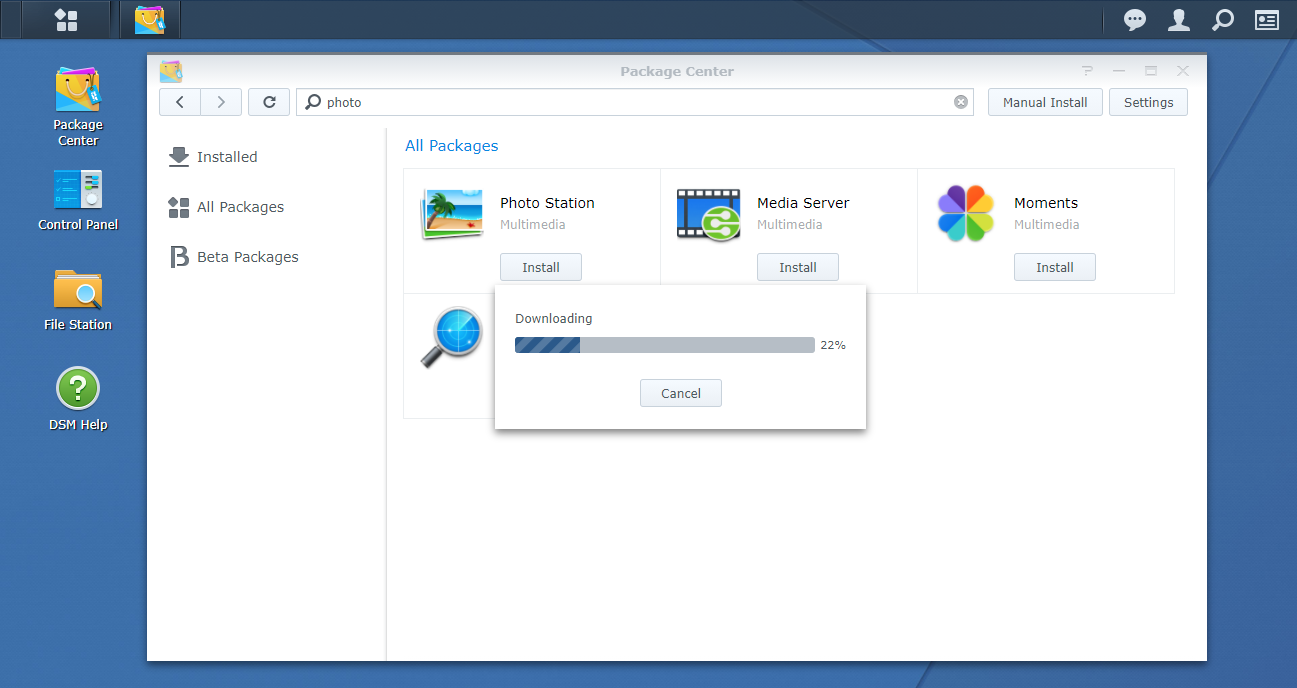
The PHP 7.0 app is existence downloaded. It may have a few seconds to complete.
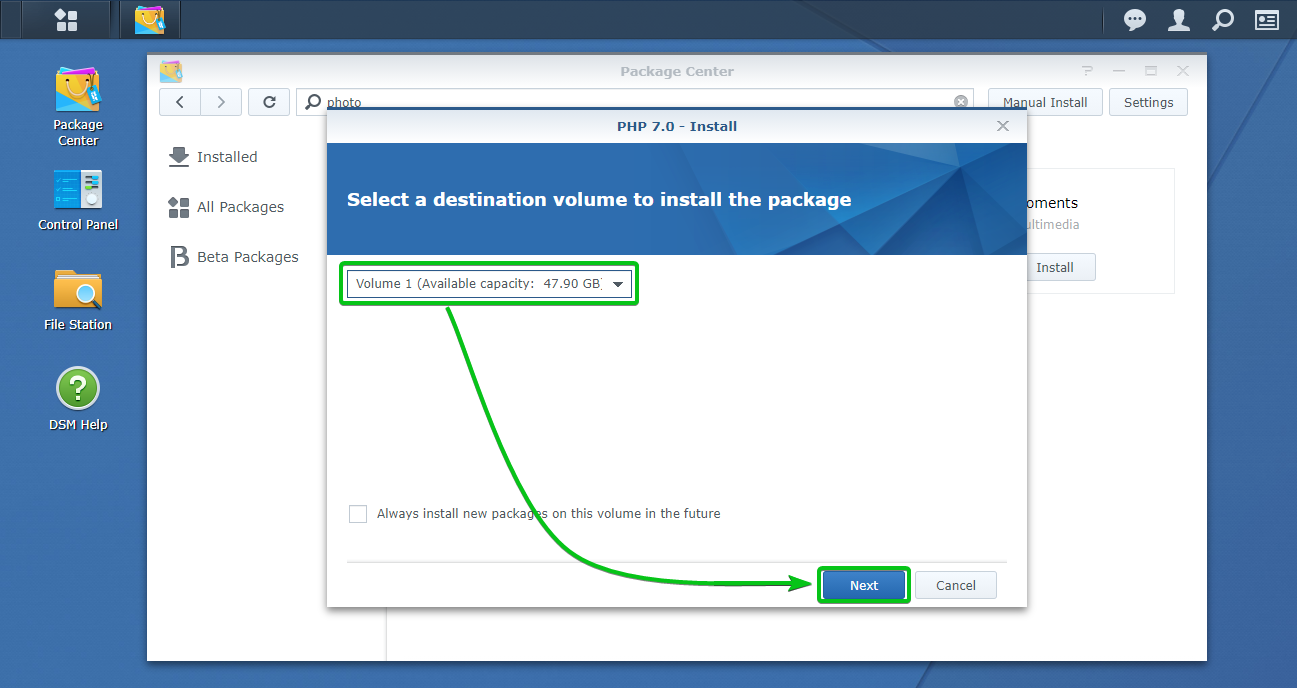
Once the app is downloaded, it will ask you lot to select a volume to install the app.
Select a volume from the dropdown carte and click on Next.
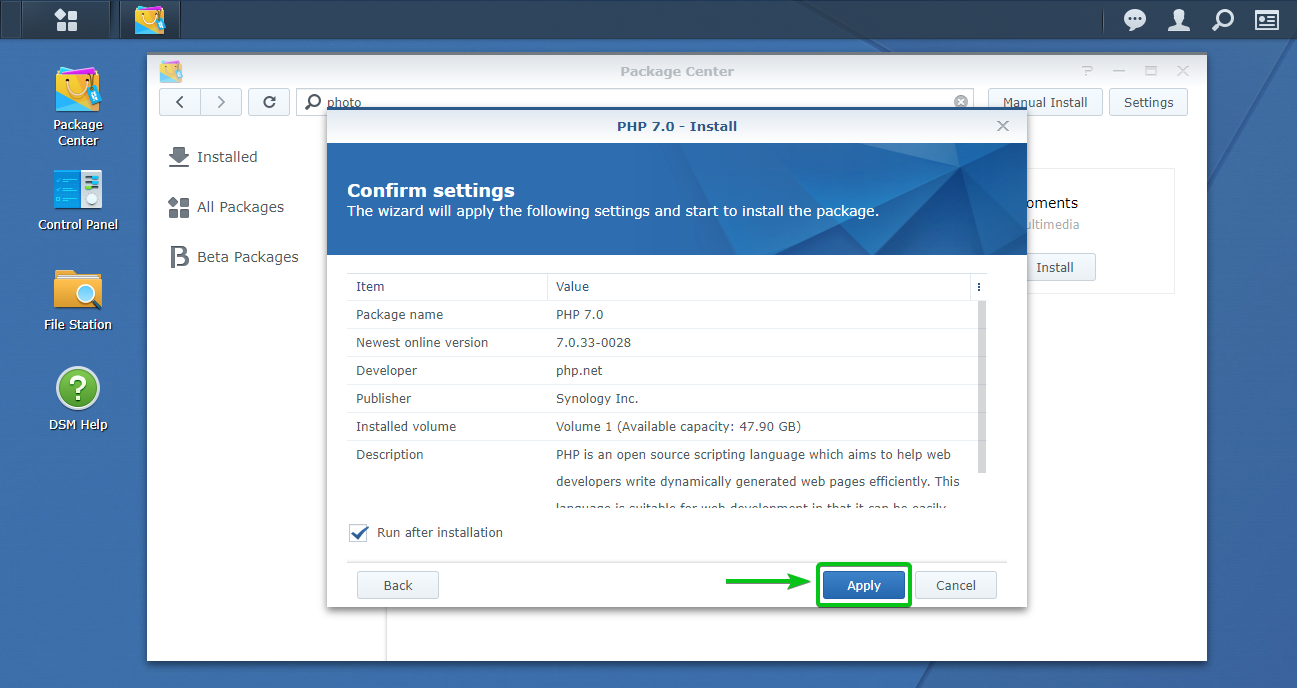
Click on Apply.
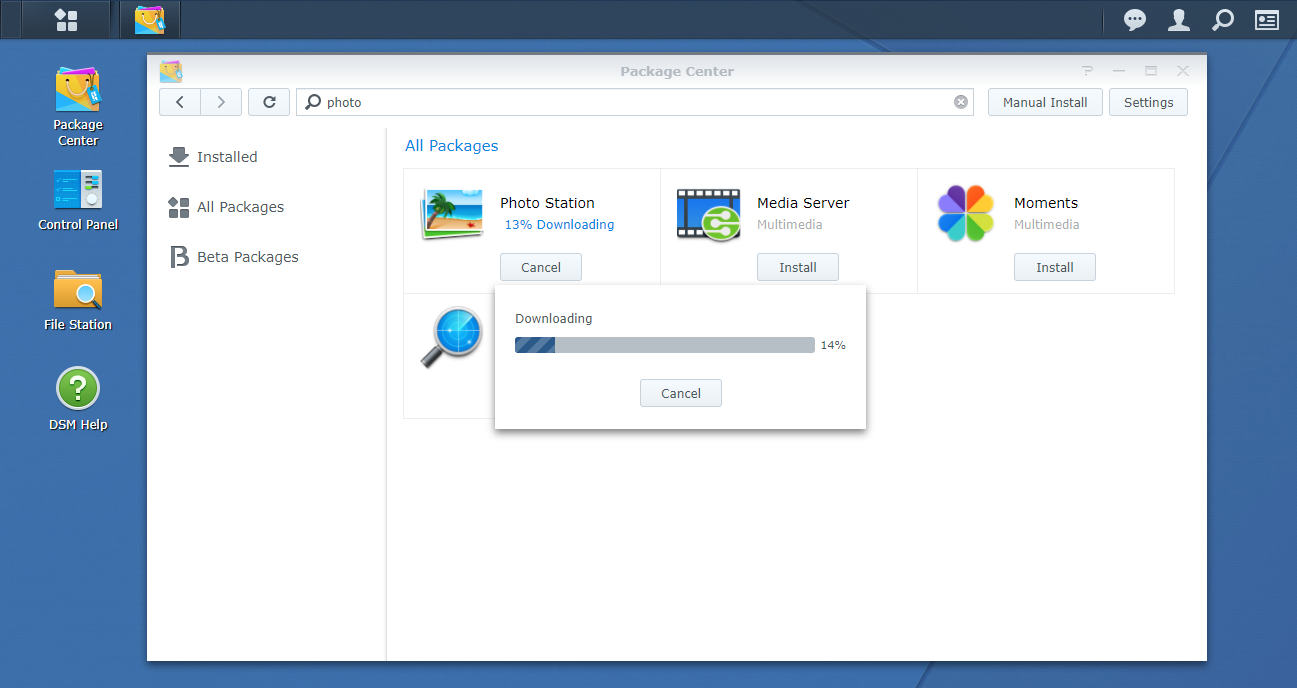
Once the PHP 7.0 app is installed, the Package Center app should download the Photo Station app. Information technology may take a few seconds to complete.
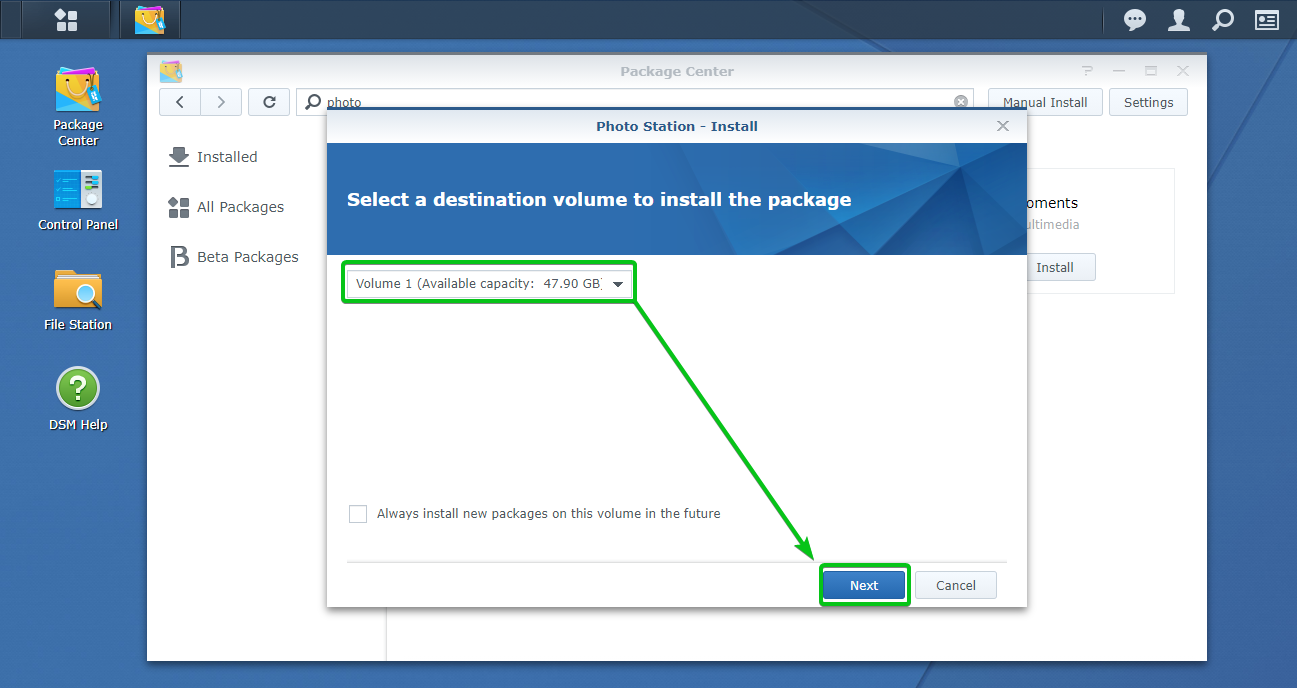
In one case the app is downloaded, it will enquire yous to select a volume to install the app.
Select a book from the dropdown menu and click on Side by side.
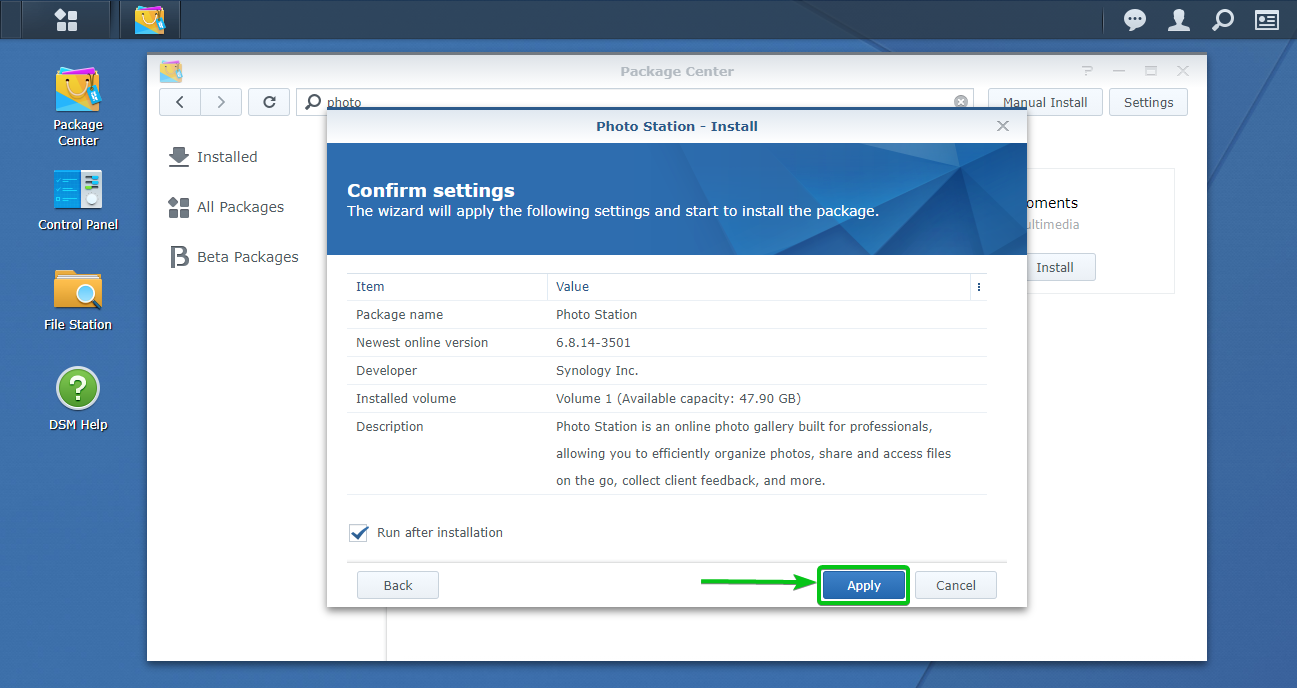
Click on Apply.
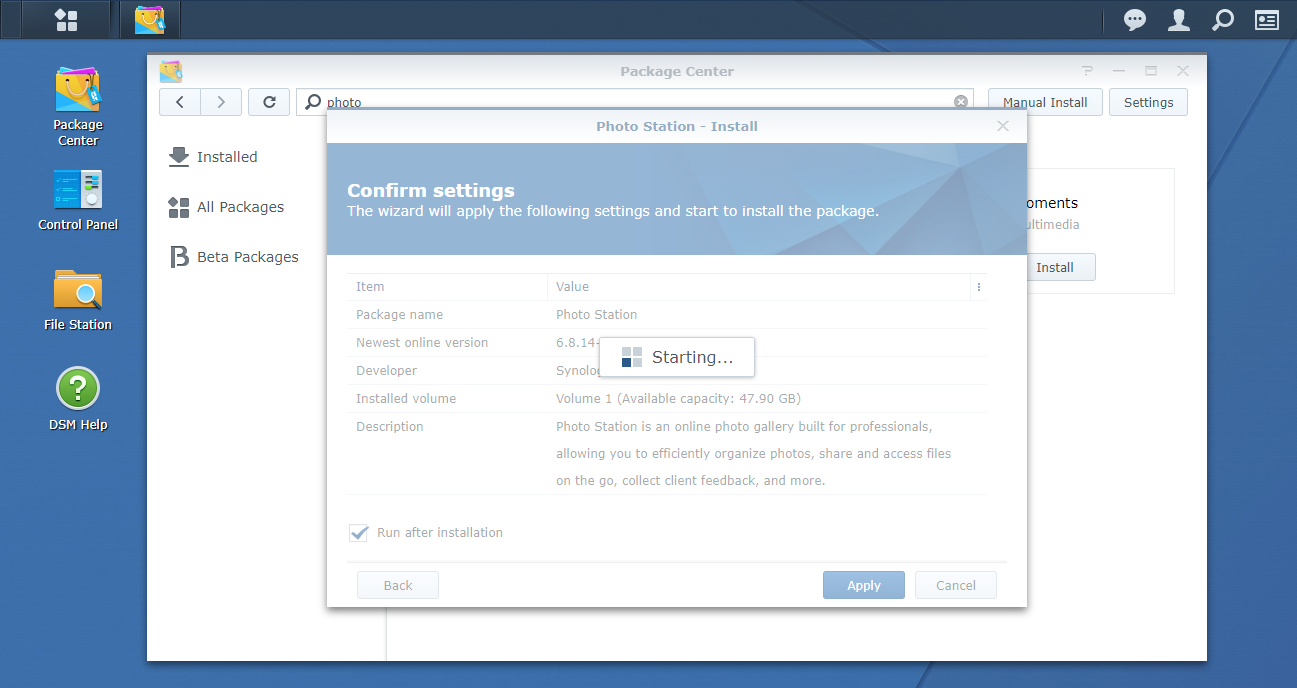
The Photo Station app is being installed. It may take a few seconds to consummate.
Click on OK.
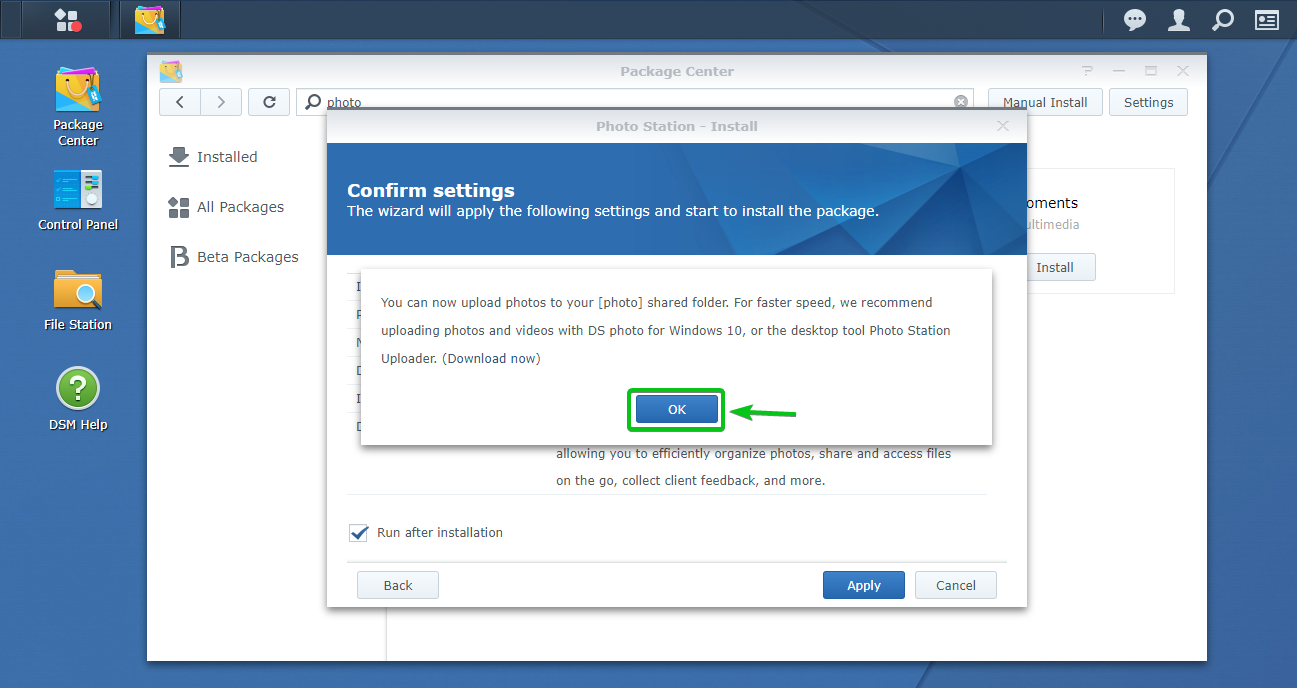
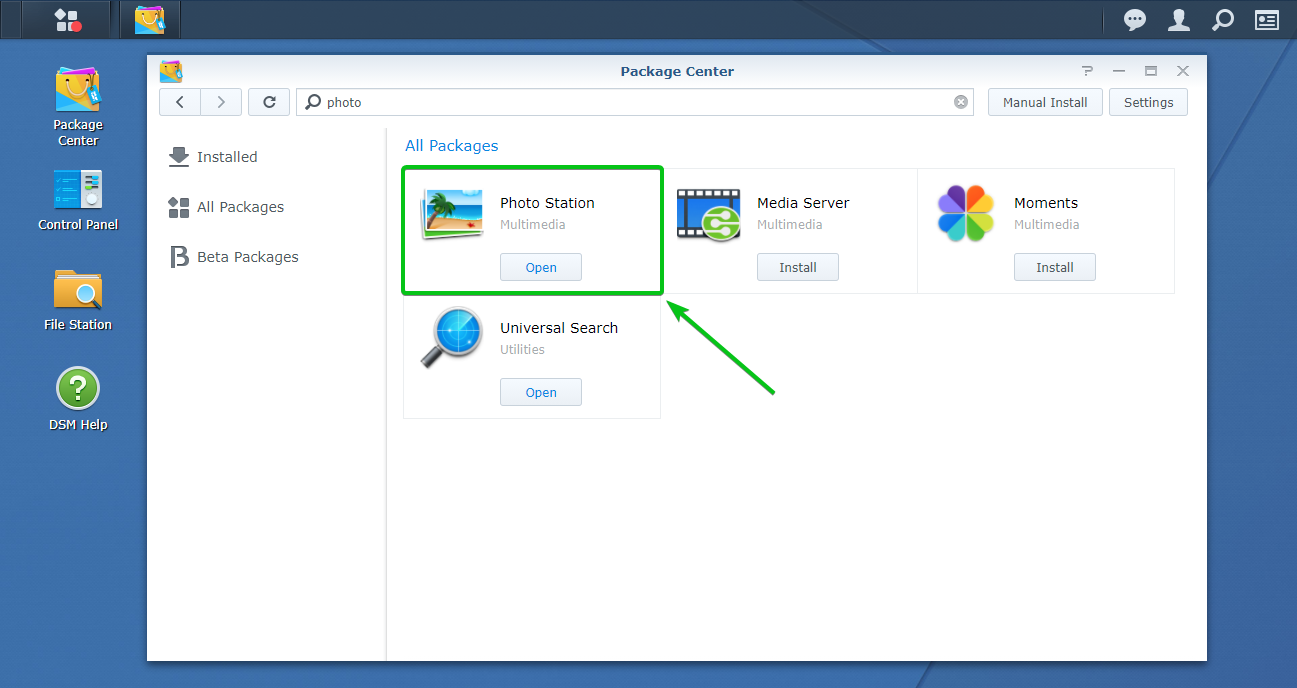
The Photo Station app should be installed and set to use.
Opening Synology Photograph Station:
Once the Photograph Station app is installed, you can open information technology from the Application Menu of your Synology Spider web direction interface, equally shown in the screenshot beneath.
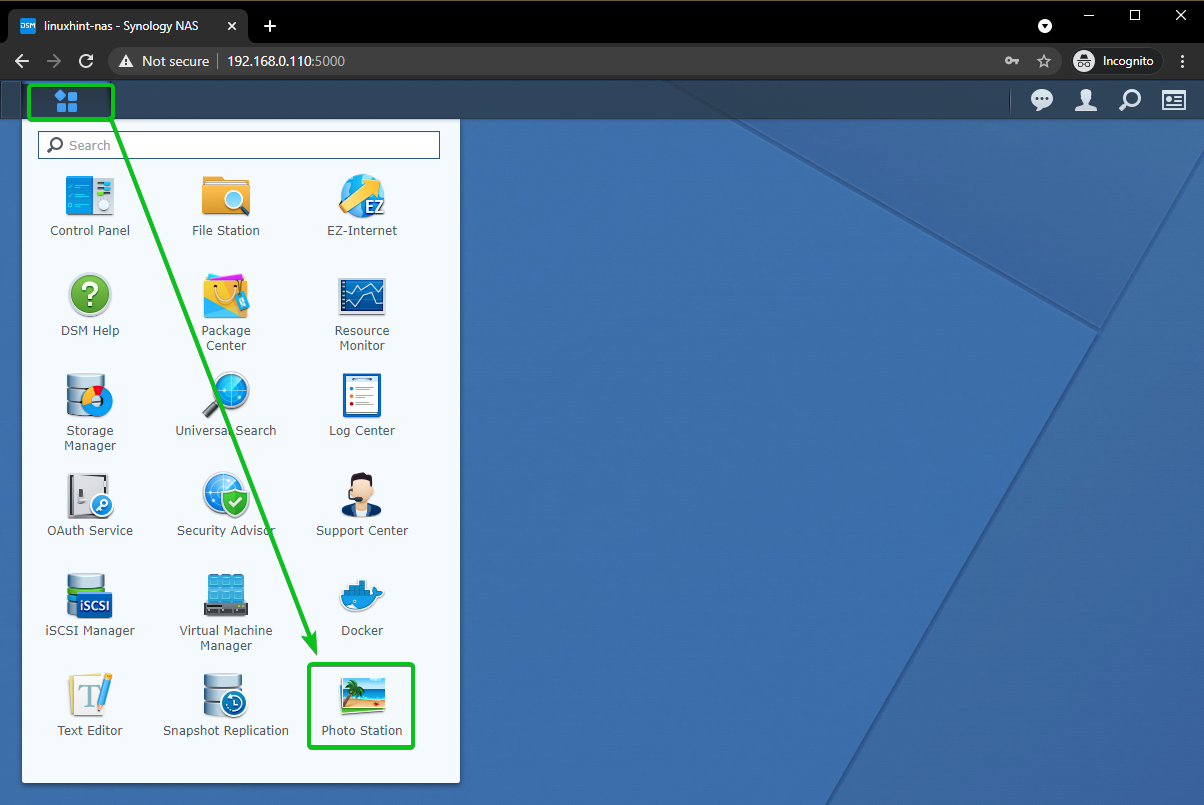
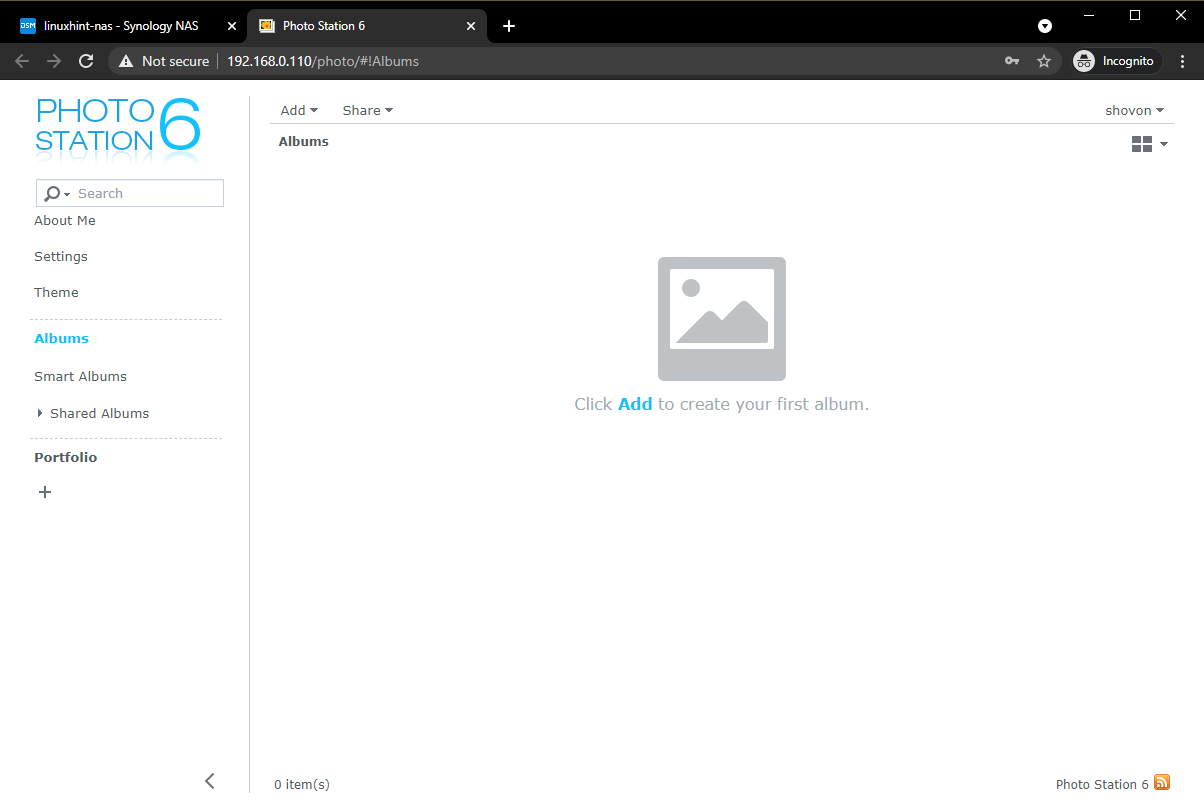
The Photo Station app should be opened.
Creating a New Album:
On Photo Station, your photos are organized in albums. So, the first matter you do is create a new photograph anthology where you tin can upload and organize your photos.
To create a new anthology, navigate to the Albums section of the Photo Station app.
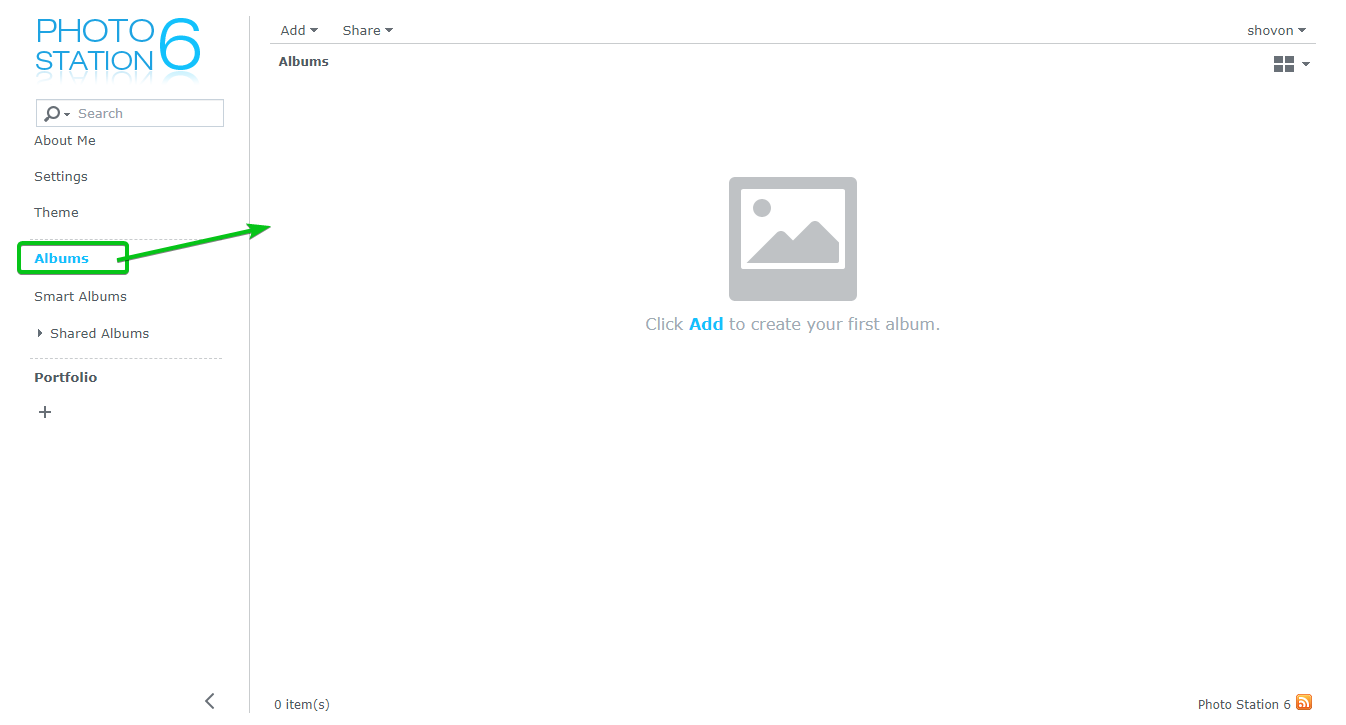
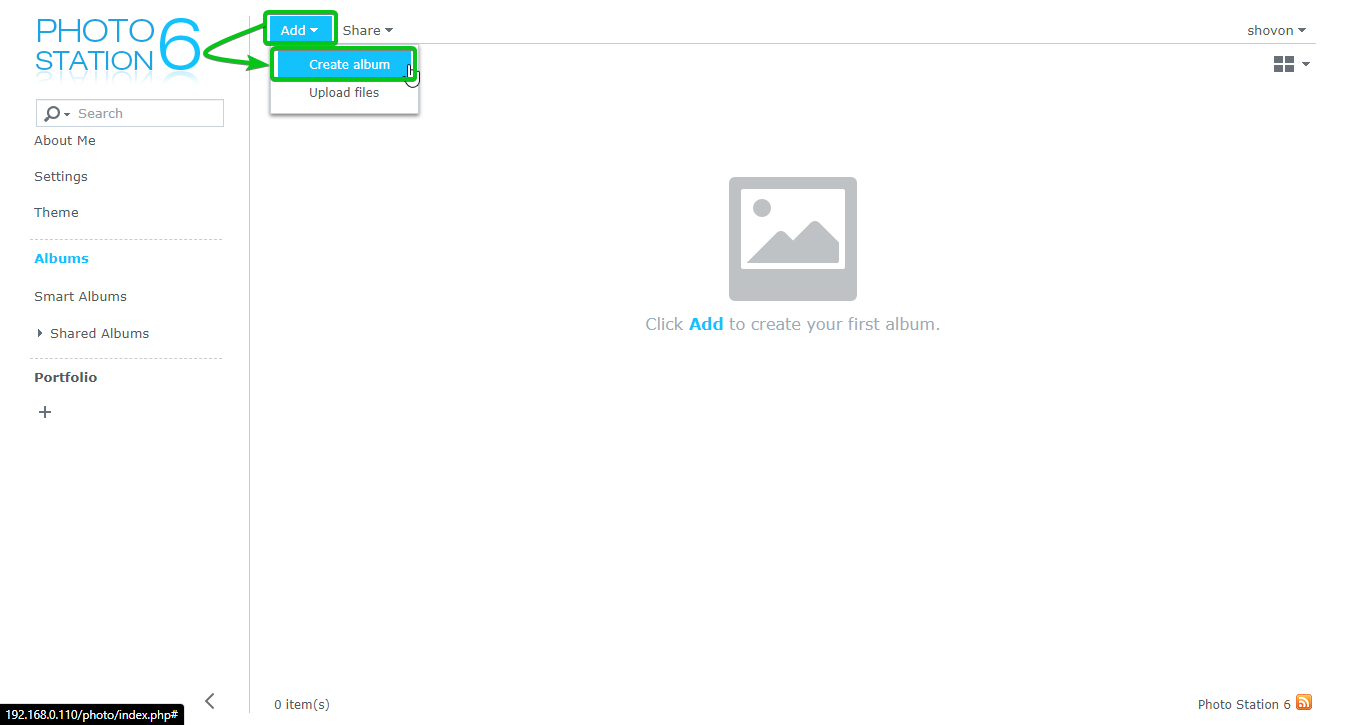
As you lot're running the Photo Station app for the first fourth dimension, yous tin click on the Add push button as marked in the screenshot beneath to create a new photo album.

Y'all can likewise click on Add together > Create anthology equally marked in the screenshot below to create a new photo album.
The Create album magician should be displayed.
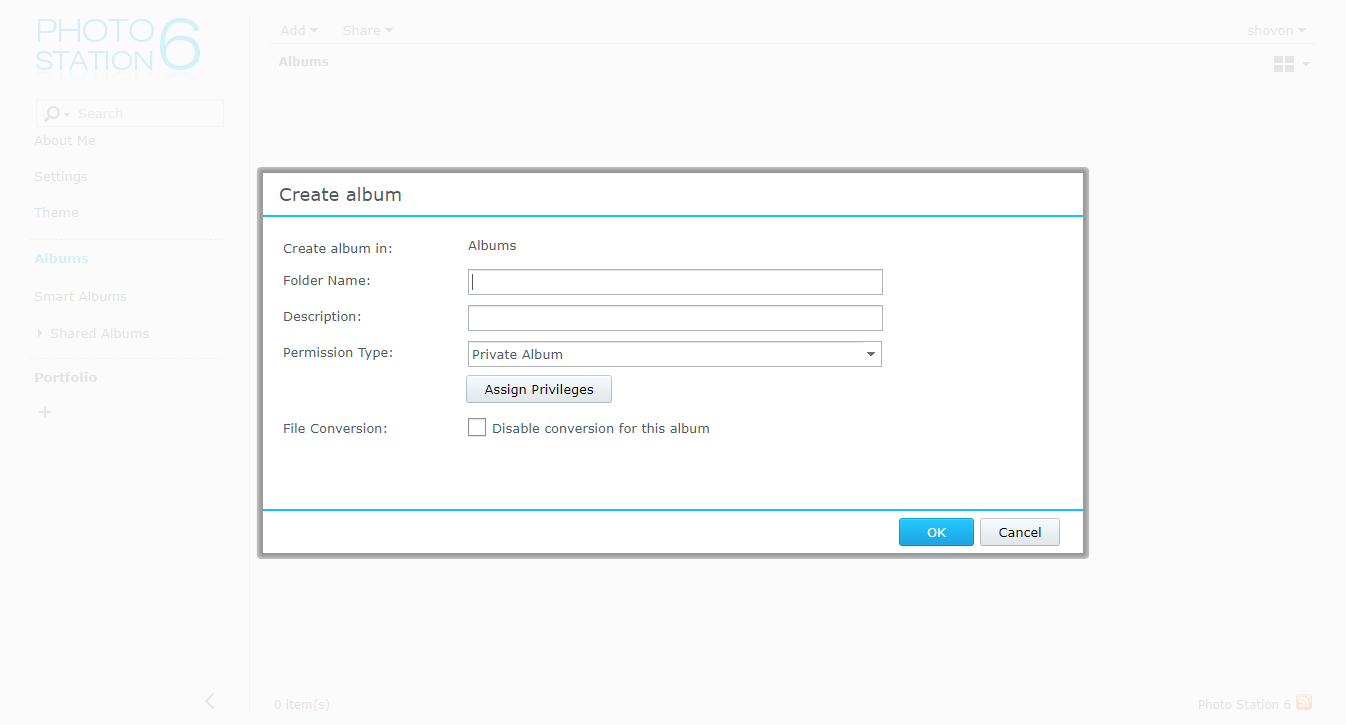
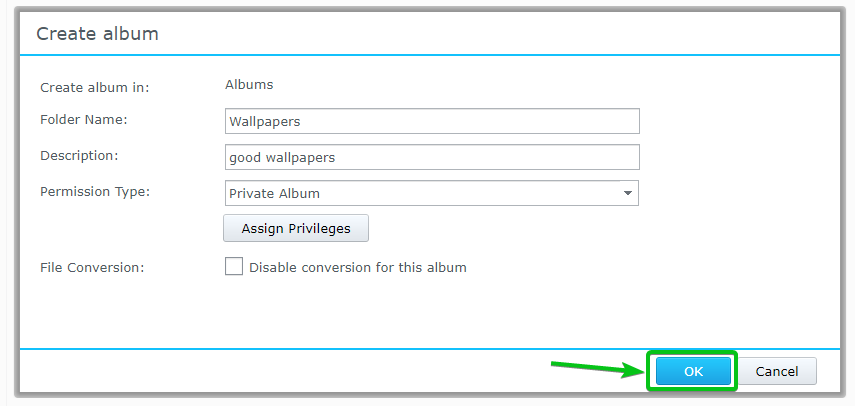
Type in a proper noun and short clarification for the album.
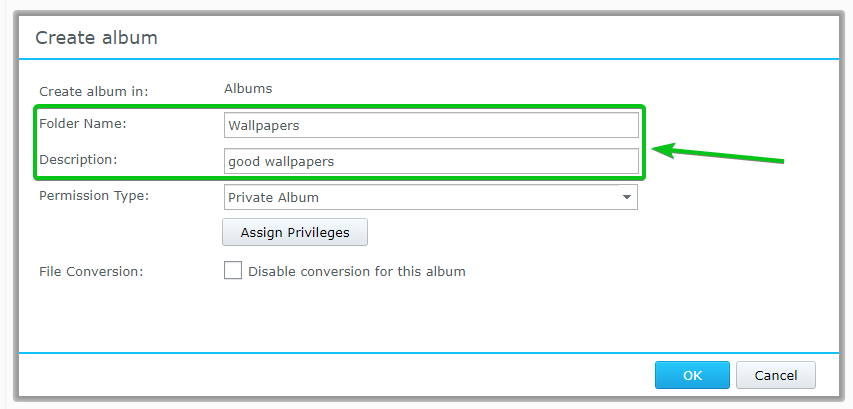
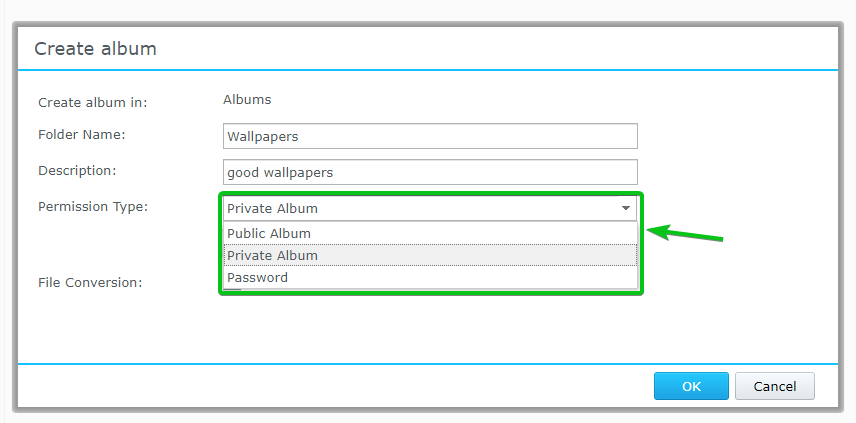
Select the permission type of the anthology from the Permission Type dropdown carte as marked in the screenshot below.
Individual Album: The album will be individual, and only you lot can view it.
Public Album: The anthology volition be public. Anyone with the anthology link can view information technology.
Password: The anthology will be password protected. Anyone with the album link and the countersign can view information technology.
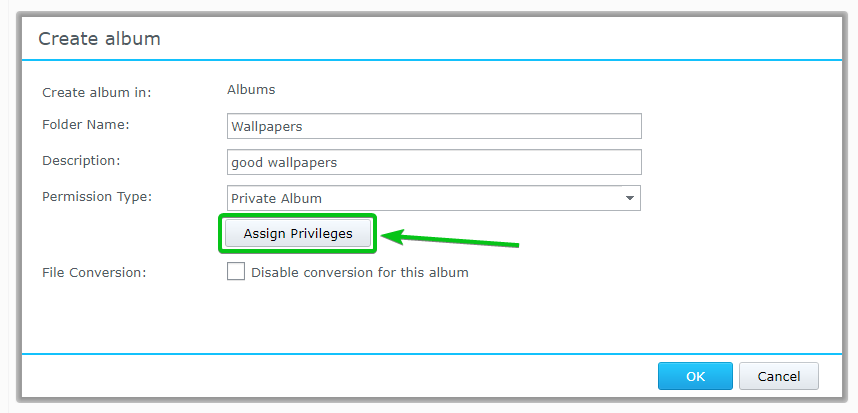
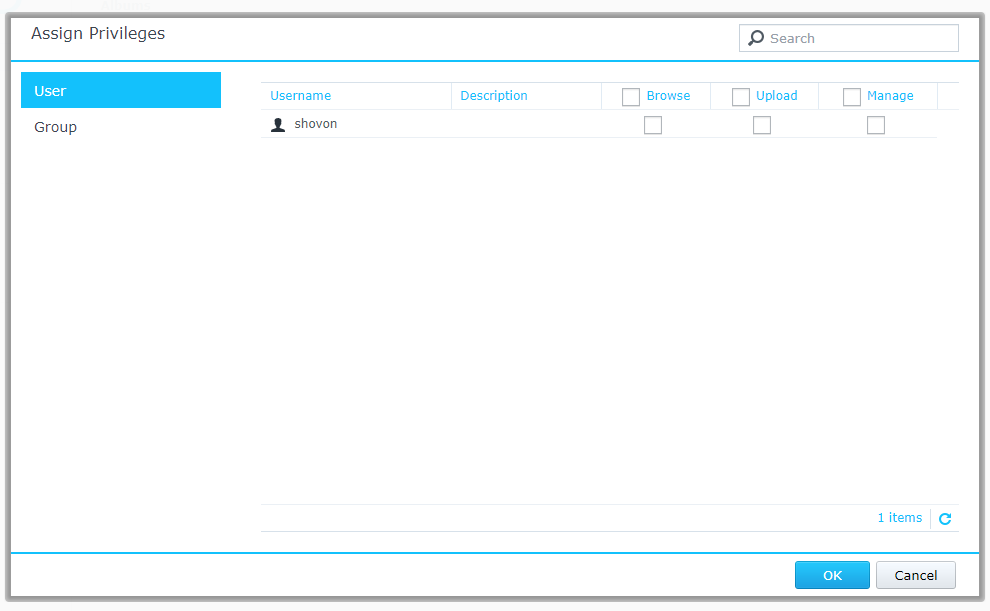
Once you select a Permission Type, you can click on Assign Privileges to manage the owner and group that can access the anthology.
The Assign Privileges window should be opened. You tin can permit other users and groups access to this album from here.
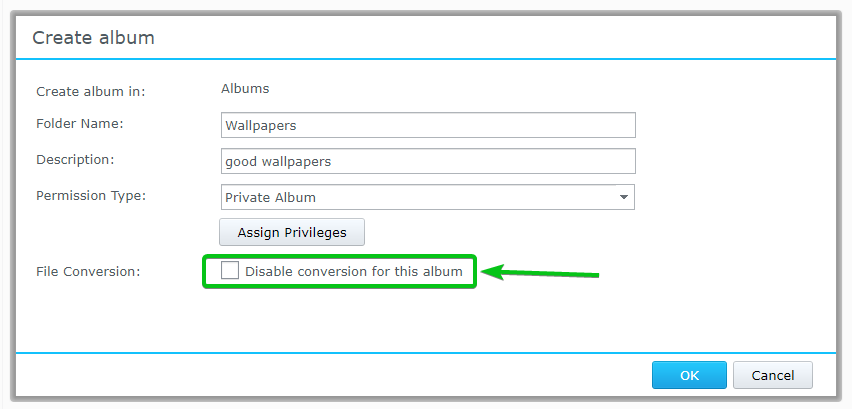
By default, the photos y'all upload to this album are converted to a suitable format and size. If yous don't want that, check the Disable conversion for this anthology checkbox as marked in the screenshot below.
Once you're done, click on OK.
A new album should be created.
Uploading Photos to the Album:
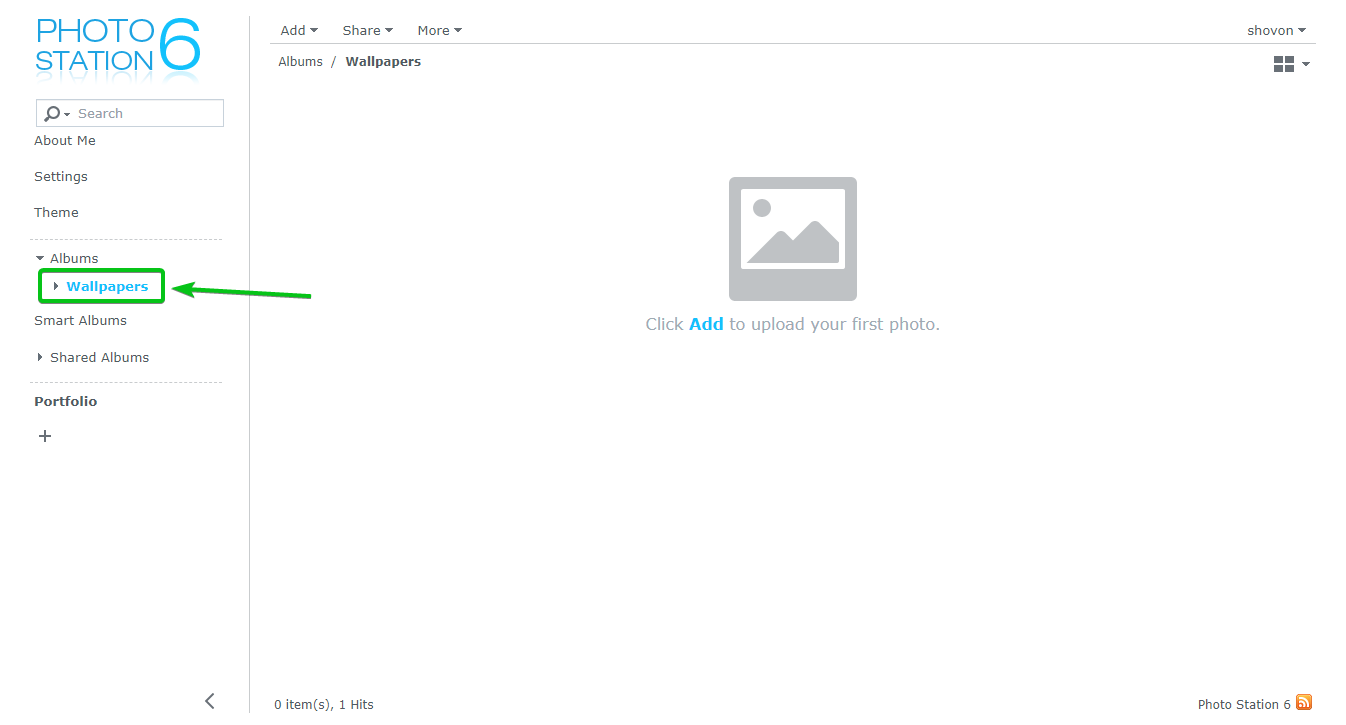
To upload photos to the album y'all've created, click on it from the Albums section of the Photograph Station app as marked in the screenshot below.

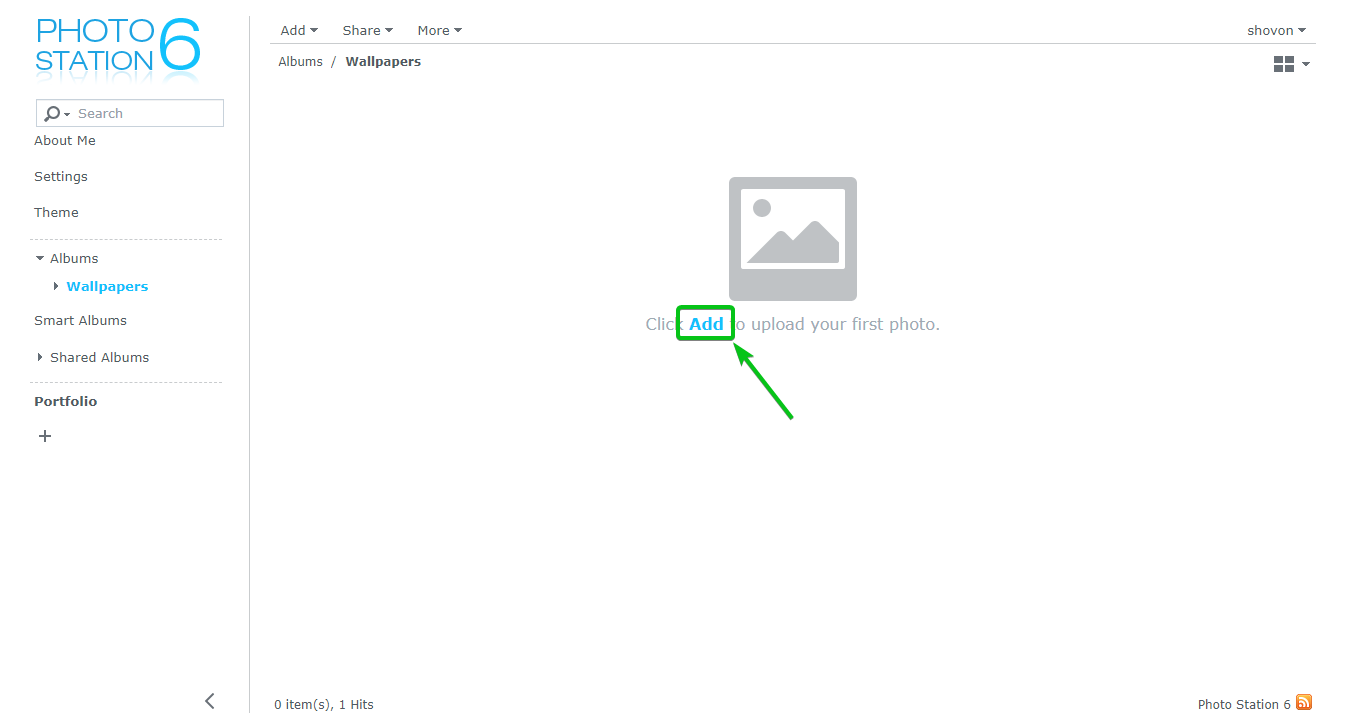
To upload photos to the anthology, you can either click on the Add button equally marked in the screenshot below.
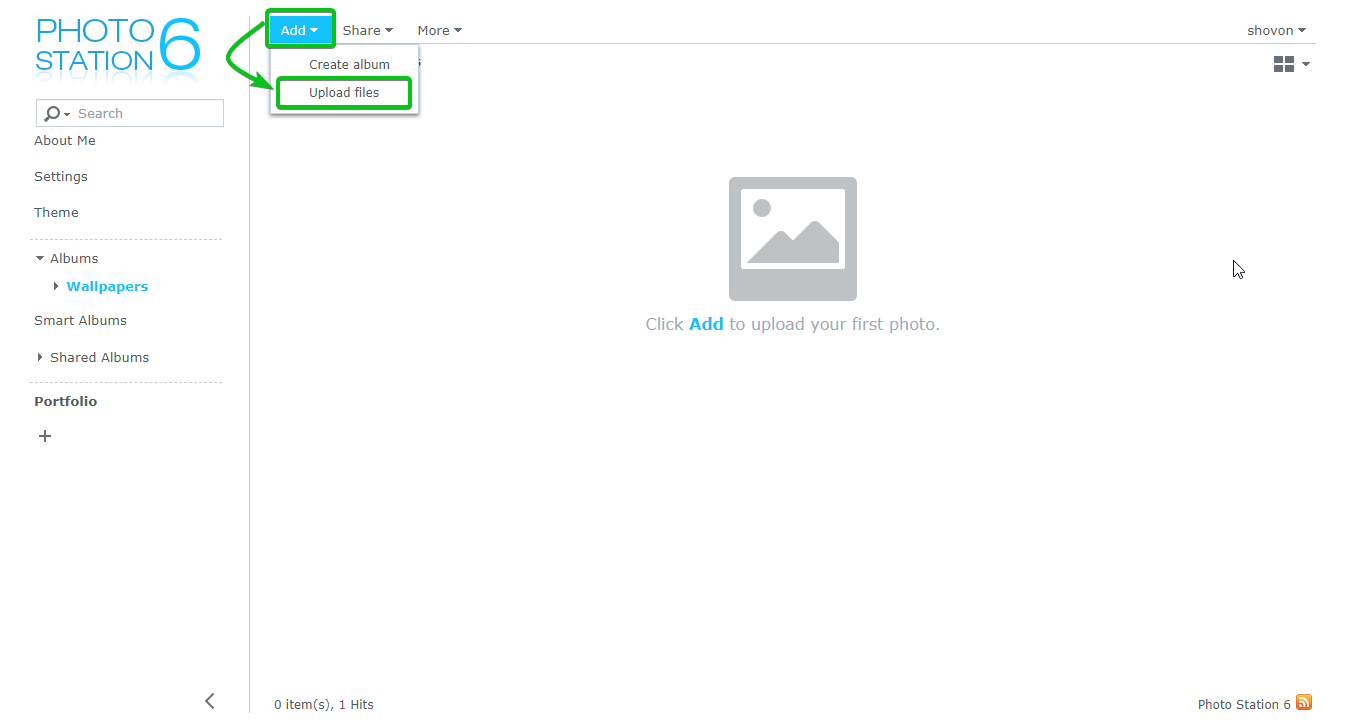
Or, y'all can click on Add > Upload files as marked in the screenshot below.
The photo uploader window should be displayed, as you can see in the screenshot below.
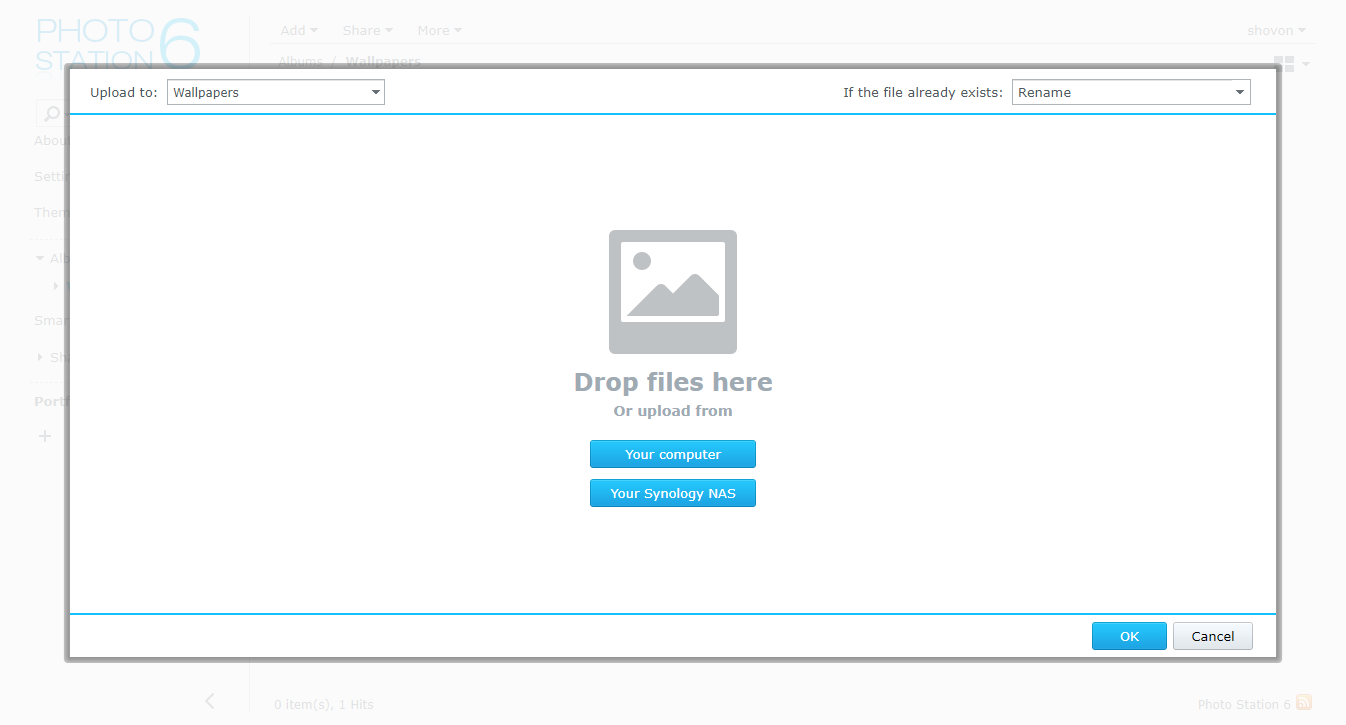
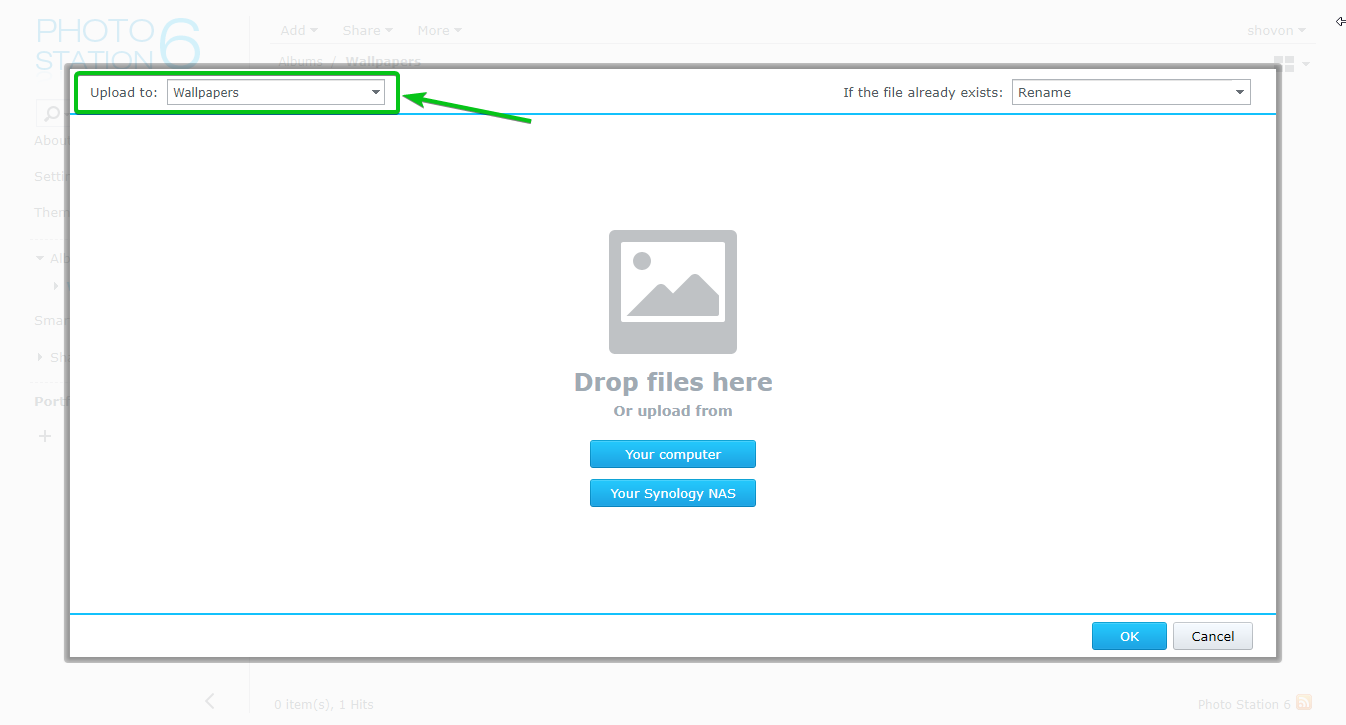
The photo album yous will be uploading photos to should be selected in the top-left corner, every bit shown in the screenshot below.
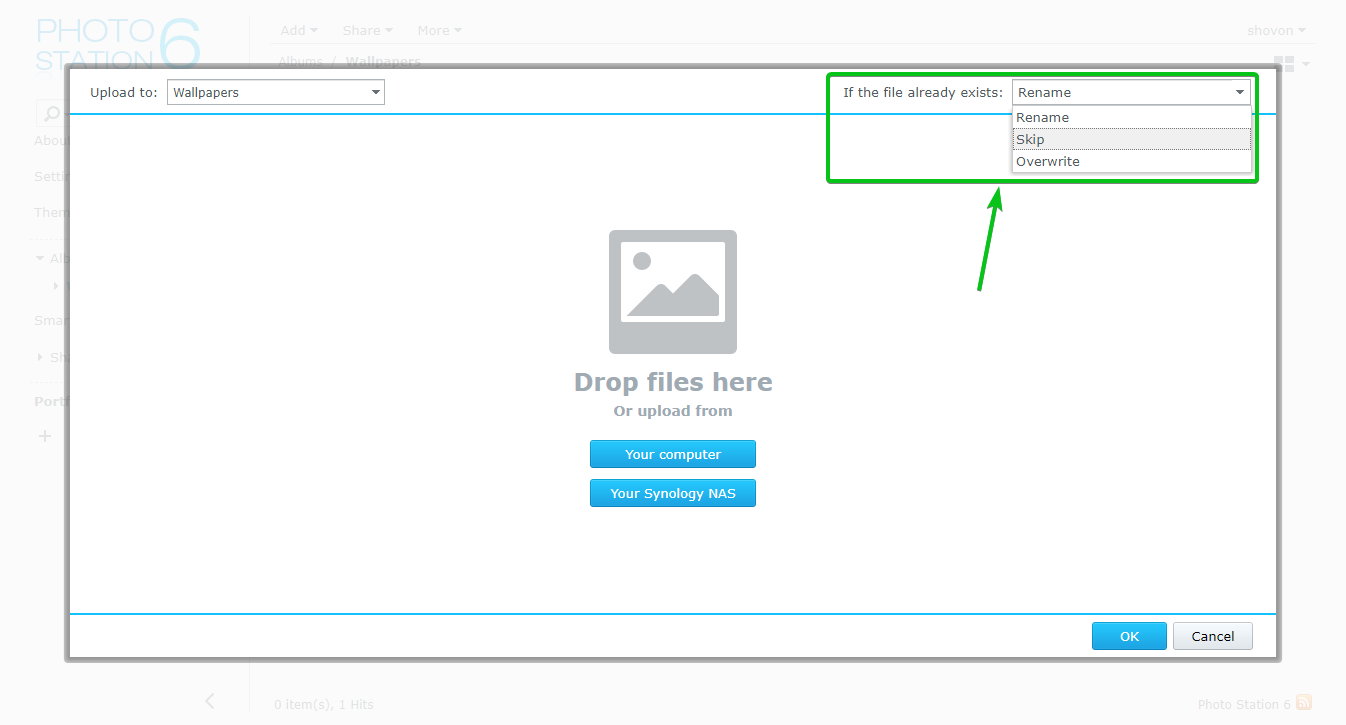
You can choose what to do when you upload photos that y'all've already uploaded to the anthology in the top-right corner.
Rename – The newly uploaded photograph will exist renamed if it's already uploaded before.
Skip – The newly uploaded photograph will be skipped if information technology's already uploaded before.
Overwrite – The newly uploaded photo volition replace the ane that's already uploaded to this album.
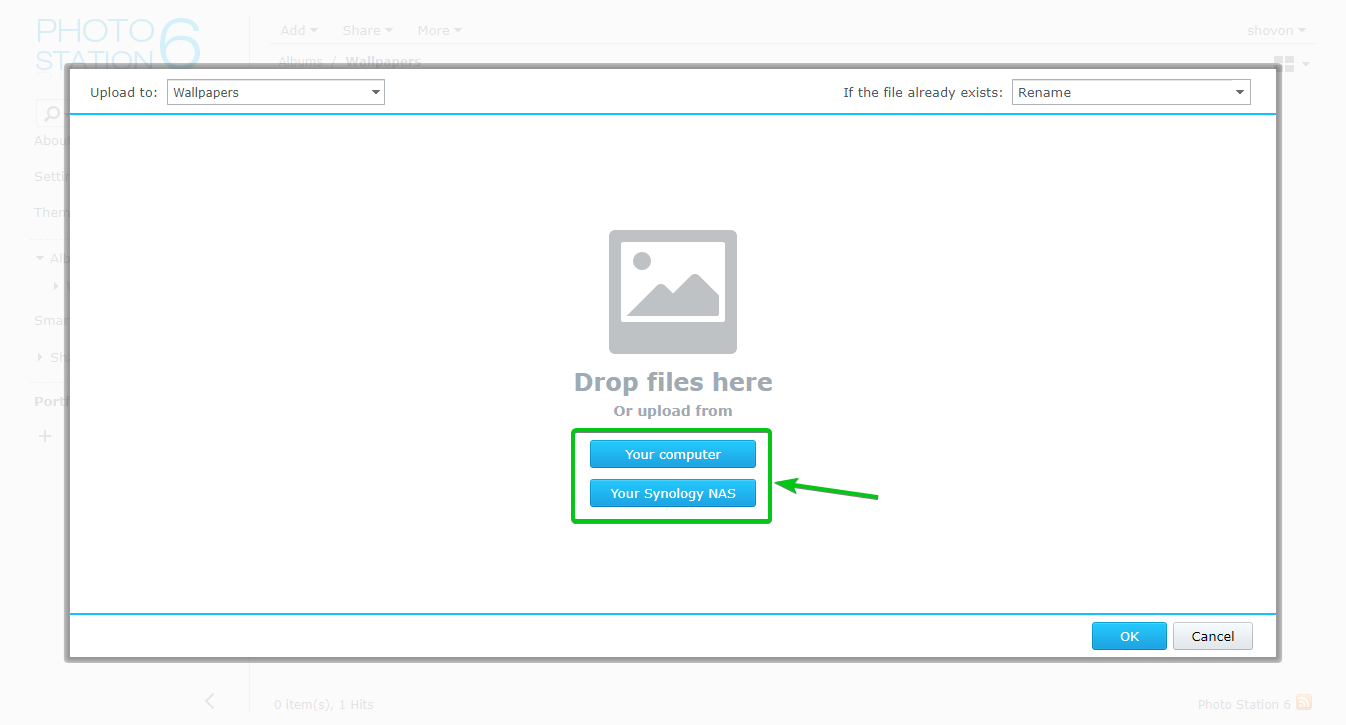
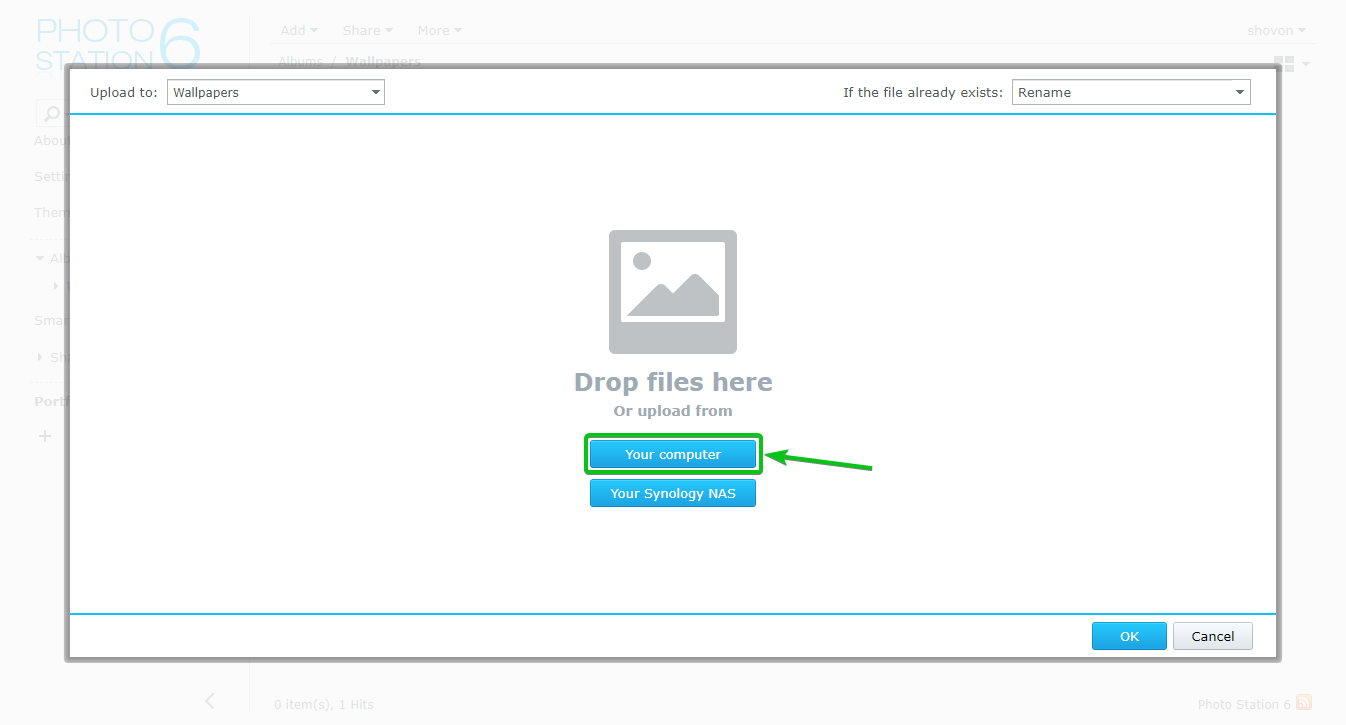
You can upload photos to the album from your computer or your Synology NAS.
To select photos from your calculator and upload them to this album, click on the Your computer button.
To select photos from your Synology NAS and upload them to this album, click on the Your Synology NAS push button.
I will upload photos to the album from my computer, So, I will click on the Your figurer button as marked in the screenshot beneath.
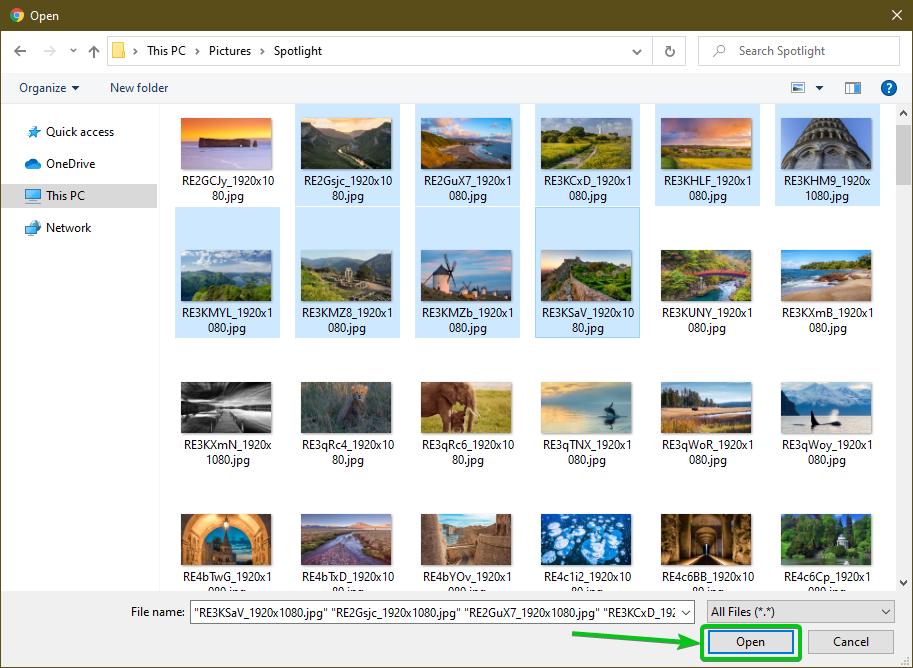
Now, select the photos that you want to upload to the anthology and click on Open up.
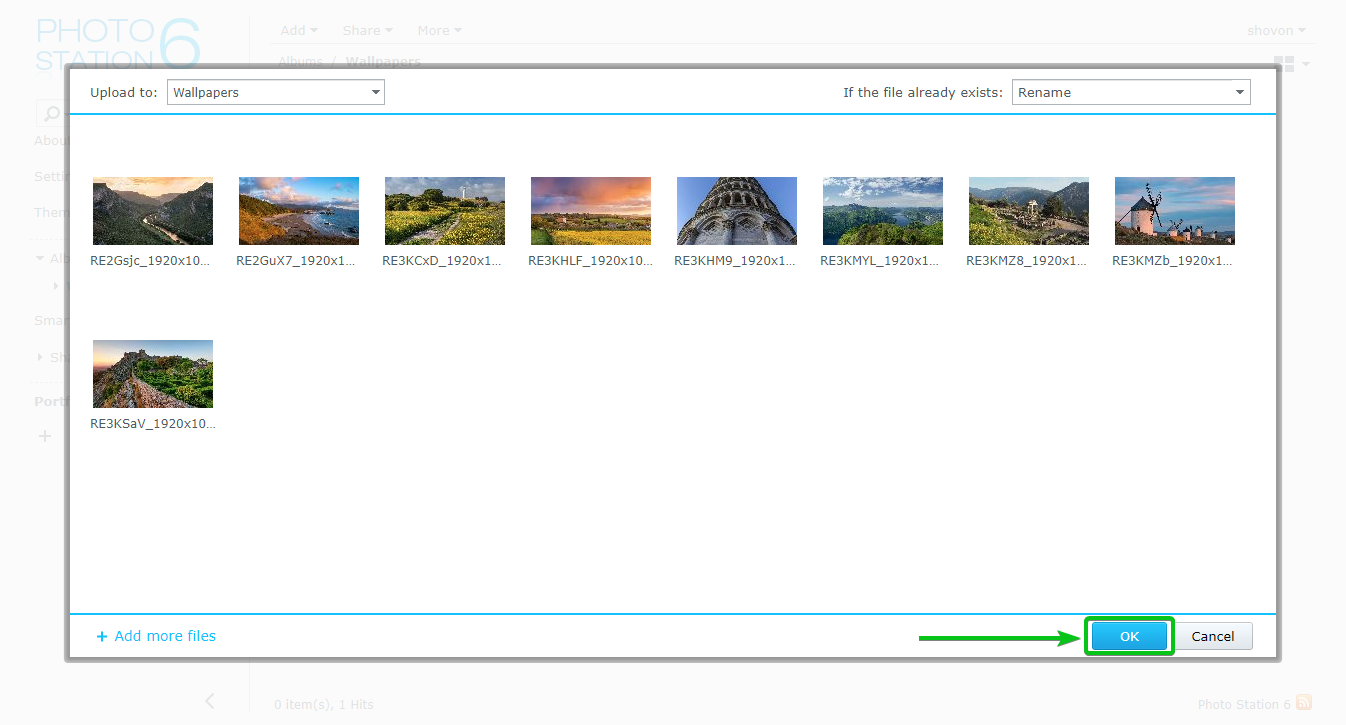
The photos to exist uploaded to the anthology should be displayed, as you tin can see in the screenshot below.
To upload the selected photos to the album, click on OK.
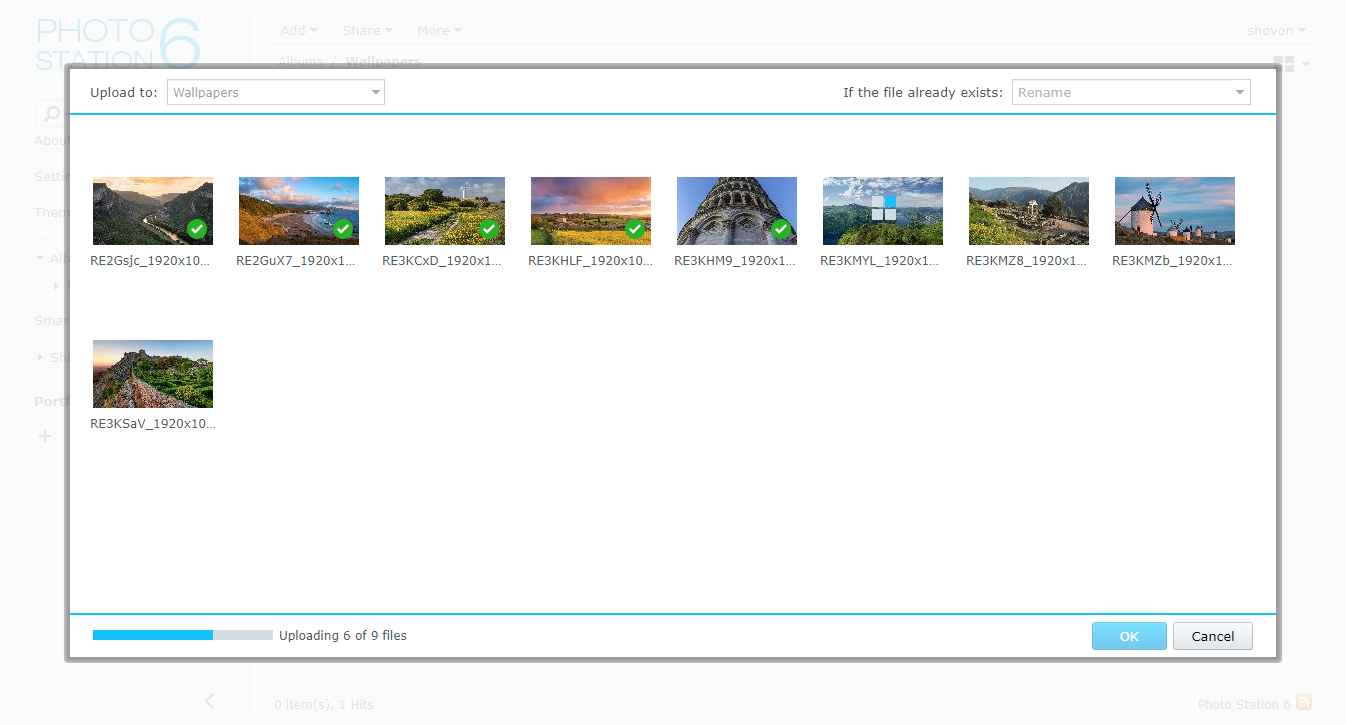
As you tin can see, the photos are being uploaded to the album. Information technology may have a few seconds to complete.
Once all the photos are uploaded, you should encounter the post-obit window. Click on OK.
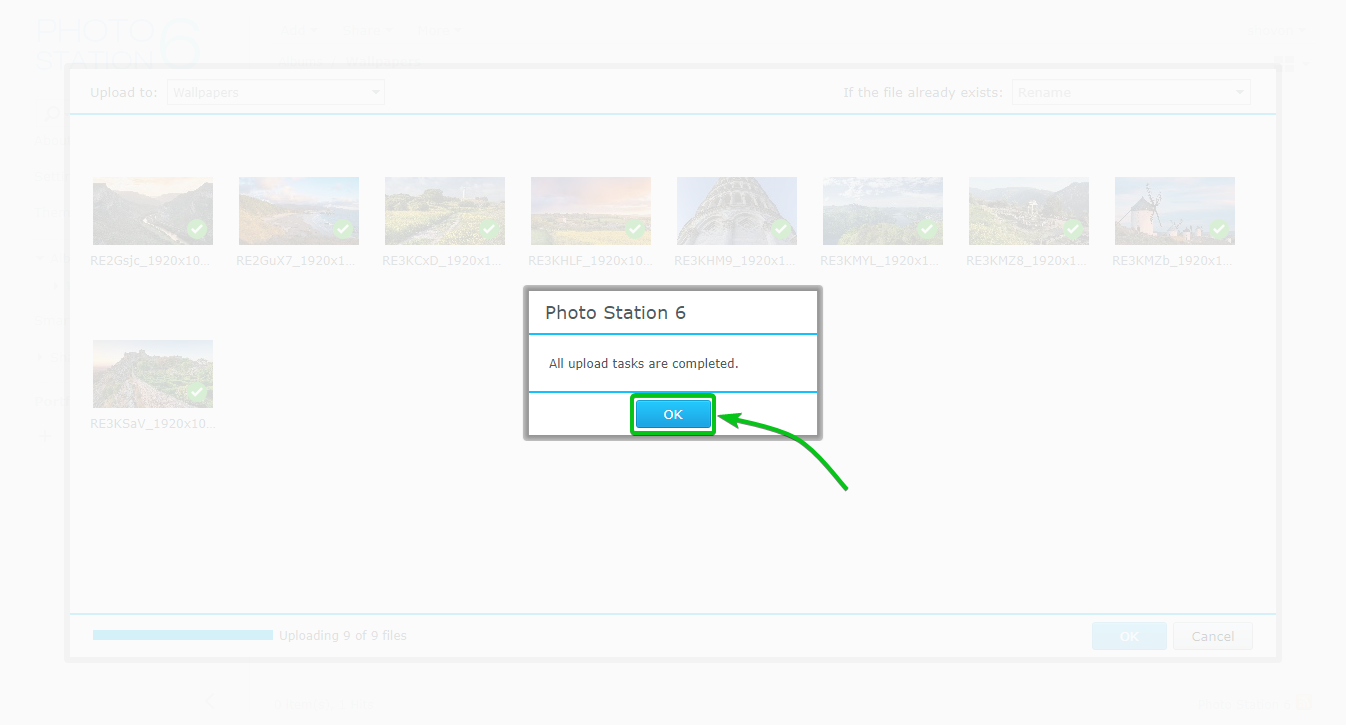
As you lot can see, all the photos are uploaded to the album.
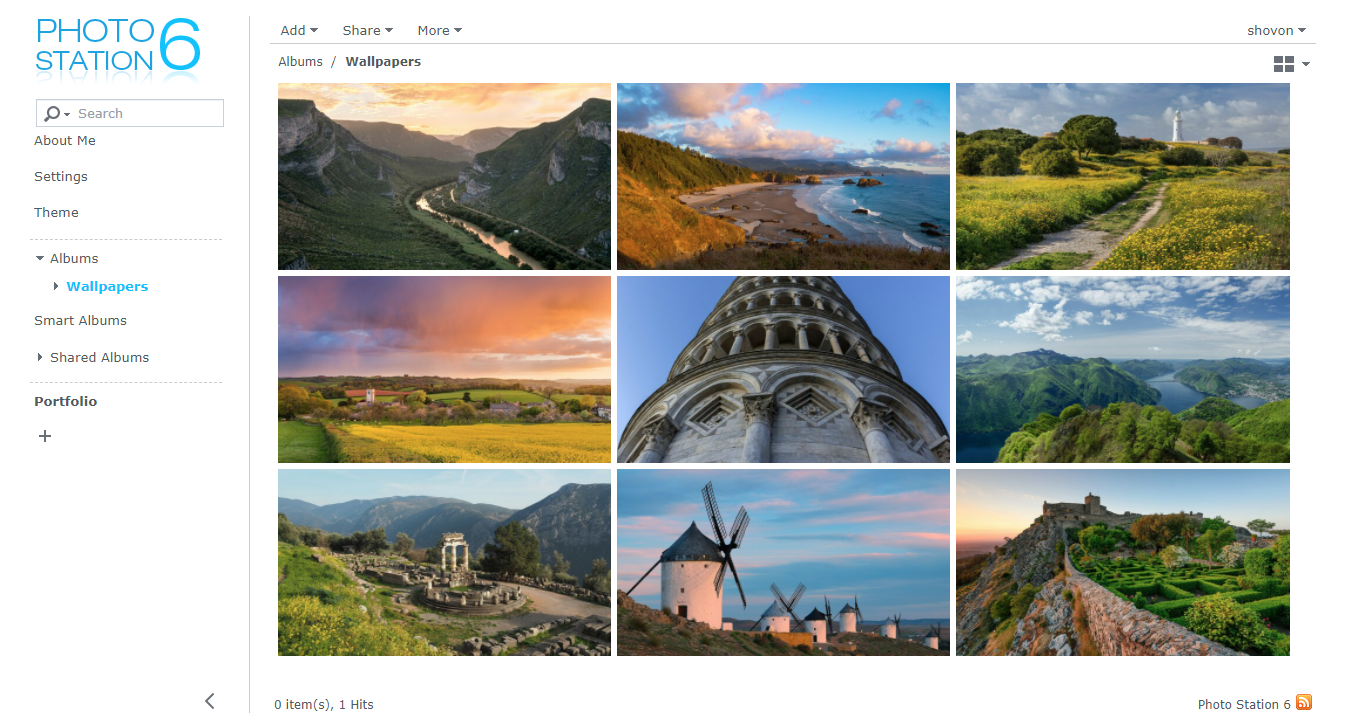
You lot can alter the view style of the photo album from the meridian-correct corner of the anthology, as marked in the screenshot below.
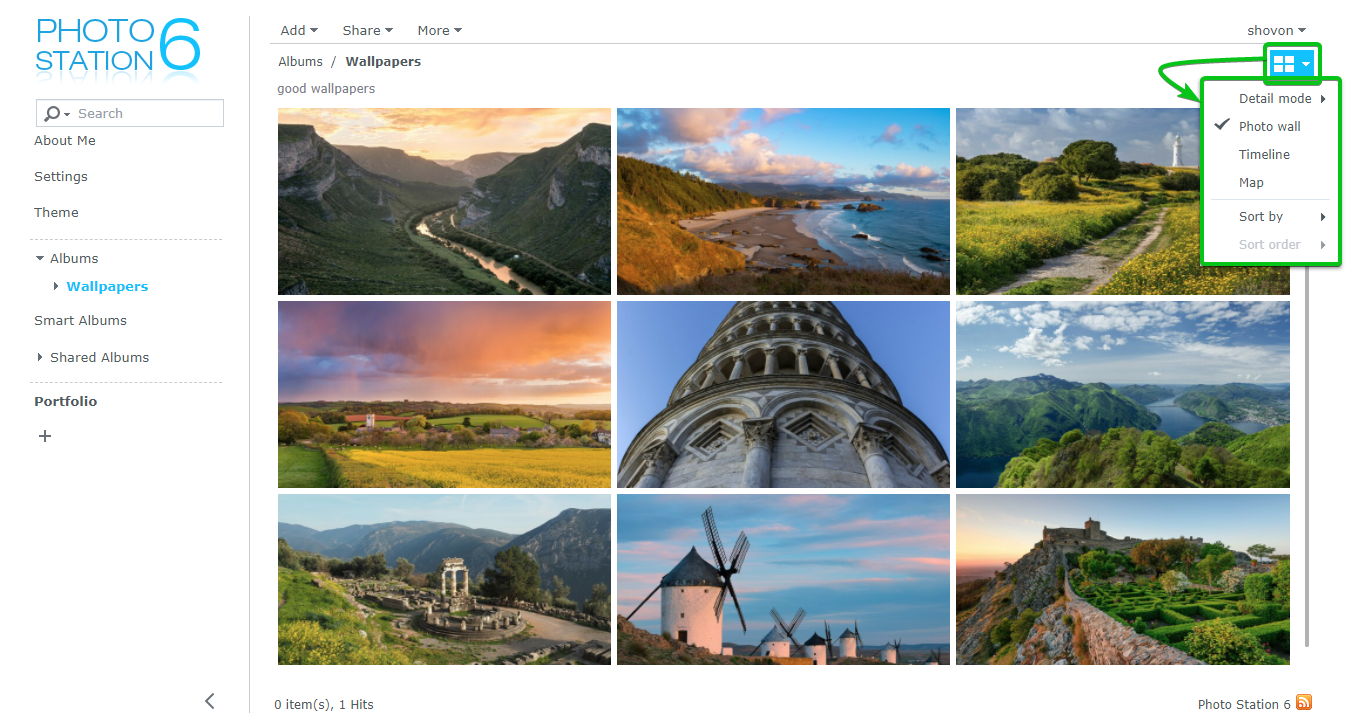
I have changed the view mode to Timeline, as you tin can see in the screenshot beneath.
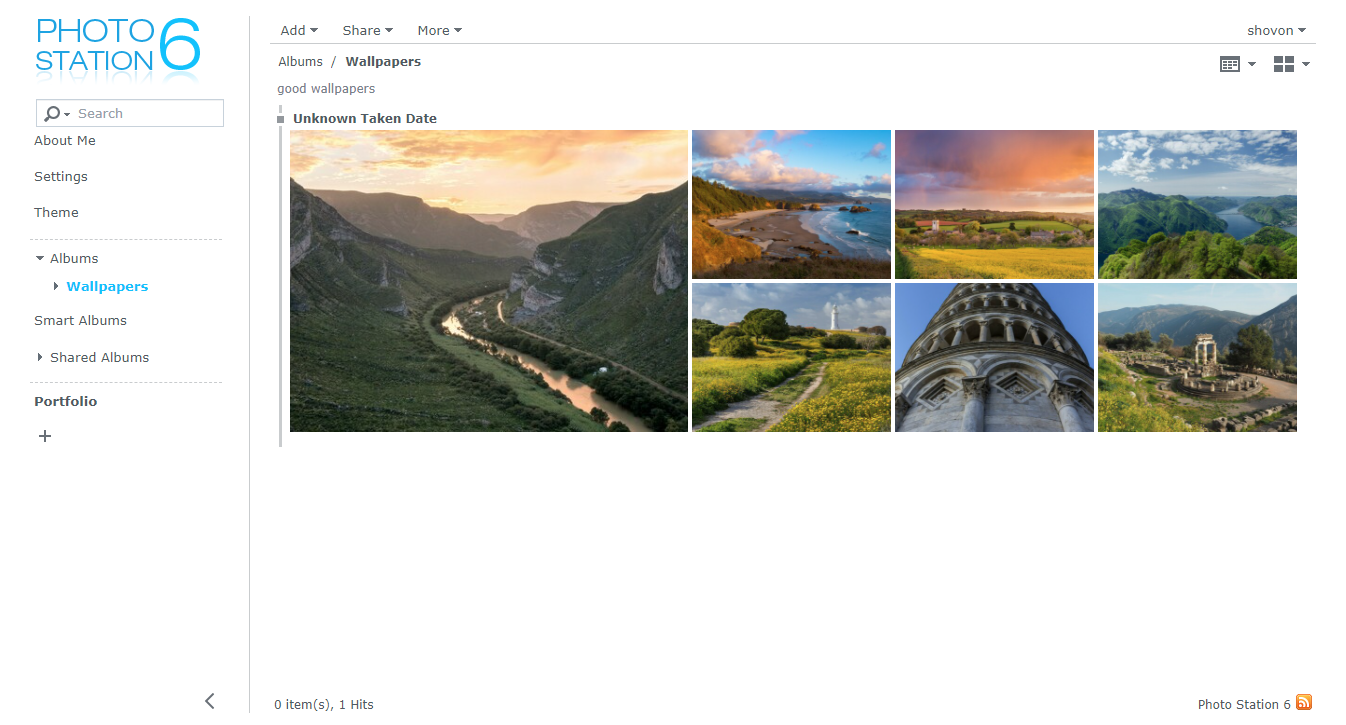
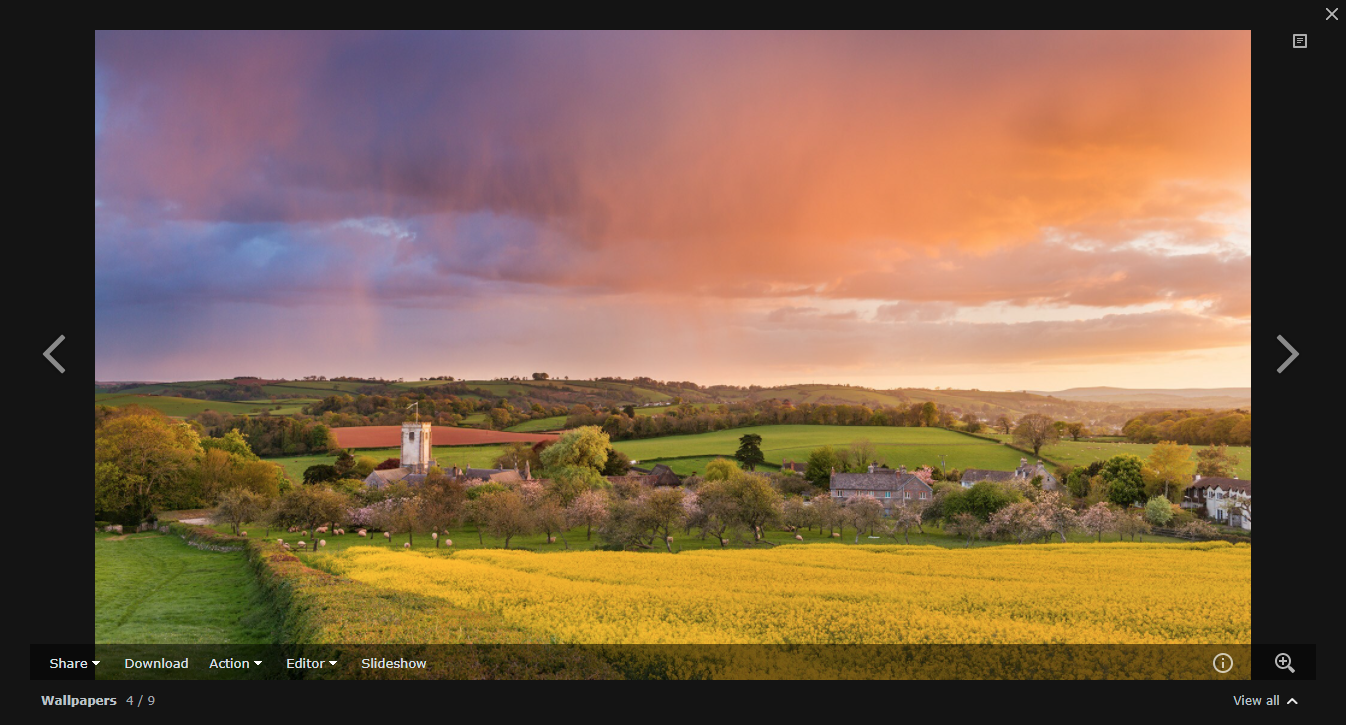
Y'all can click on any of the album photos to open it with the image viewer, as shown in the screenshot below.
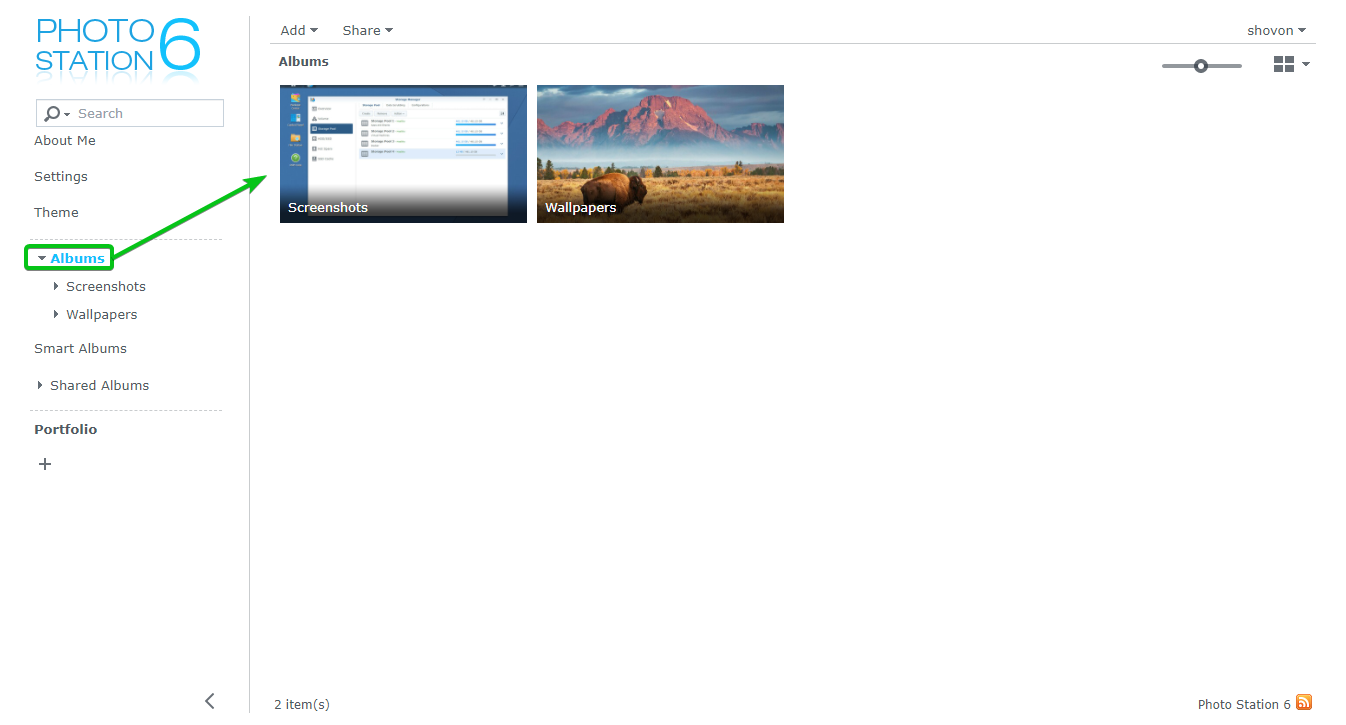
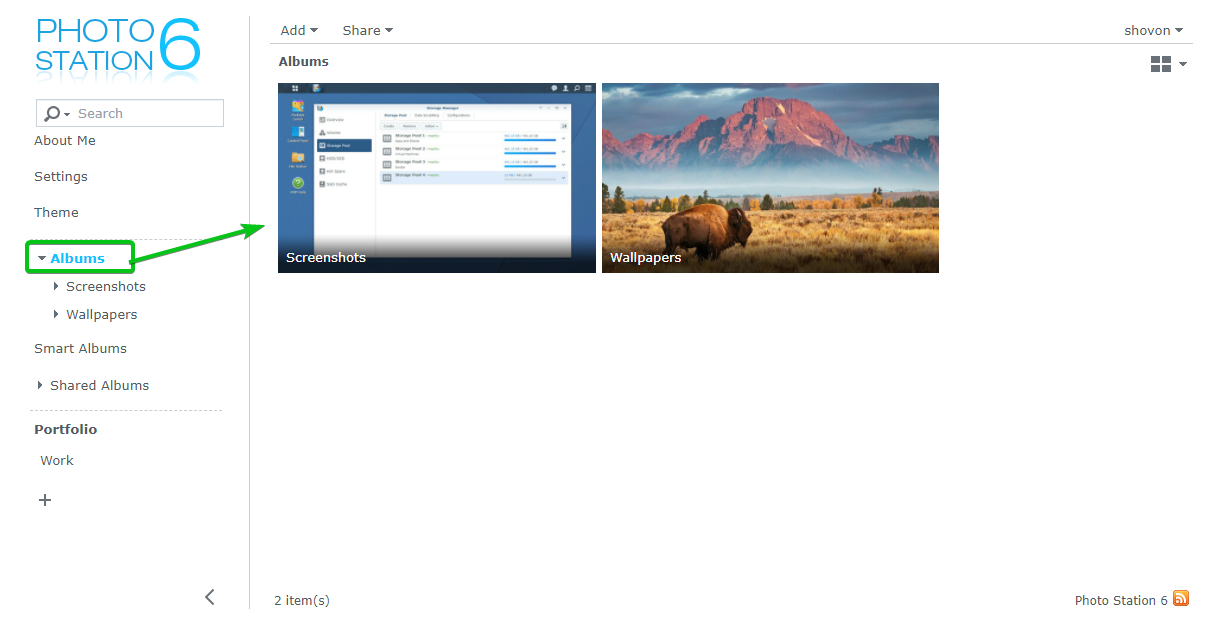
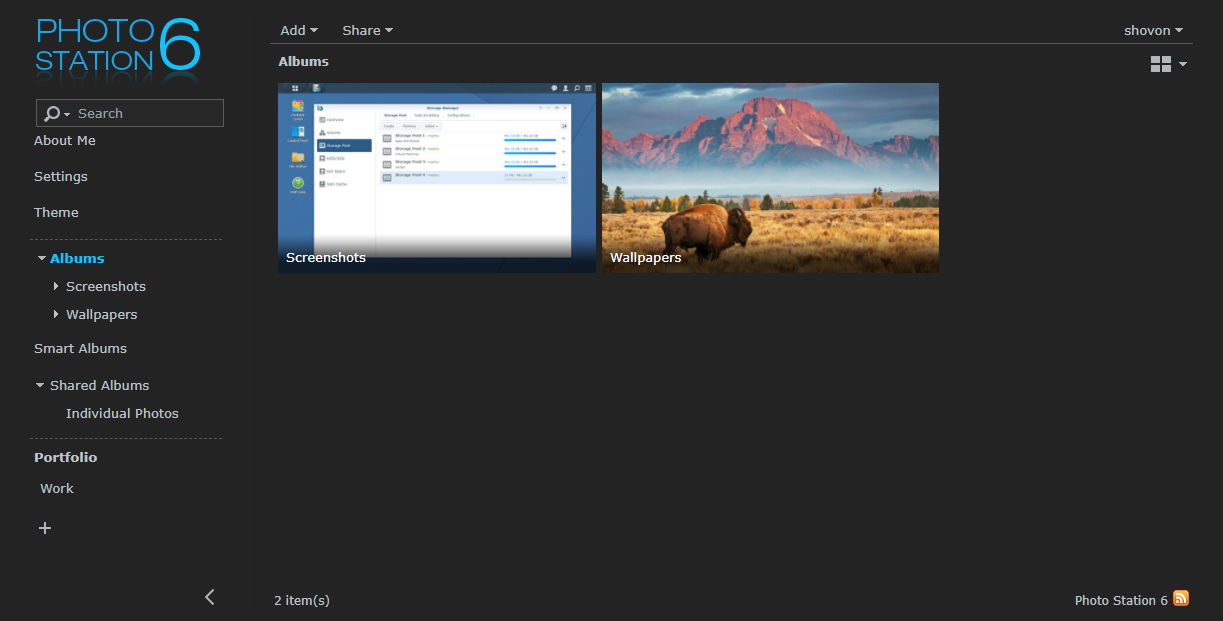
Listing All the Photo Albums:
You can navigate to the Albums department to list all the photo albums yous've created on the Photo Station app, as marked in the screenshot beneath.
Rate and Tag Photos:
You tin rate and tag photos using the Photo Station app. One time you rate or tag photos, you lot can use these criteria to filter photos and create Smart Albums. I will talk near Smart Albums in the side by side department of this article below.
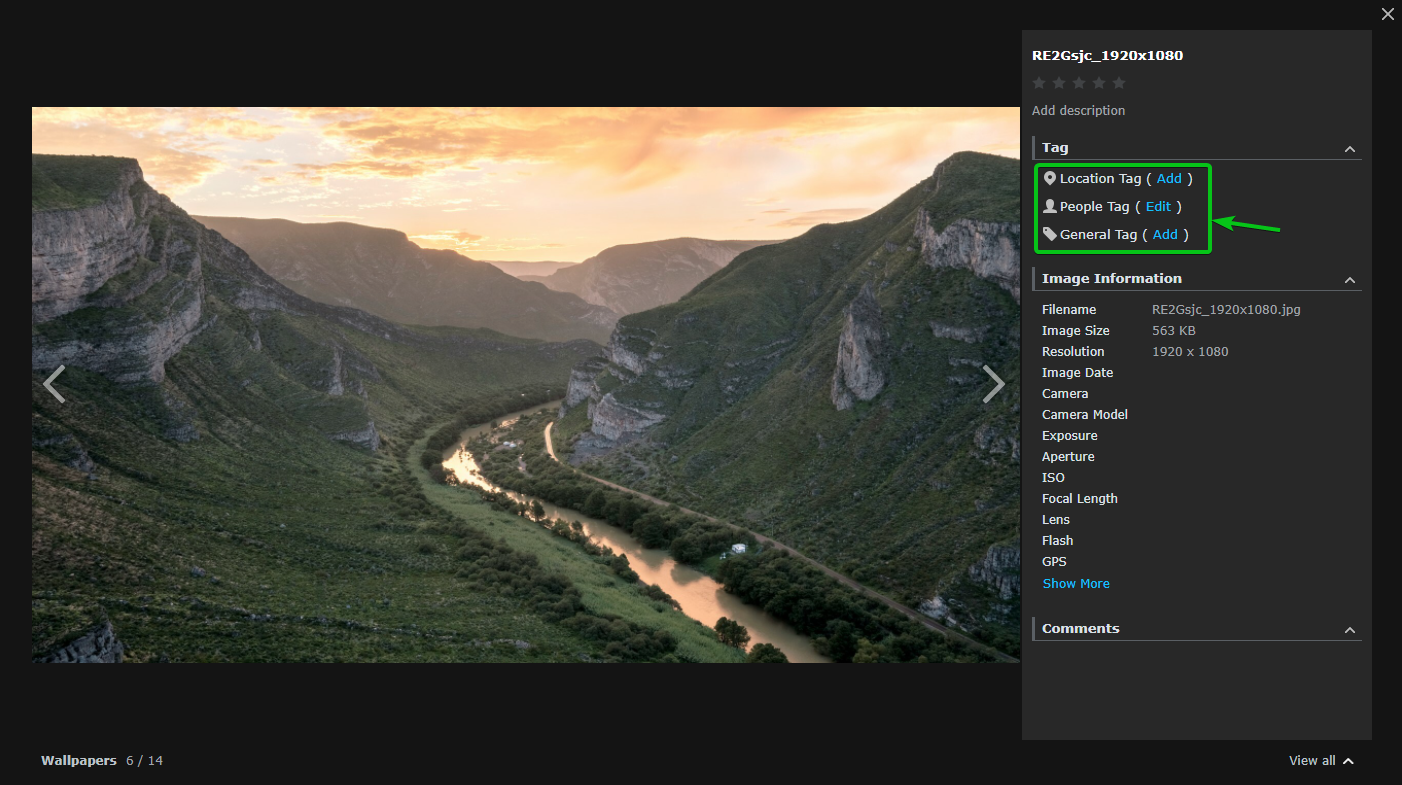
To rate or tag a photo, open information technology with the photograph viewer. Then, hover the mouse pointer on the top-right corner of the image and click on the icon as marked in the screenshot beneath.
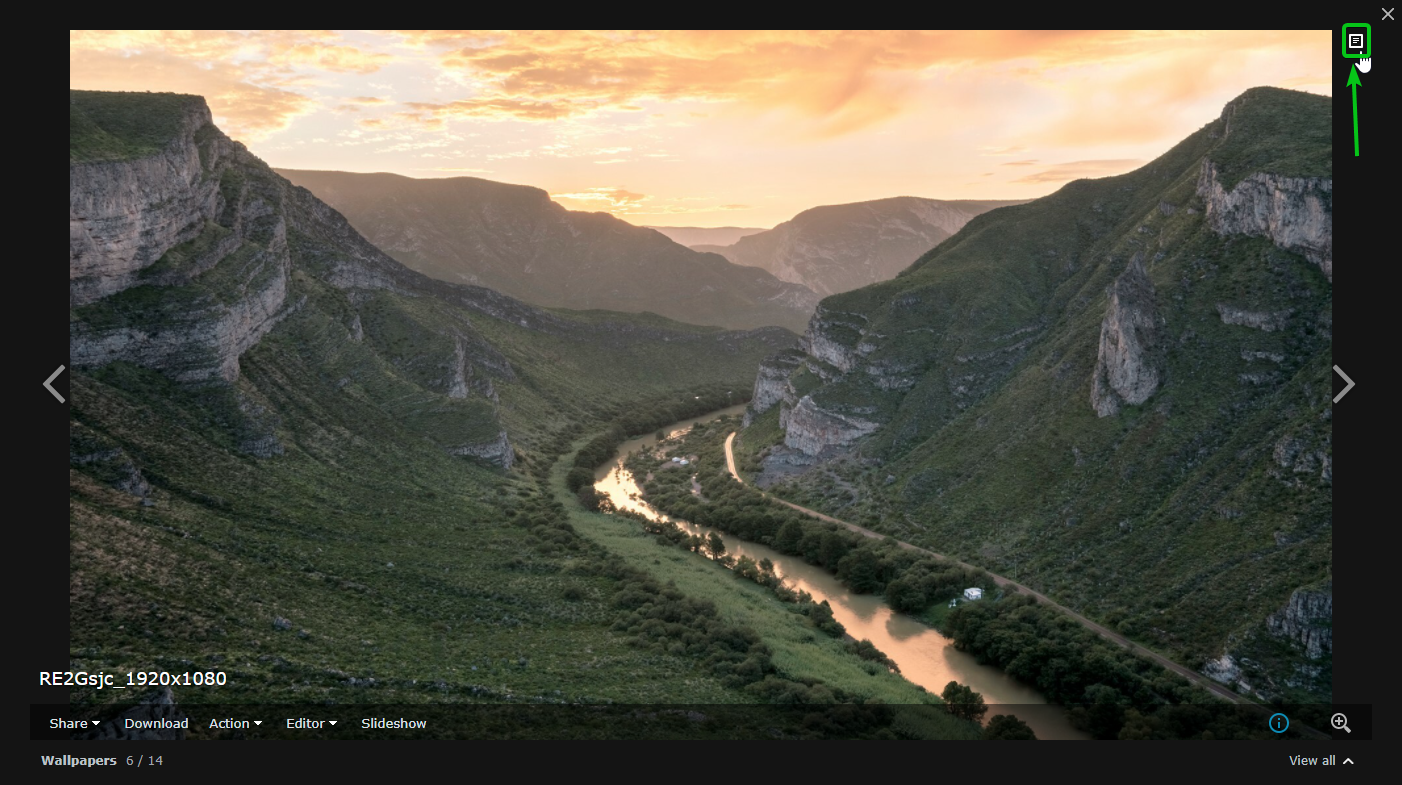
The details of the photograph should exist displayed, equally you tin can see in the screenshot below.

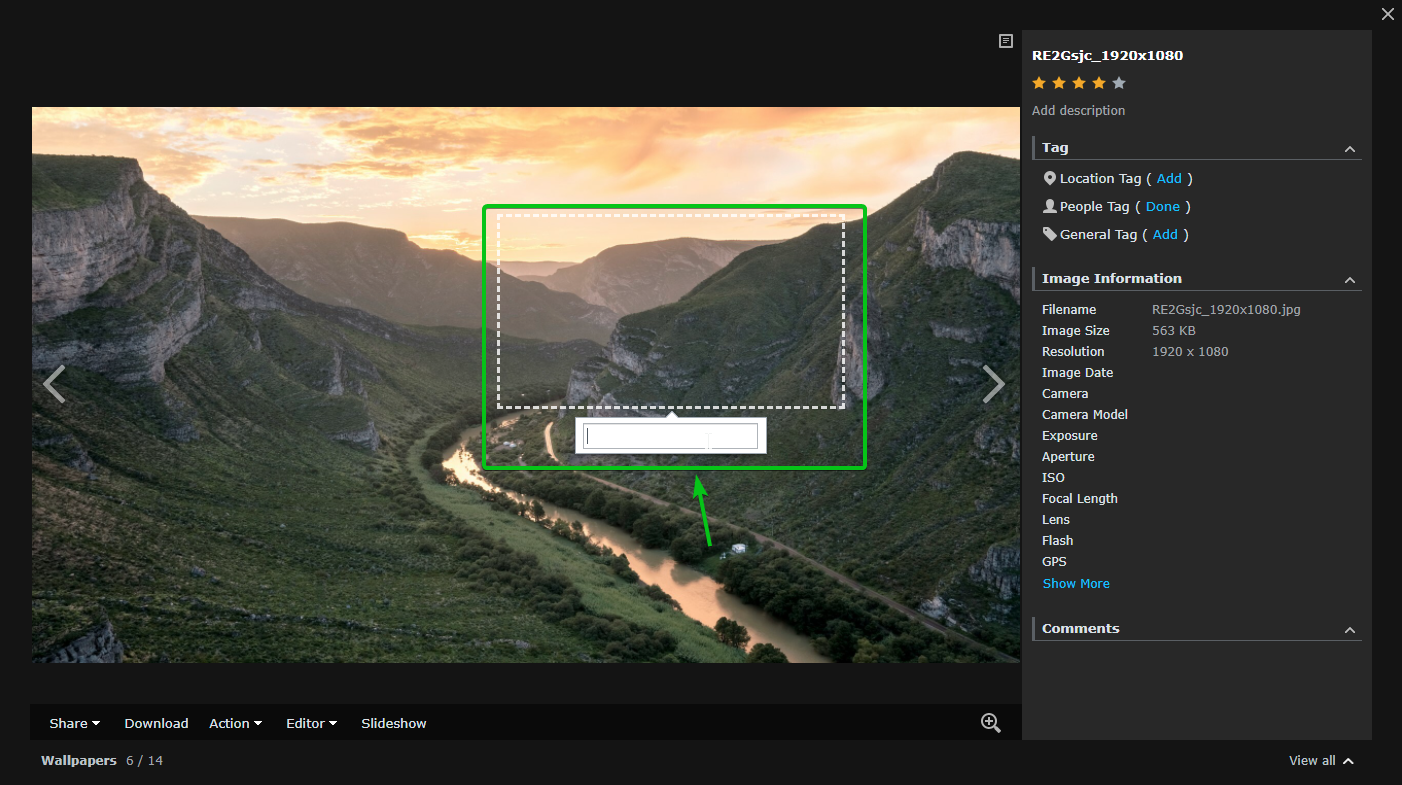
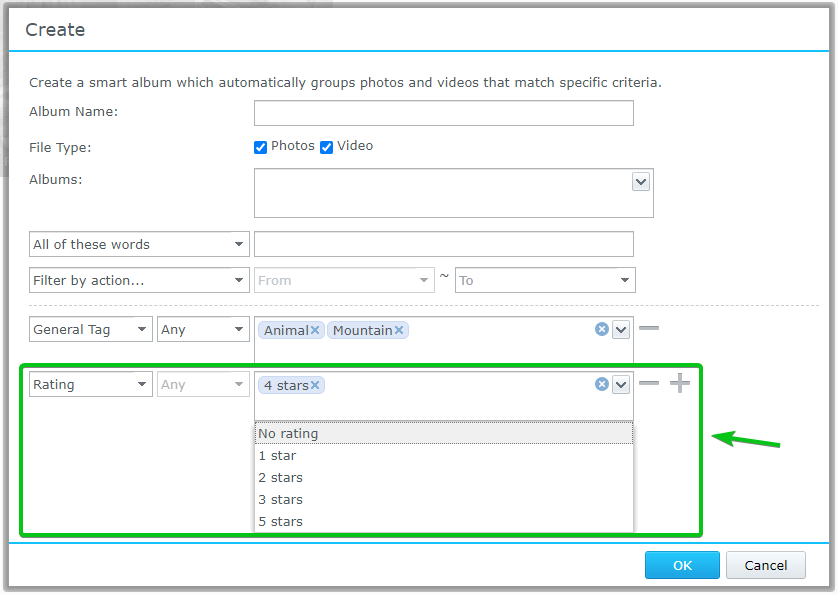
You can rate the photo using the marked department of the screenshot beneath. Yous tin can rate a photograph 1 star, ii stars, iii stars, 4 stars, and 5 stars, respectively.
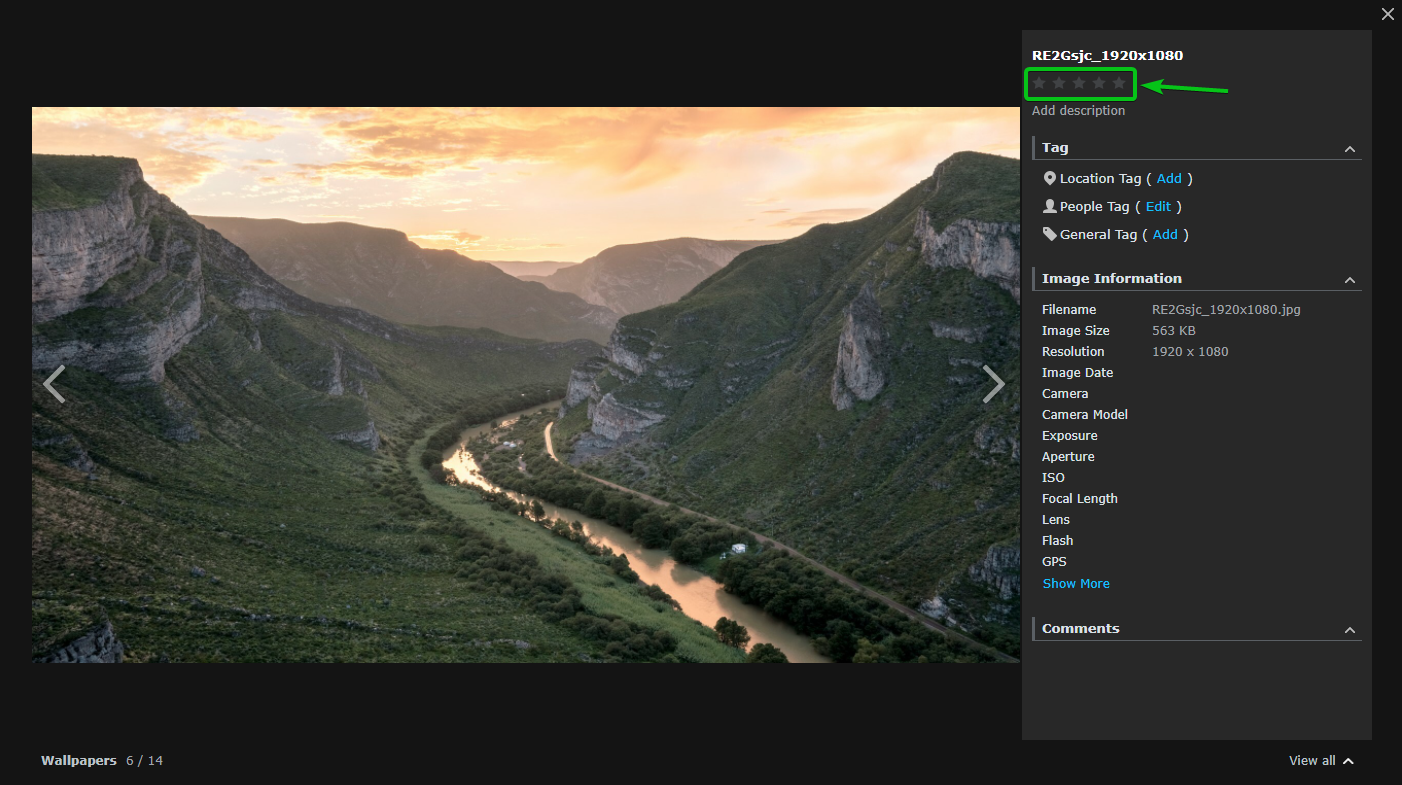
As you lot can see in the screenshot below, I take rated the photo iv stars.

From the Tag section, you can add different types of tags to the photo.
Location Tag: Yous tin can geotag (using a globe map) the location where you've taken the epitome.
People Tag: You can tag the people that are in the photo.
General Tag: Y'all can add different named tags to the photo.
If you choose to add together a Location Tag, a world map will open, and you can select your location from the map.

If you cull to add a People Tag, you tin mark rectangular sections of the photo and type in the person's name in that marked section of the photo to add together a People Tag. You tin add as many people tag as you lot desire.
If you choose to add a Full general Tag, type in the tag championship and press <Enter> to add a Full general Tag.

As y'all can run across, a General Tag is added to the photograph.

Creating a Smart Album:
The Photo Station app has an amazing feature called Smart Album. In Smart Albums, yous don't accept to upload any photos. The photos you've already uploaded are automatically added to their respective smart albums, depending on the criteria yous've defined while creating the albums.
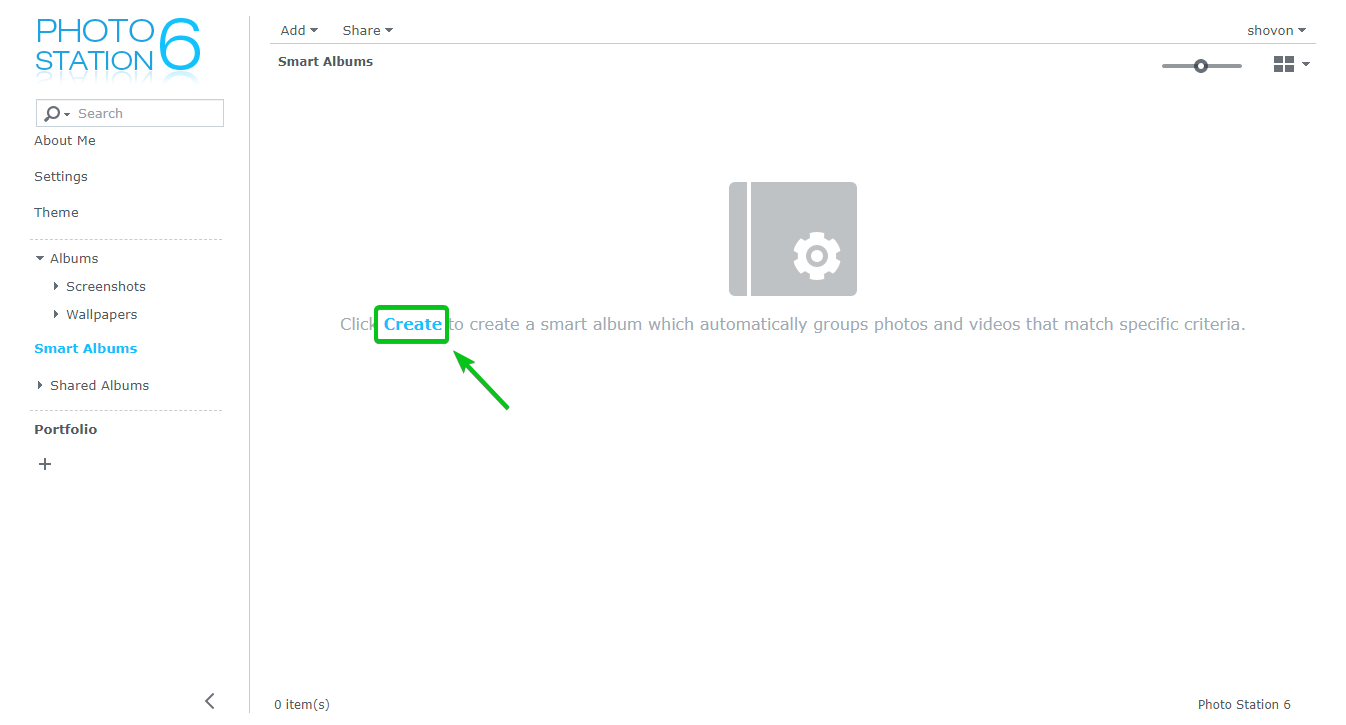
To create a Smart Album, navigate the Smart Albums section of the Photo Station app as marked in the screenshot beneath.
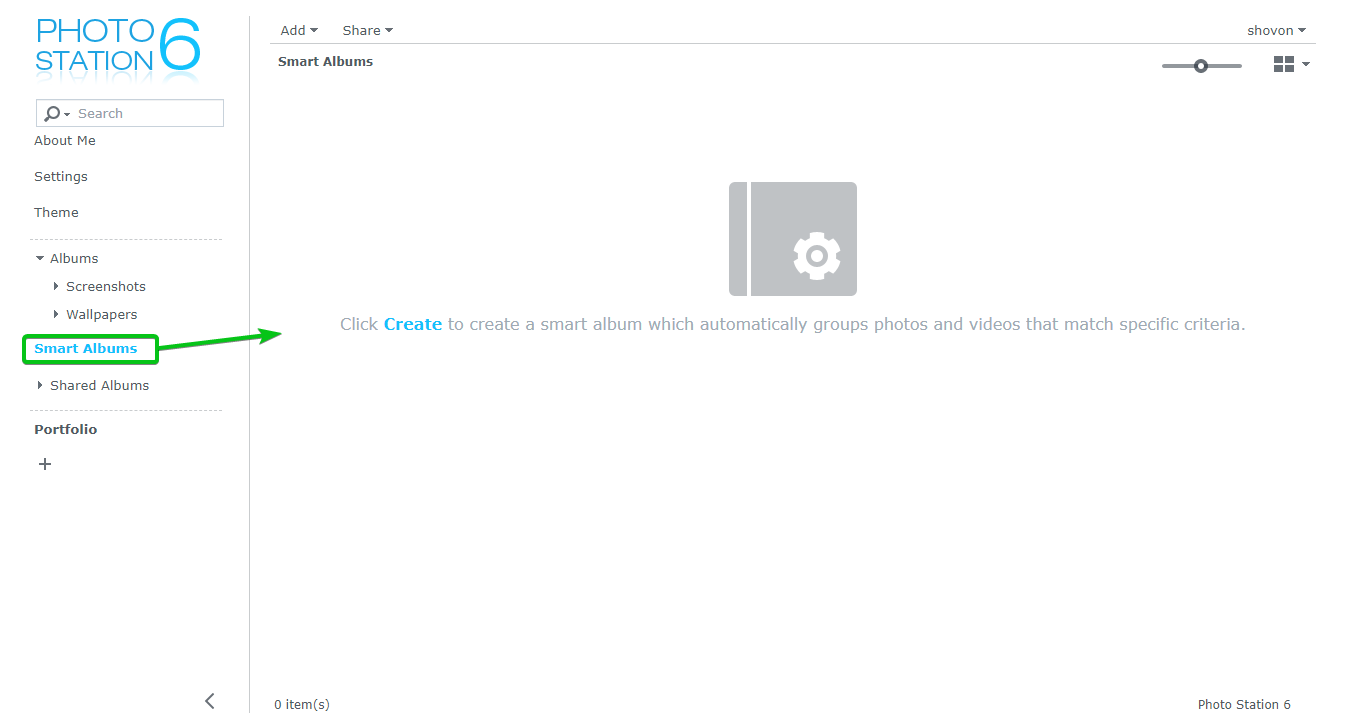
And then, click on Create.
Or, click on Add > New Smart Album as marked in the screenshot below.

The Create window should be displayed. You lot can create a Smart Album from here.
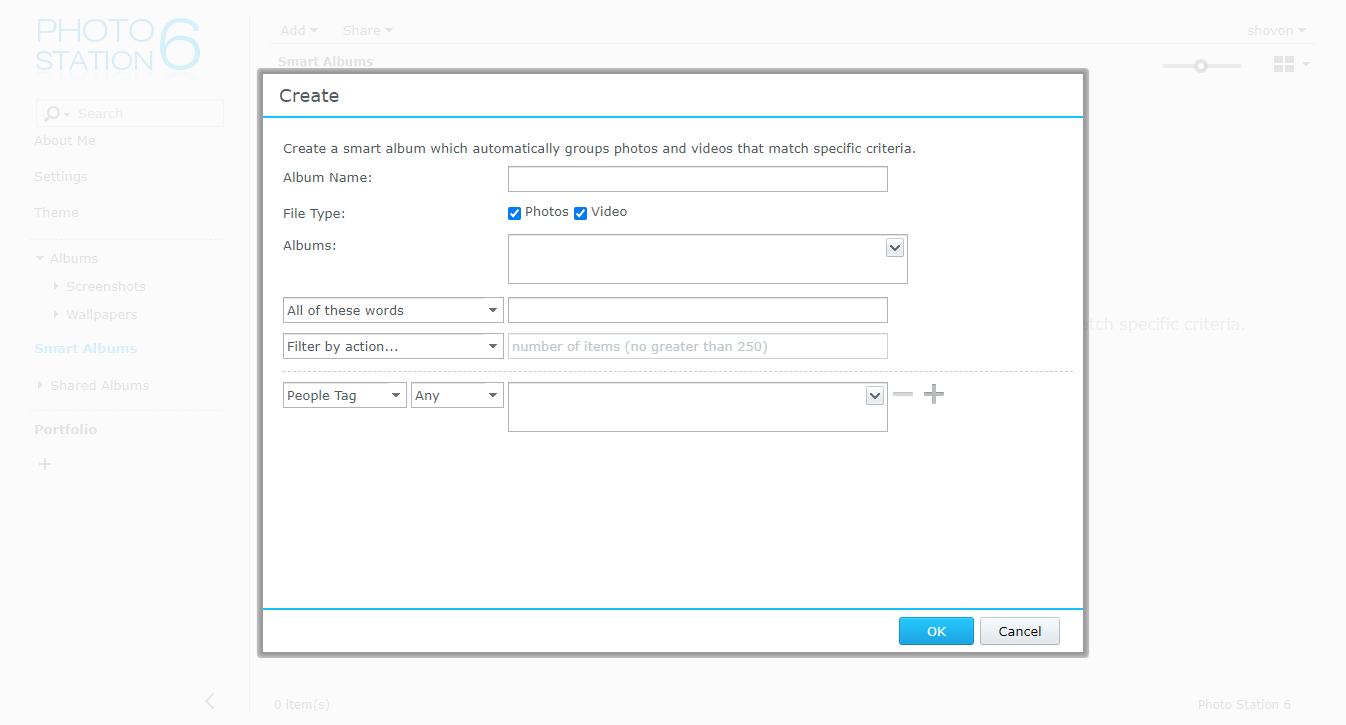
This commodity will create a smart album that will show you 20 recently uploaded photos from every album to demonstrate how Smart Albums work.
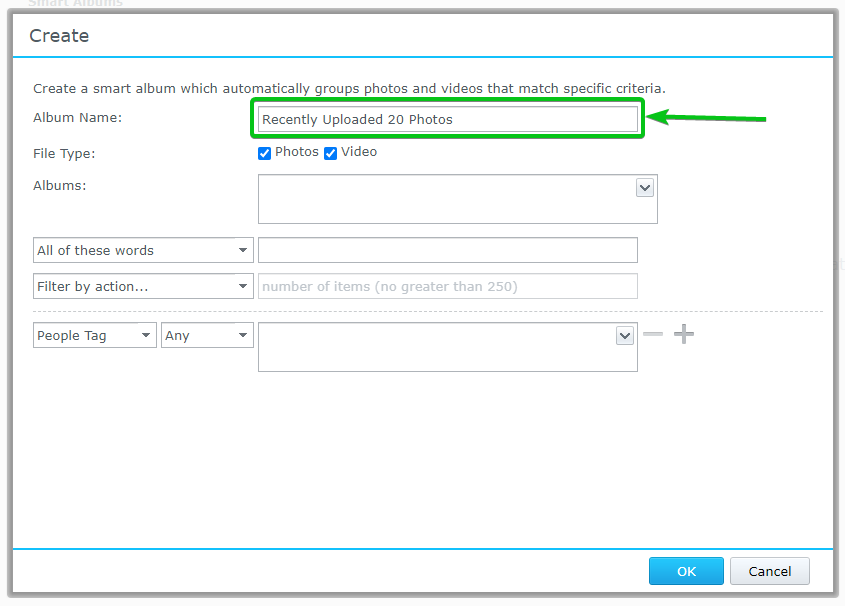
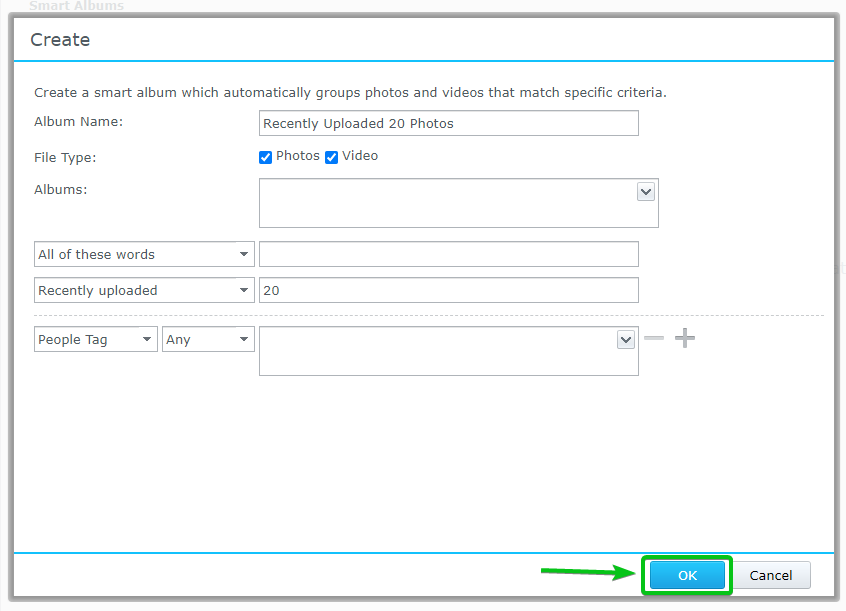
Now, type in a name for the smart album. I will call it Recently Uploaded 20 Photos.
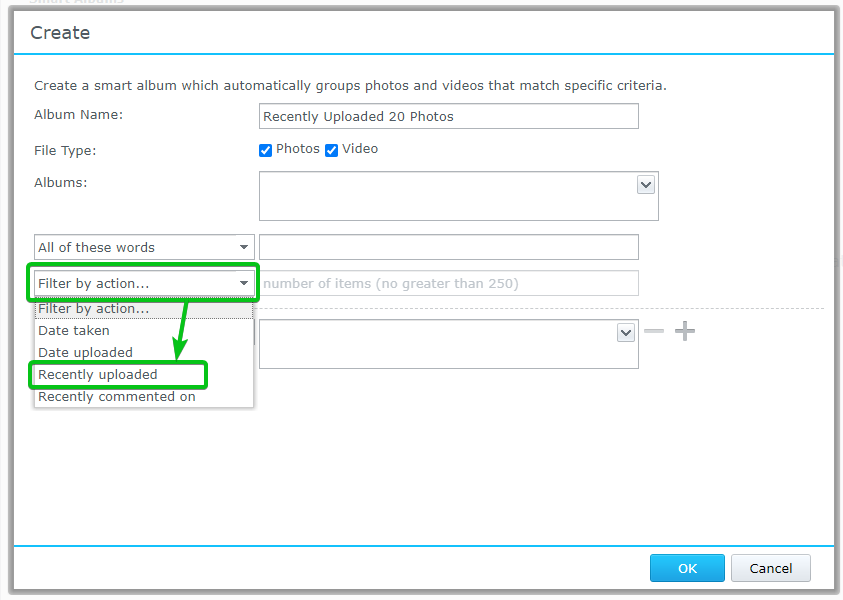
Apply a Recently uploaded filter using the Filter by activeness dropdown menu as marked in the screenshot beneath.
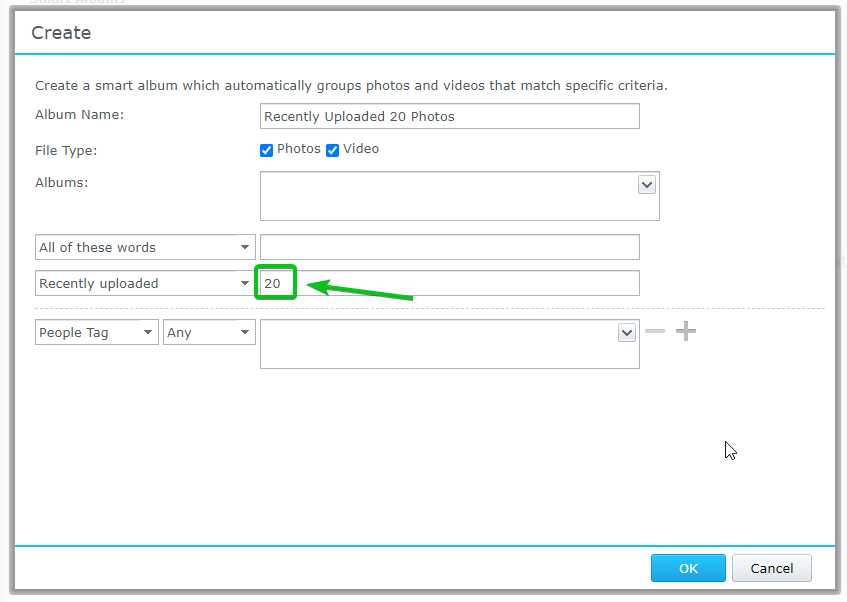
Type in 20 as the Recently uploaded filter value as marked in the screenshot below.
Once you're washed, click on OK.
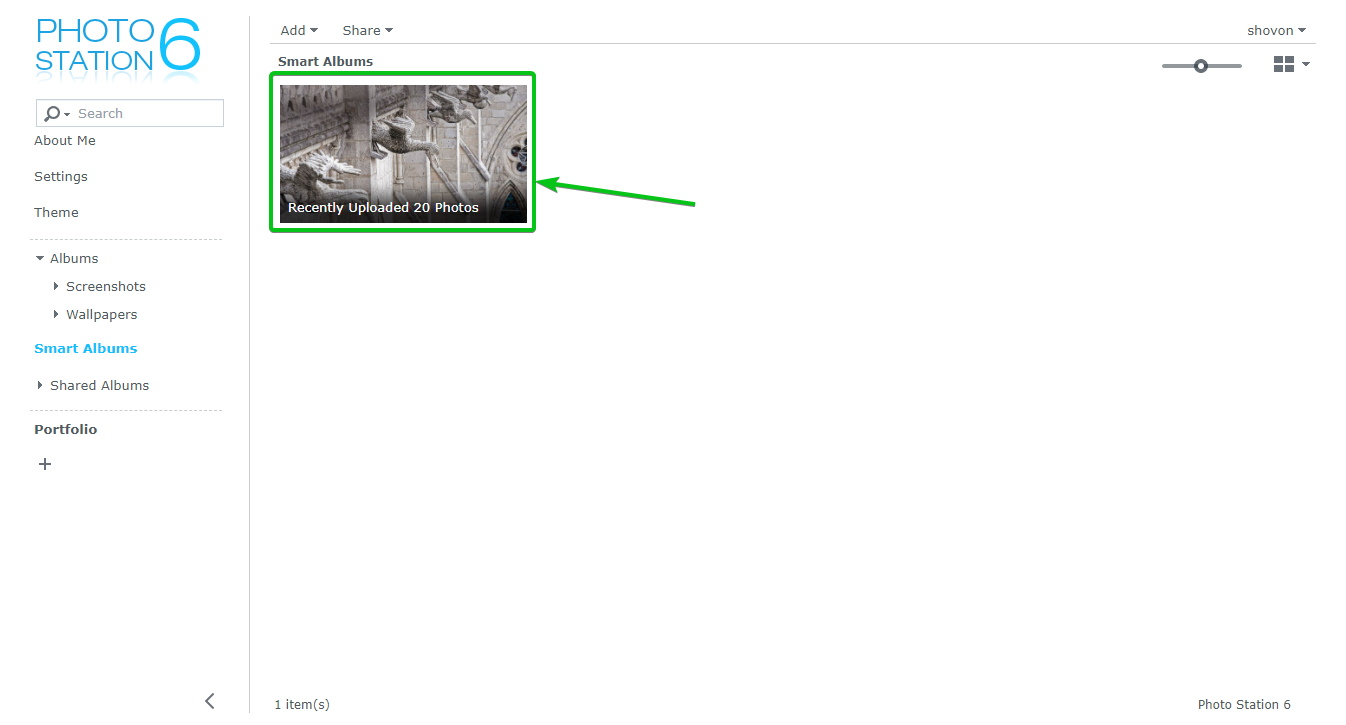
A new Smart Album Recently Uploaded 20 Photos should exist created, as you can see in the screenshot below.
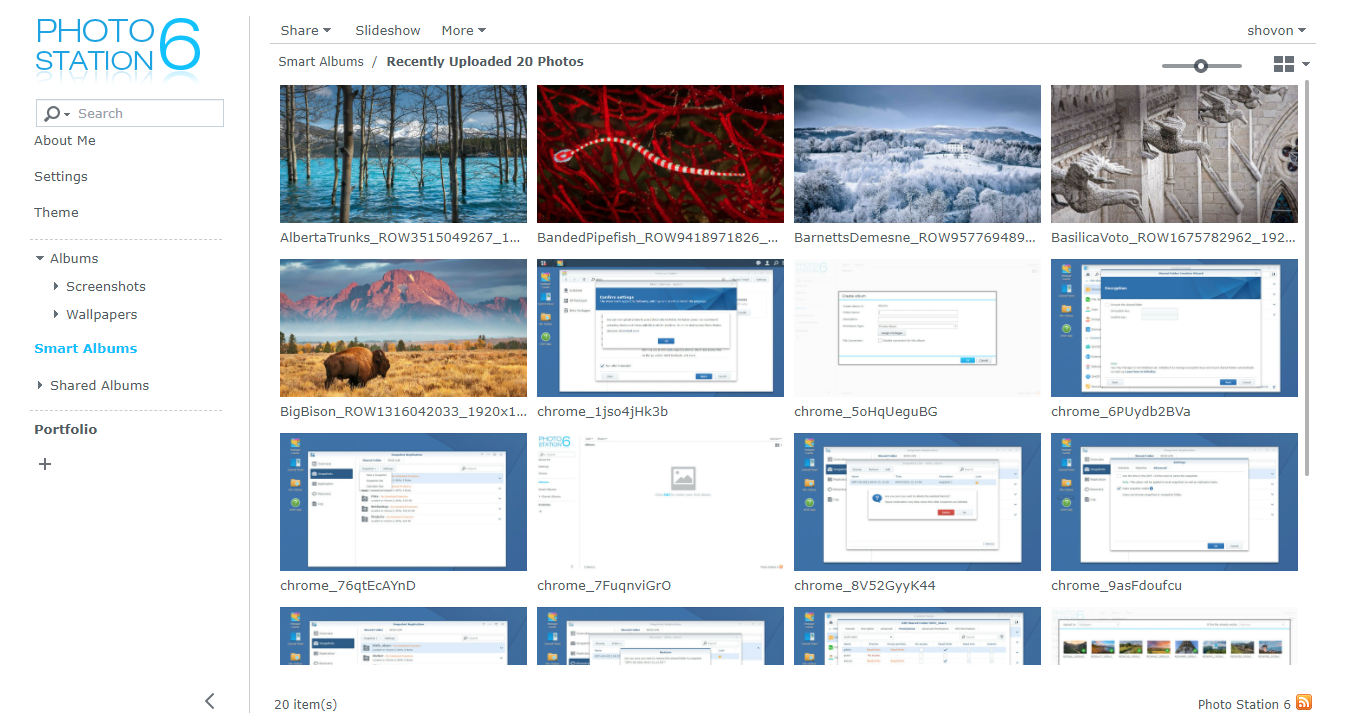
In the Recently Uploaded 20 Photos, Smart Album, the last 20 recently uploaded photos from all of my albums are listed, equally you tin can see in the screenshot below.
At that place are many other filtering options that you can utilise in your Smart Albums.
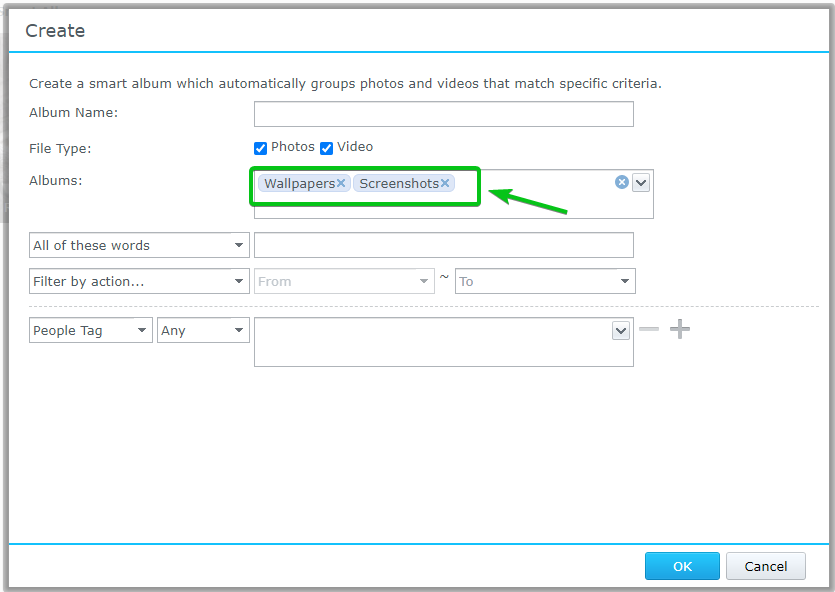
For example, you tin can limit the filter to the photos of one or more albums only. To practice that, click on the Albums dropdown menu and select the albums you need from the list.
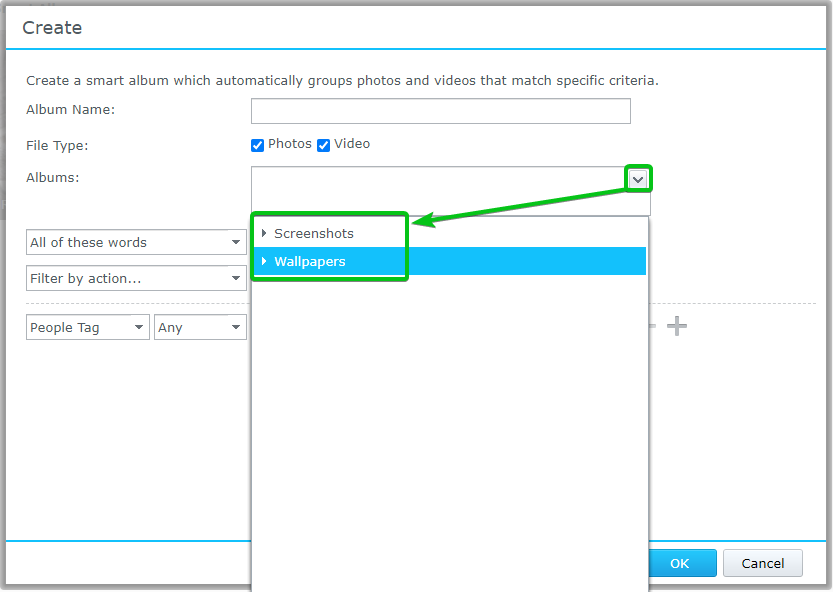
Once you select the albums you lot're interested in, the filters volition be applied to only the selected albums.
You can also filter photos using their filename.
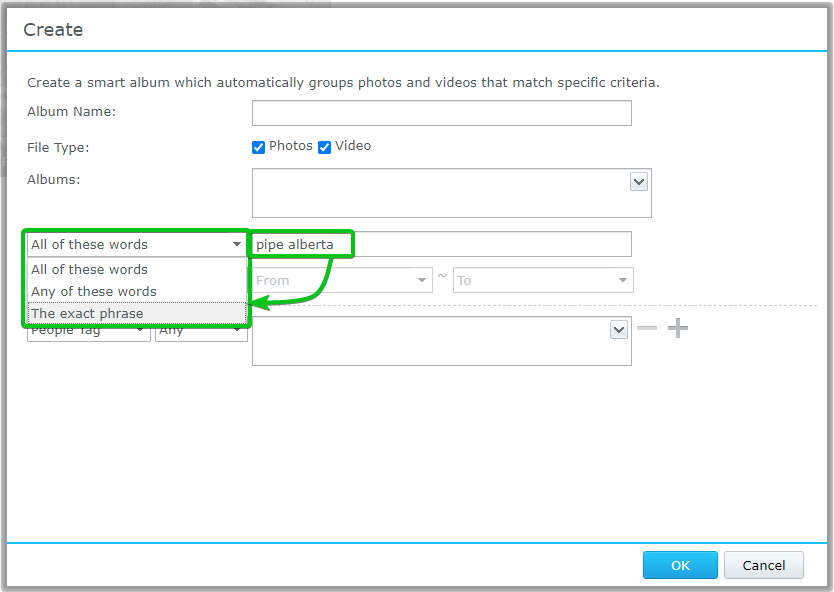
To do that, blazon in the keywords (separated by whitespace) and select how y'all want to match the keywords from the dropdown menu as marked in the screenshot beneath.
All of these words: This filter will discover merely the photos where the filename has all the keywords.
Any of these words: This filter volition find only the photos where the filename has whatsoever of the keywords.
The exact phrase: This filter will observe just the photos where the filename has the verbal keyword.
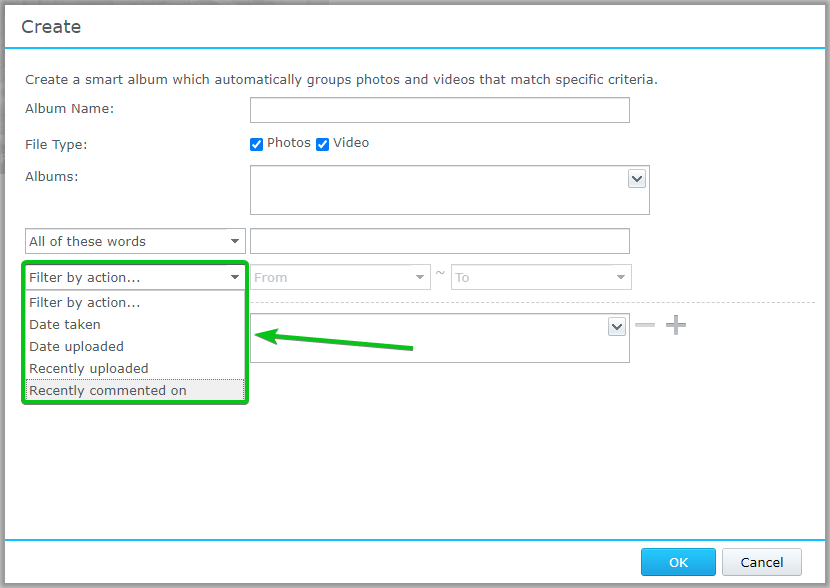
Y'all can filter the photos by and then the date they were taken or the date they were uploaded. Y'all can also filter some of the recently uploaded or recently commented photos.
You tin can too filter photos by tags, ratings, and different photo backdrop.
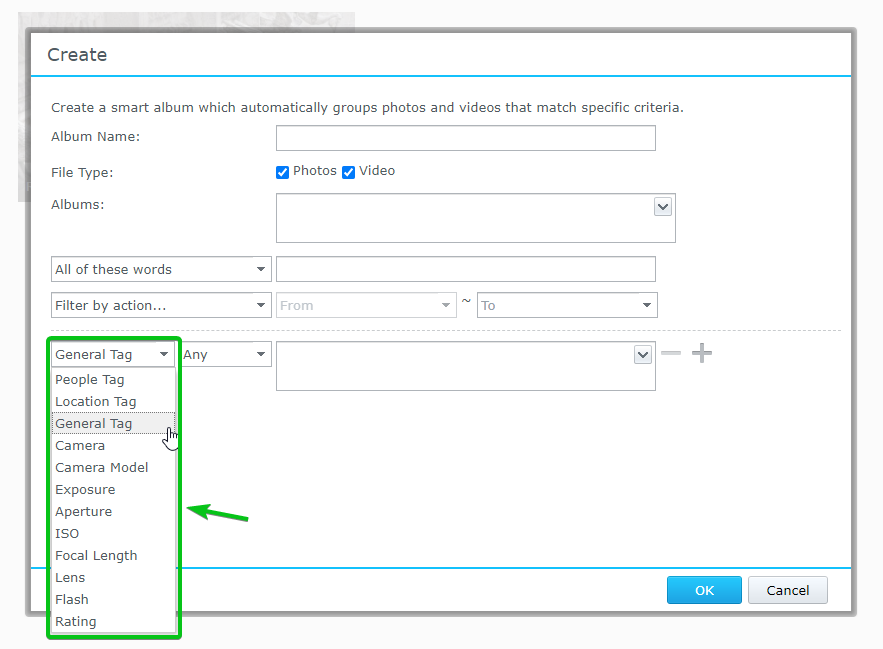
If y'all choose to filter photos by tags, you tin select whether yous want to match the photos that have any of the tags or must have all the tags y'all've added.
Any: Friction match the photos that have whatsoever single one of the tags you want to filter with.
All: Match only the photos that have all the tags you want to filter with.

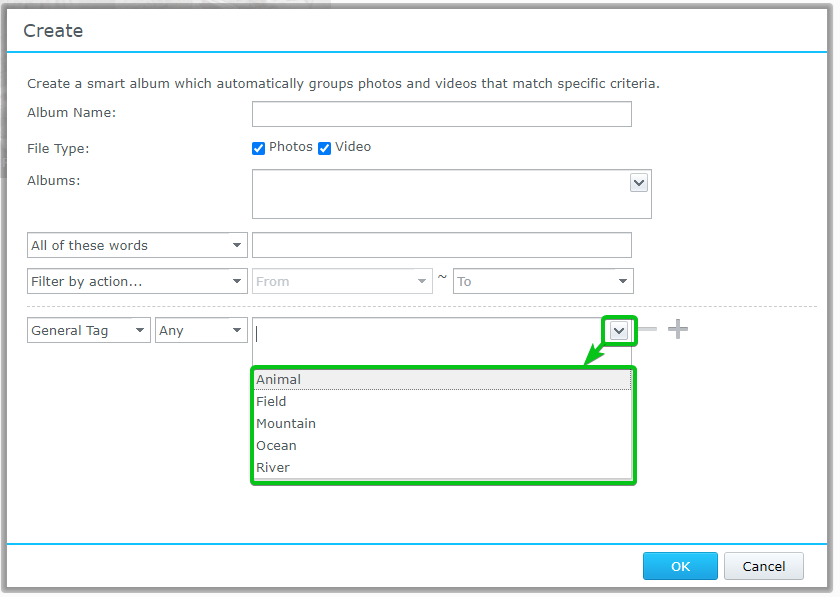
To add together a tag, click on the dropdown icon and select the tags you want to filter with.
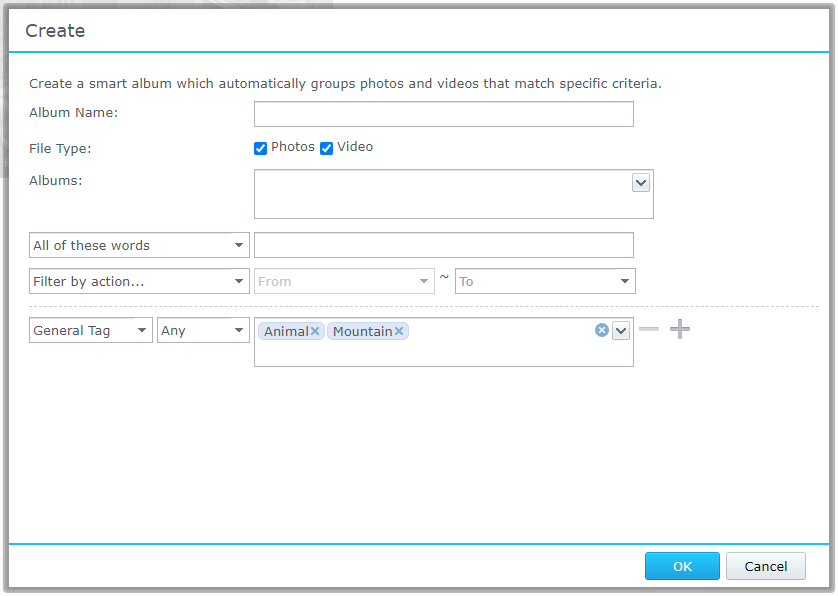
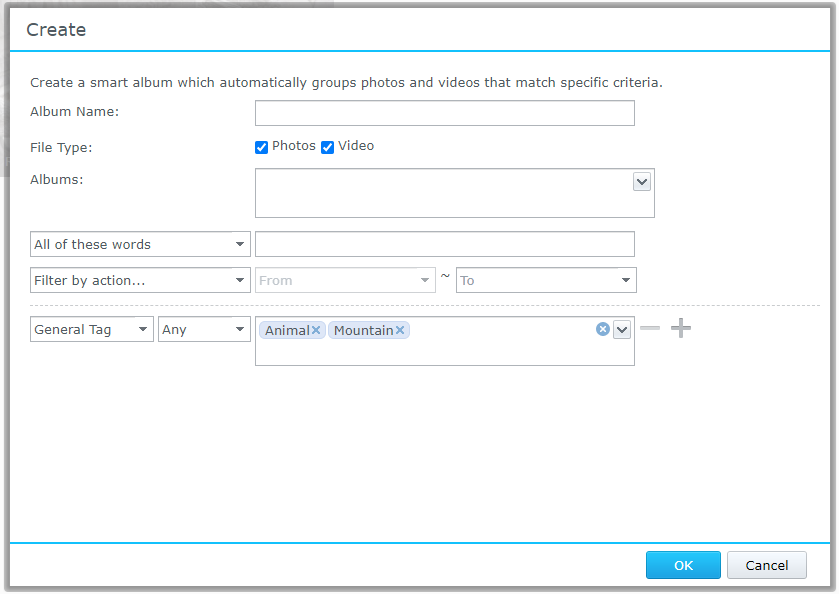
Equally you can see, I have added 2 general tags to filter photos.
If y'all want, y'all can click on the + icon as marked in the screenshot below to add multiple tags or photo properties filters.
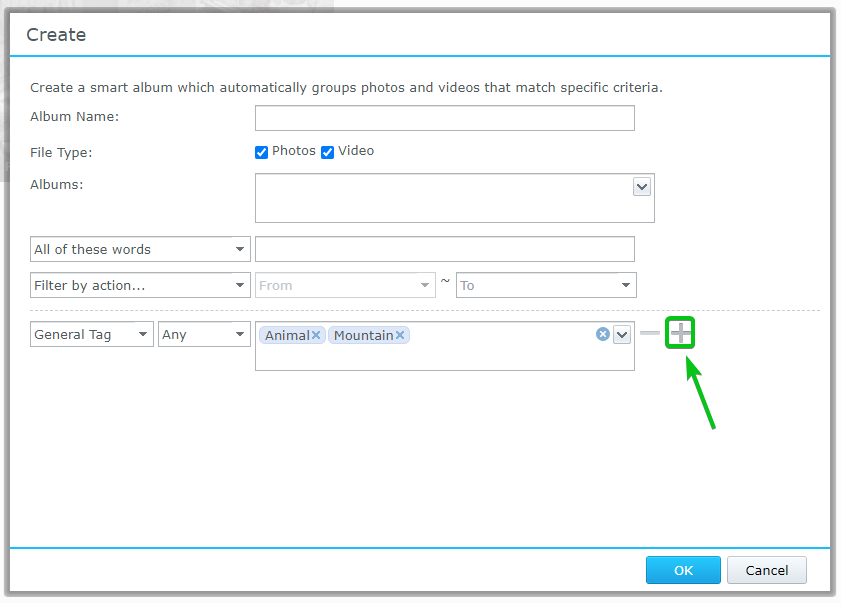
Every bit you can come across, a new filter is section is added.
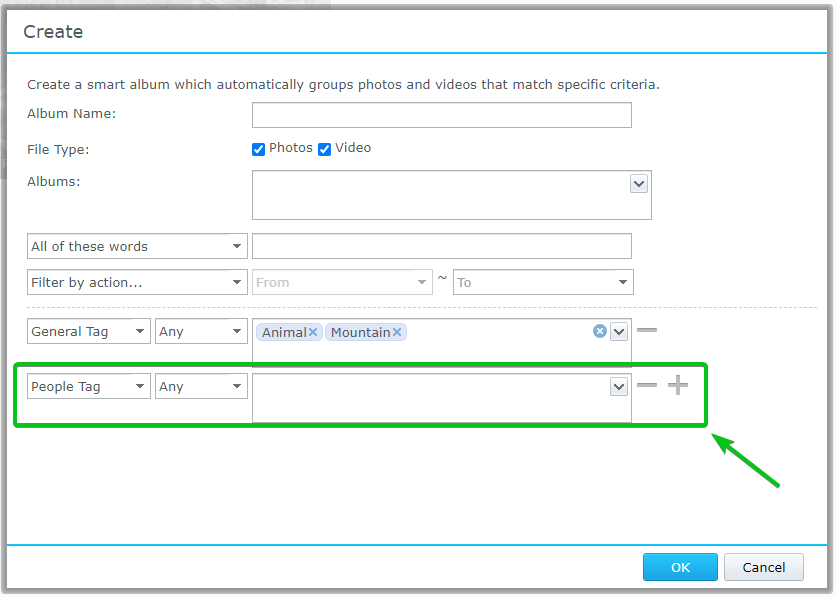
You lot can configure a photograph filter equally before.
If you desire to remove a photograph filter, click on the – icon equally marked in the screenshot beneath.
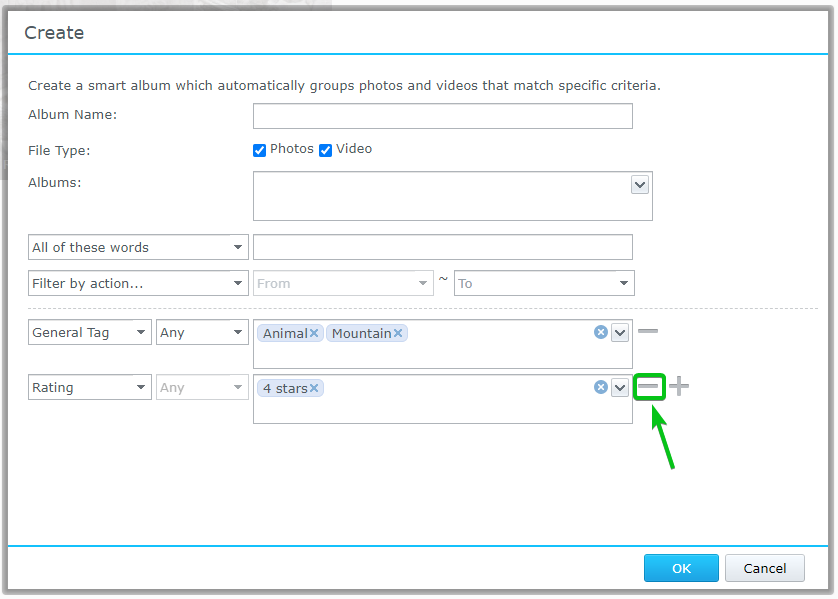
The photo filter should exist removed.
Creating a Portfolio Album:
Y'all tin can pin multiple photo albums and smart albums to a portfolio. A portfolio volition assist you organize your photo albums.
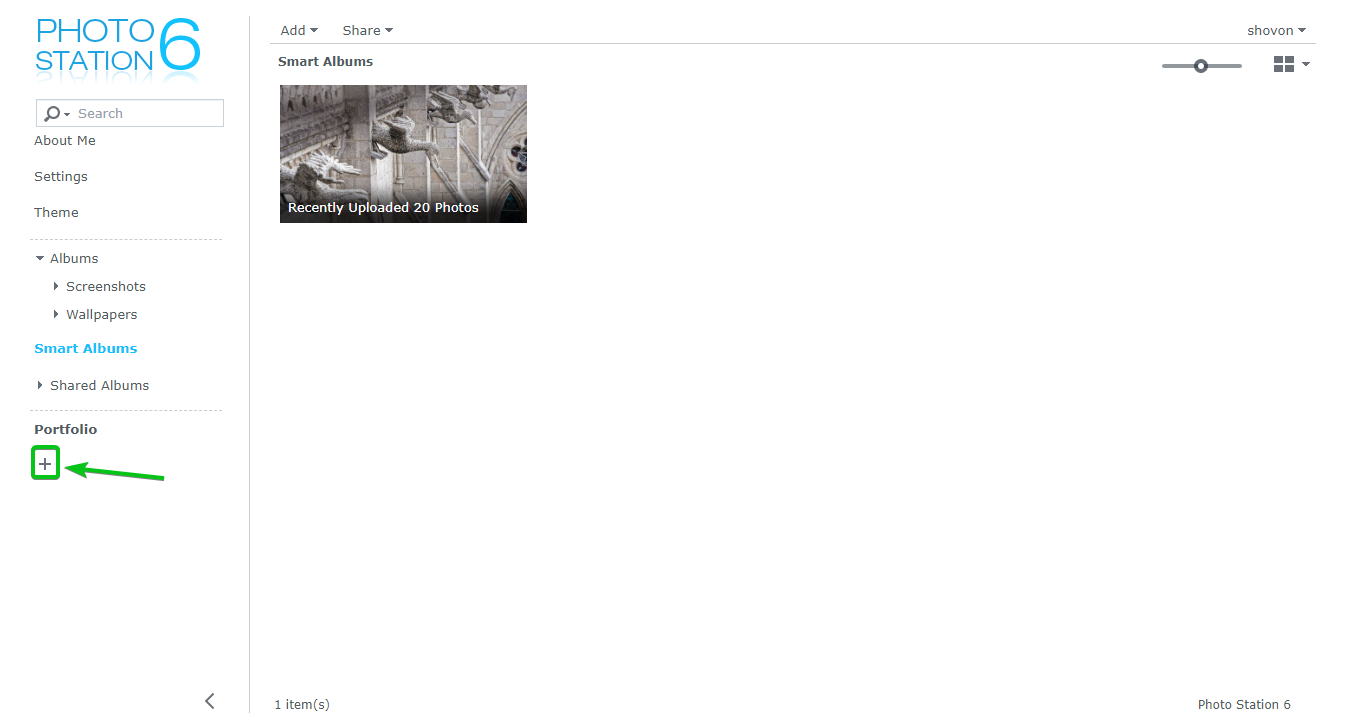
To create a new portfolio, click on the + icon from the Portfolio section as marked in the screenshot beneath.
An empty textbox should be displayed.
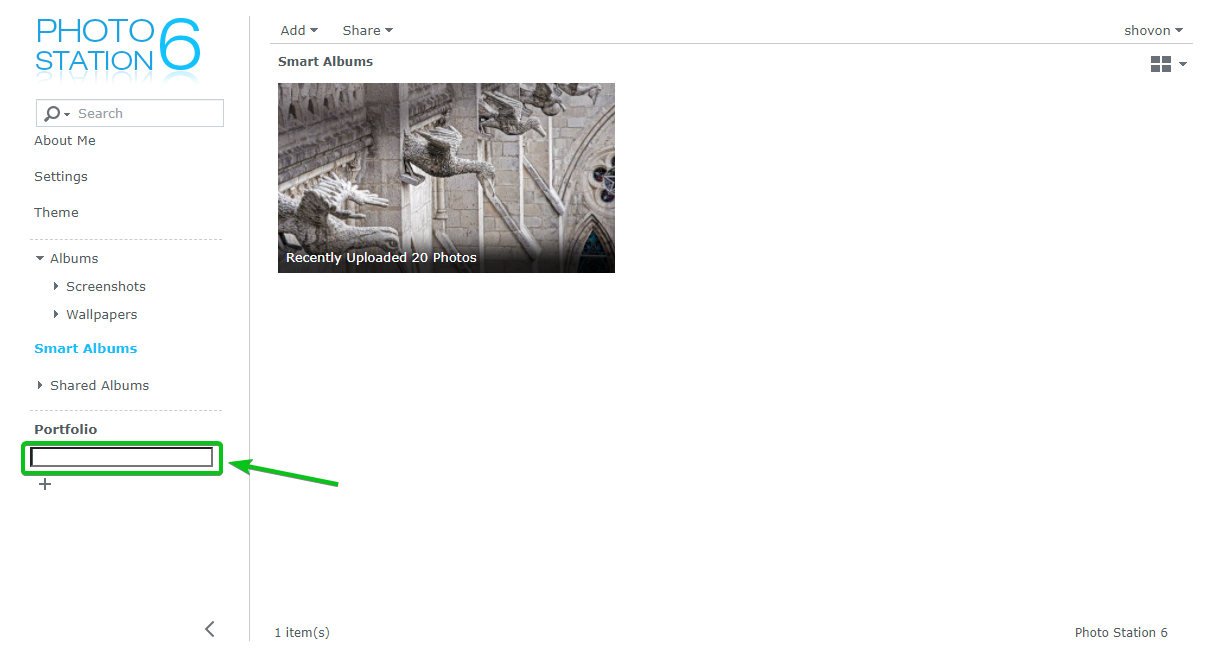
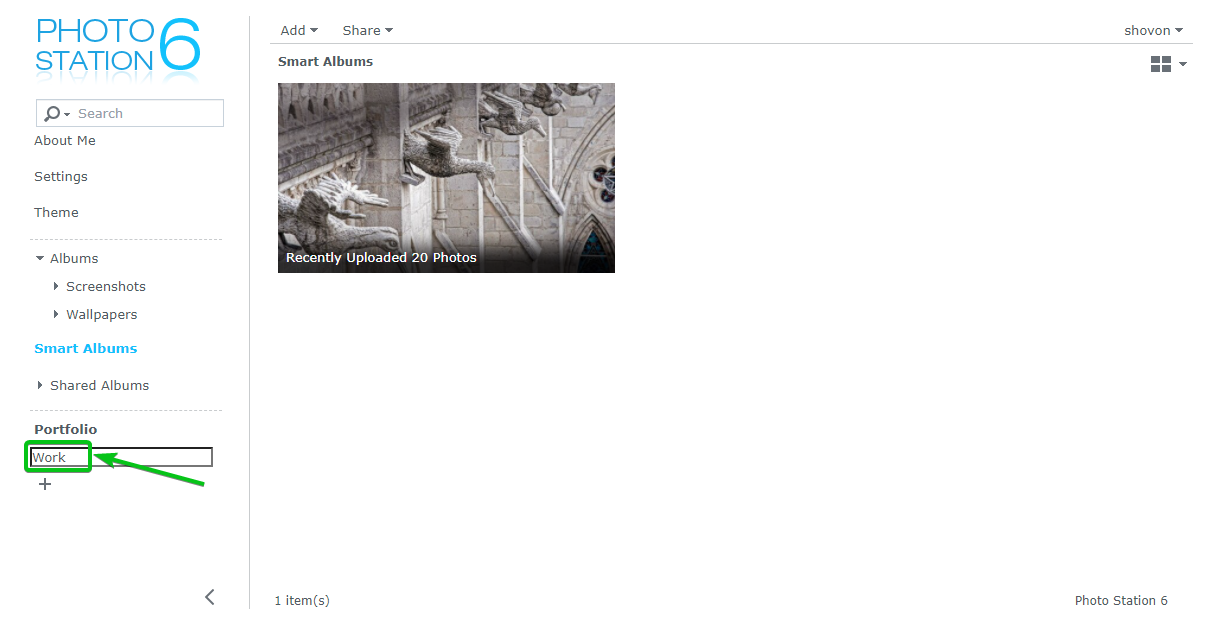
Type in the name of your portfolio and press <Enter>.
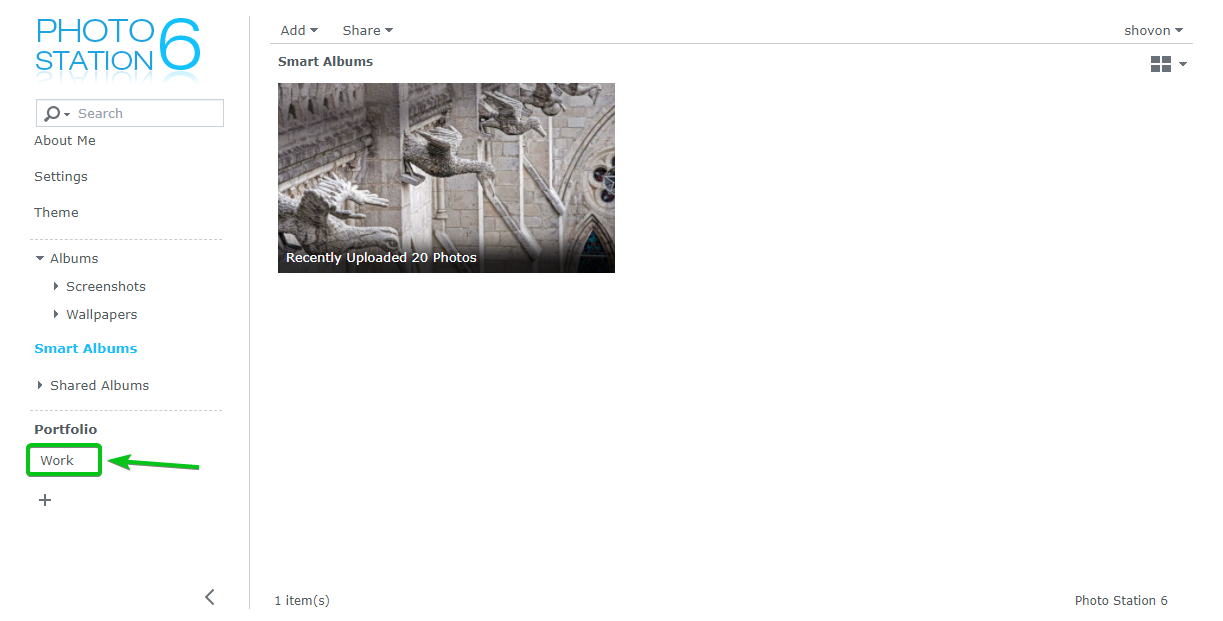
A new portfolio should be created, as you tin can meet in the screenshot below.
Click on the newly created portfolio (Work in my case) to access it.
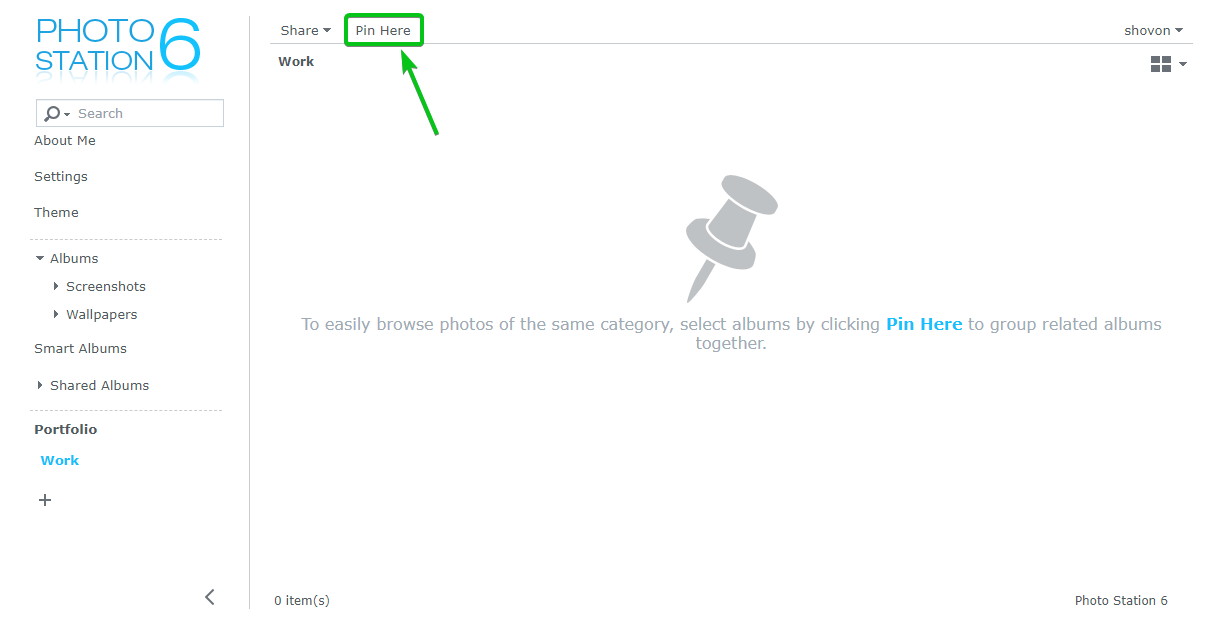
To pin photo albums to the portfolio, click on Pivot Here as marked in the screenshot below.
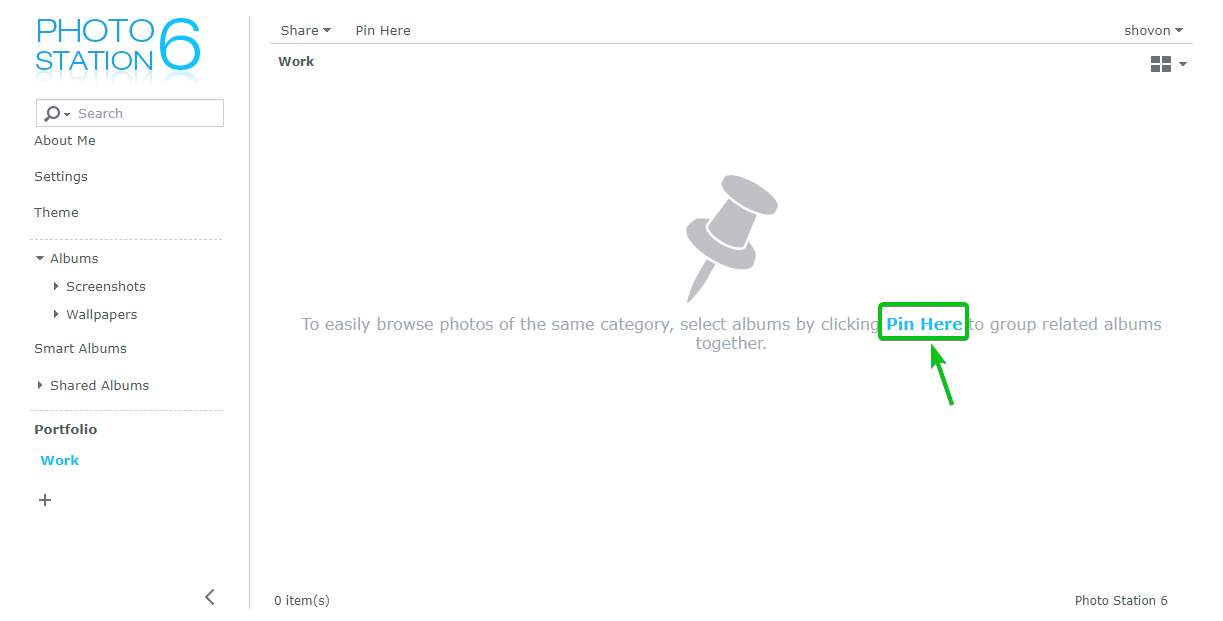
You can also click on Pin Hither from the elevation section of the Photo Station app as marked in the screenshot below to pivot photo albums to the portfolio.
All the photo albums should be listed.
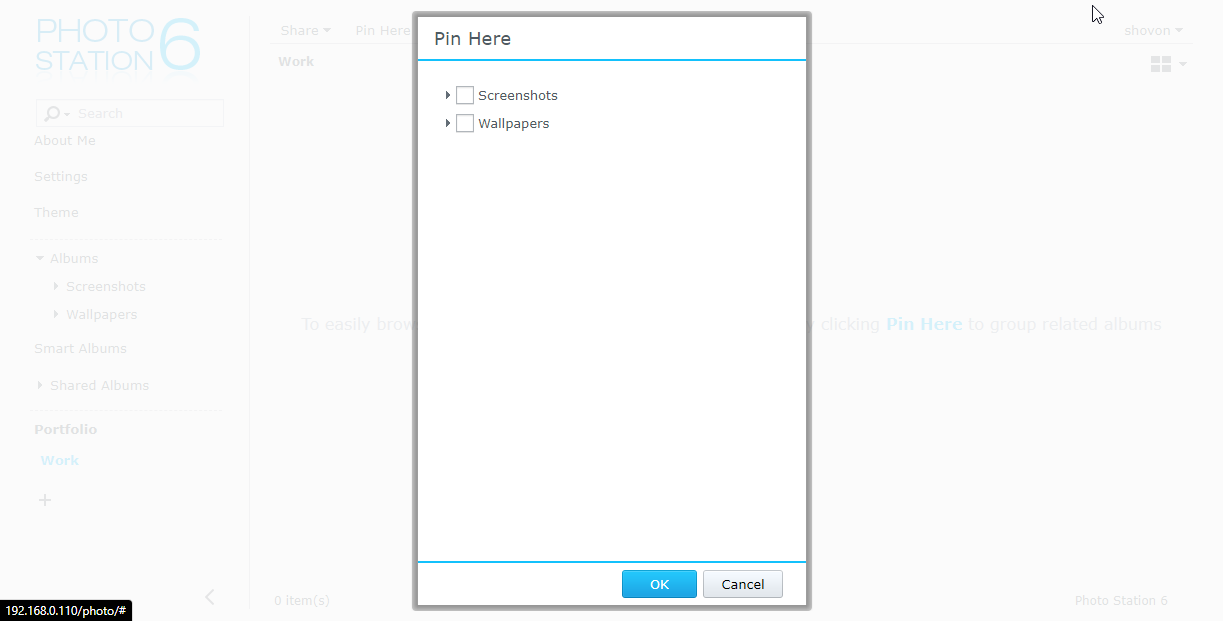
Check the photograph albums that you want to add together to the portfolio and click on OK.
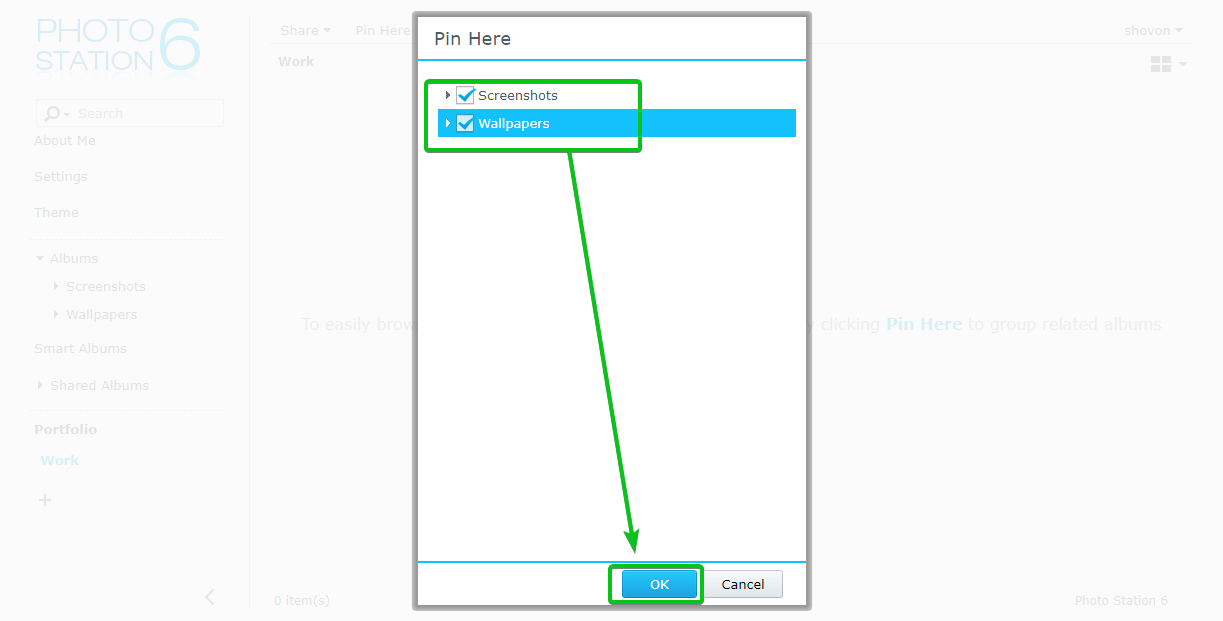
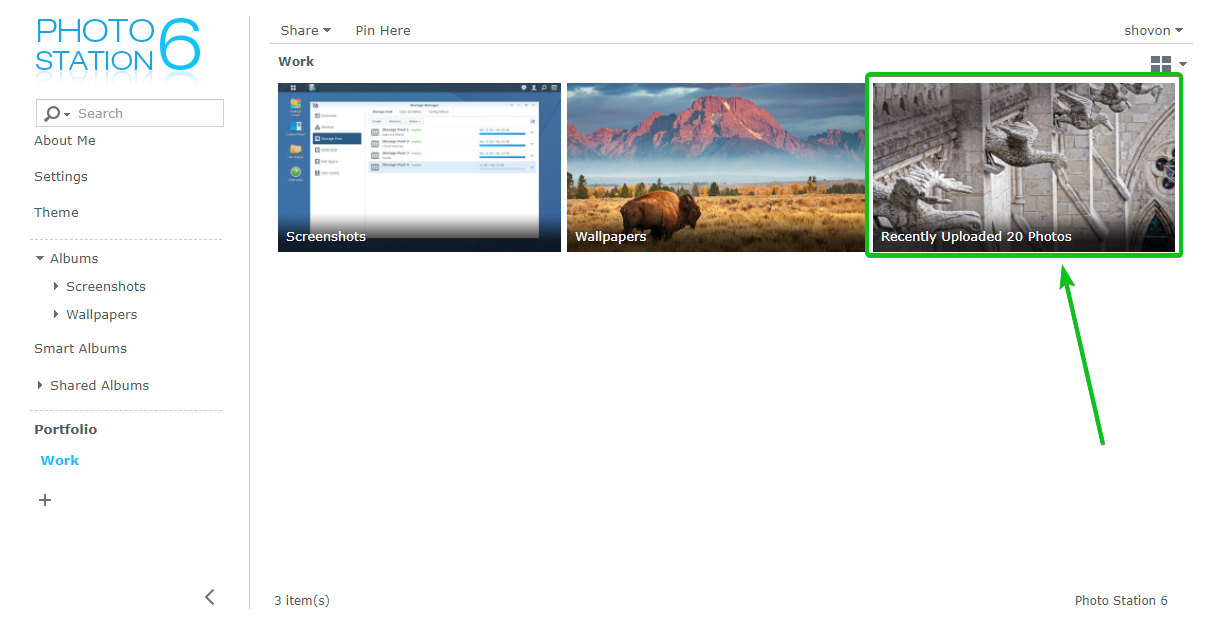
The photograph albums yous've selected should be added to the portfolio, as shown in the screenshot below.

To add a Smart Album to the portfolio, navigate to the Smart Albums section and select a Smart Album that you want to add.
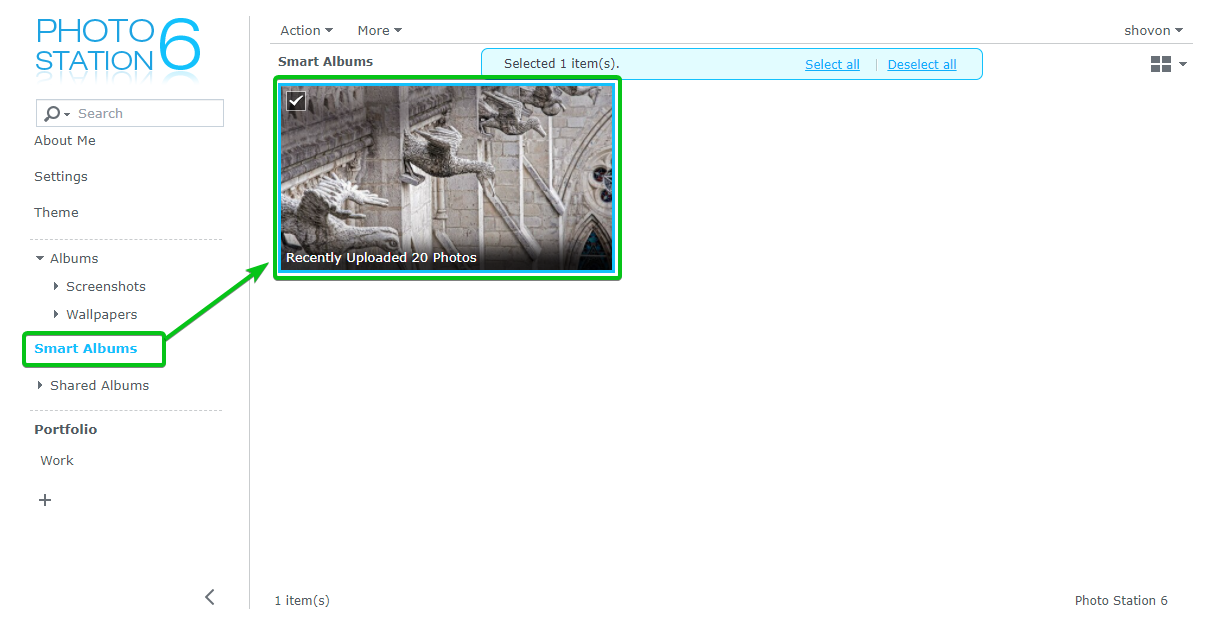
Now, click on Activity > Pin to click on the portfolio to add together the Smart Album. In my case, it is the Work portfolio.
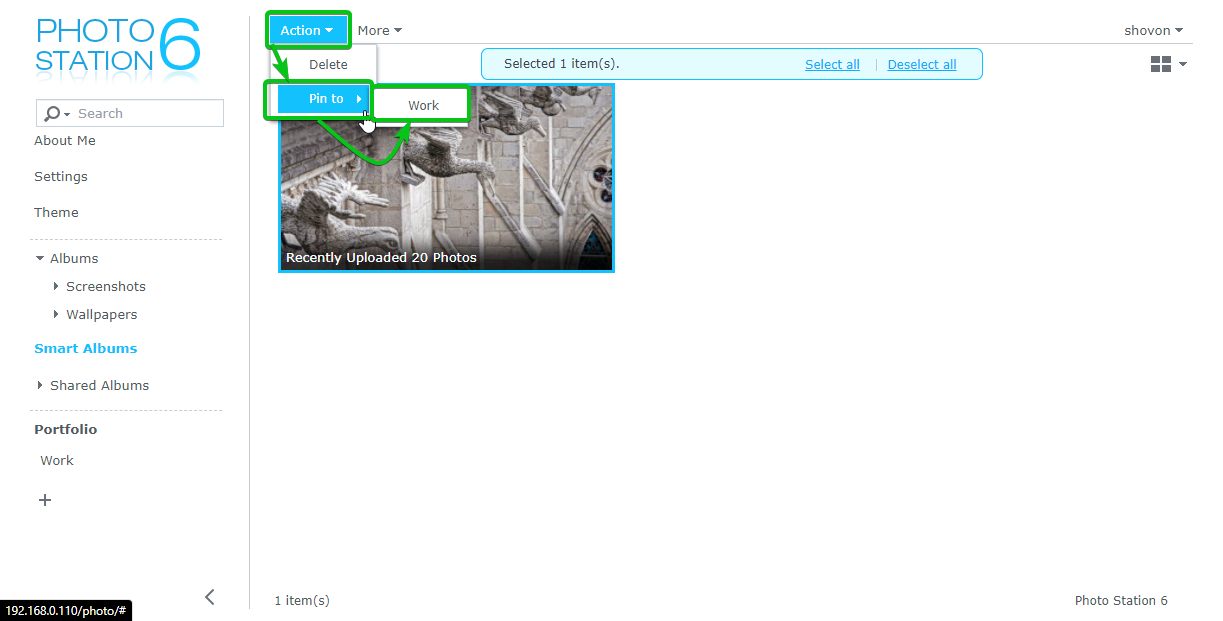
The Smart Album should exist added to the portfolio, as you can see in the screenshot below.
Sharing an Album:
You tin can share an anthology with your friends and family.
To share an album, navigate to the Albums section of the Photograph Station app and click on the anthology y'all want to share.
The anthology should exist opened.

To share the anthology, click on Share > Share with the public equally marked in the screenshot below.
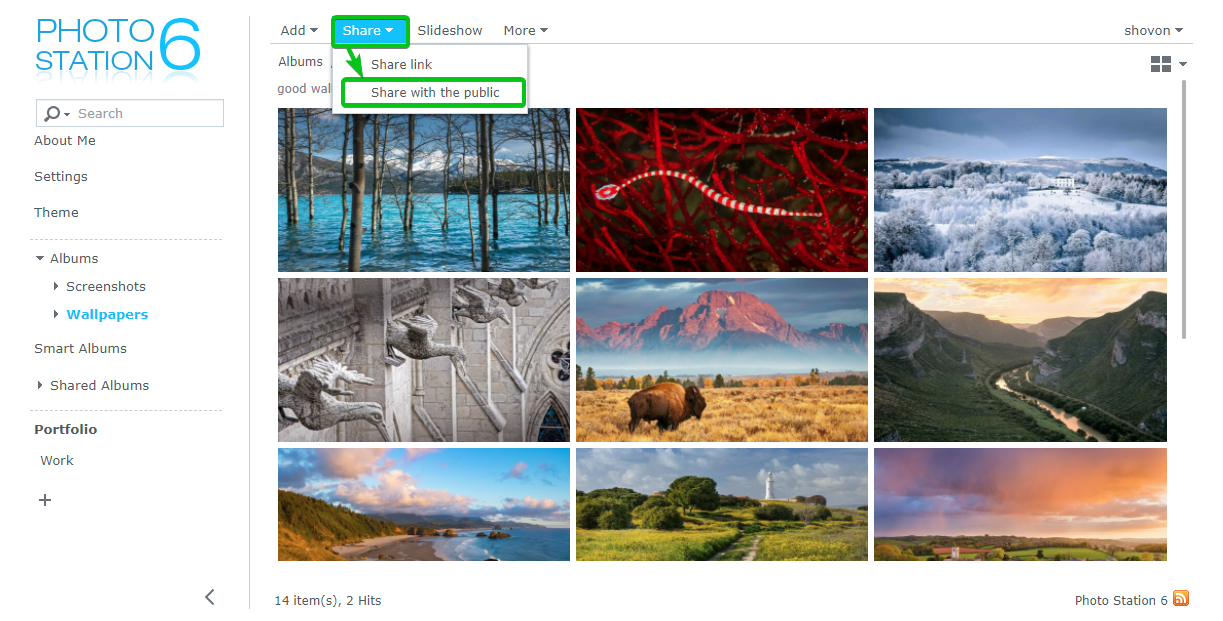
The Share with the public window should exist opened. You tin can share your selected photograph album from here.

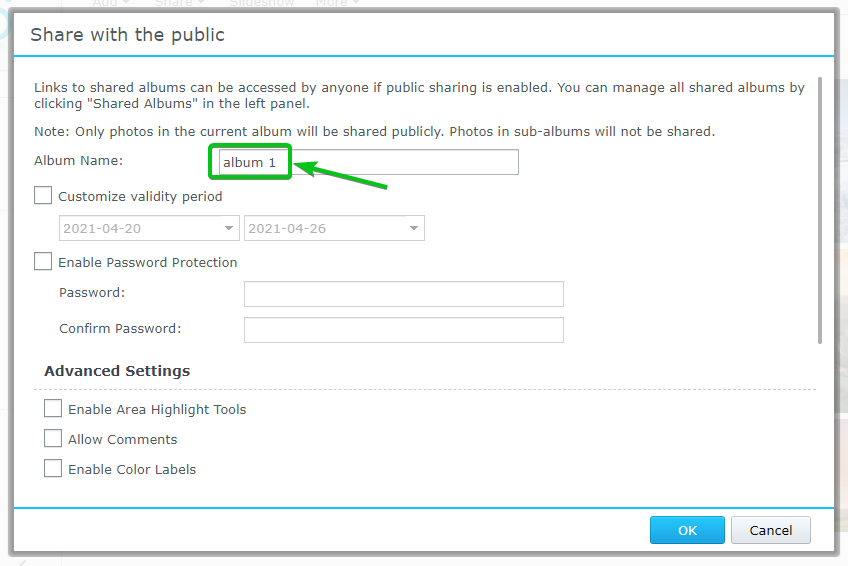
First, type in the proper noun of the shared anthology in the Anthology Name section.
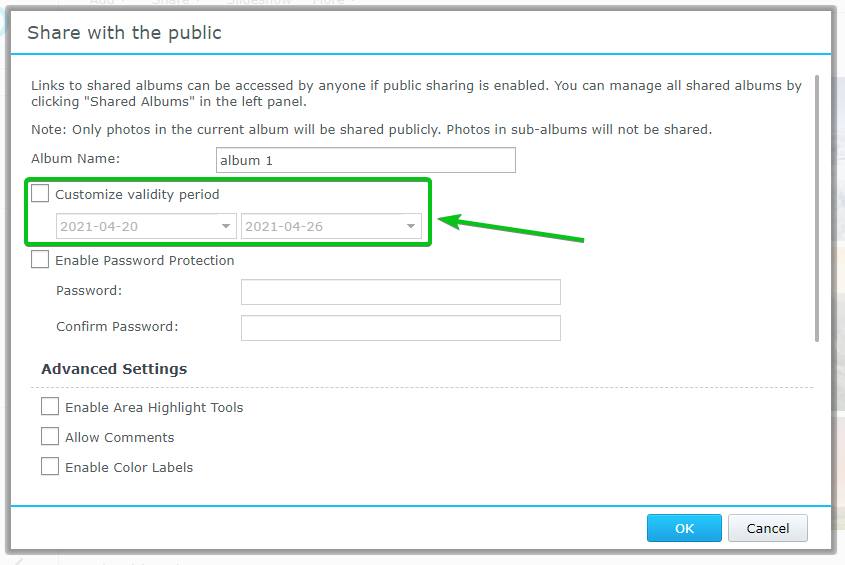
If you want the share link to exist valid and accessible for a certain menstruum, check the Customize validity period checkbox and set the validity period for the link using the dropdown menus every bit marked in the screenshot beneath.
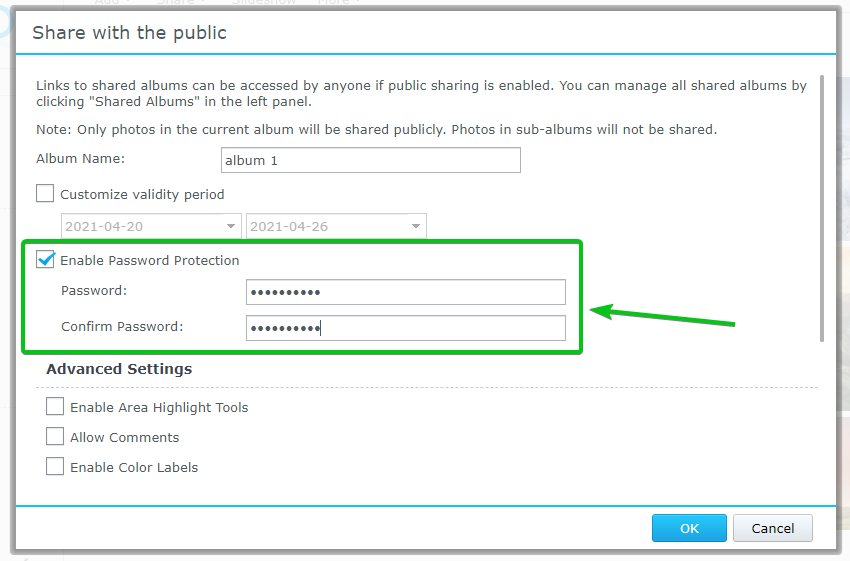
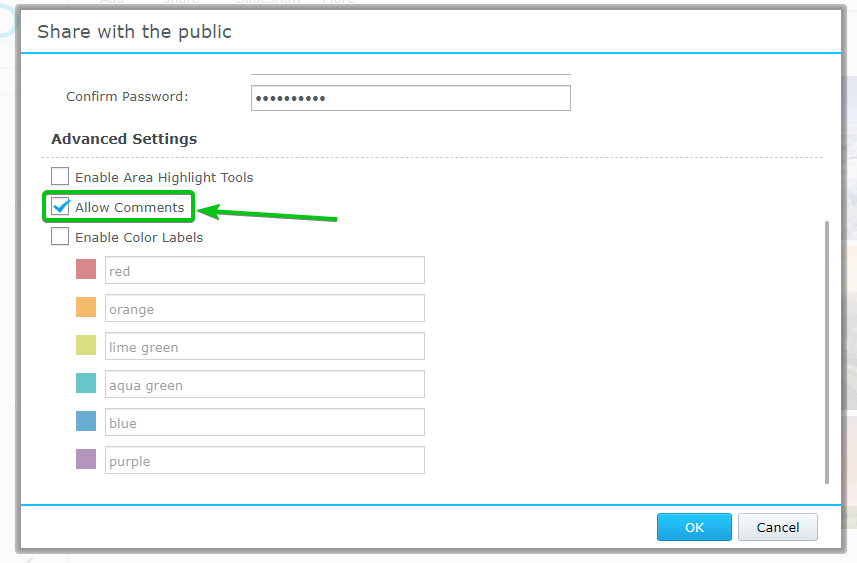
If you lot want to password-protect the share link, check the Enable Password Protection checkbox and type in a password for the share link as marked in the screenshot beneath.
You can configure some avant-garde settings every bit well.
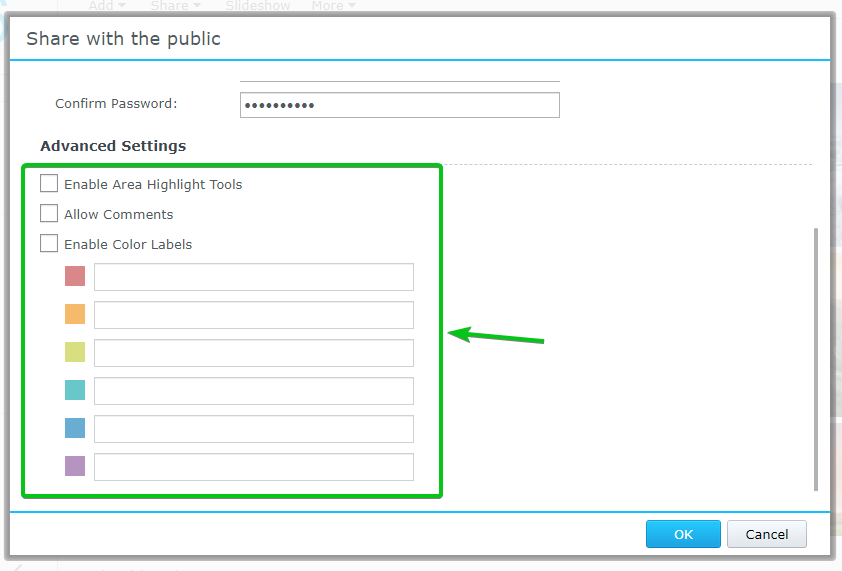
For example, if y'all want to allow the users to comment on the photos in the shared album, you lot tin can check the Allow Comments checkbox as marked in the screenshot below.
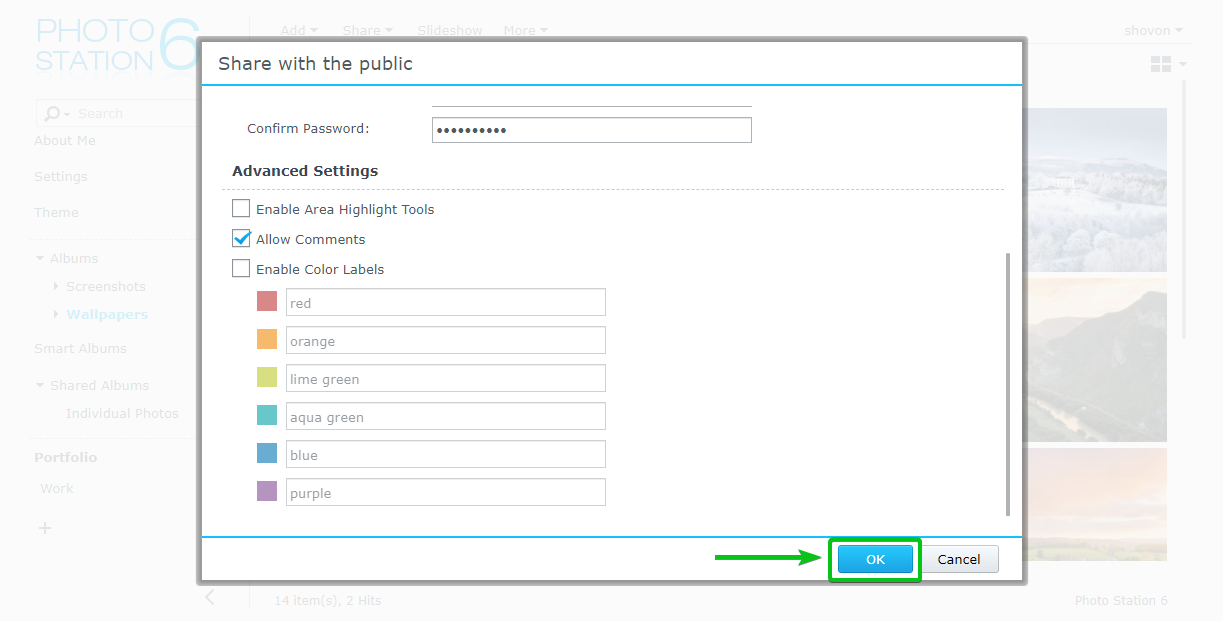
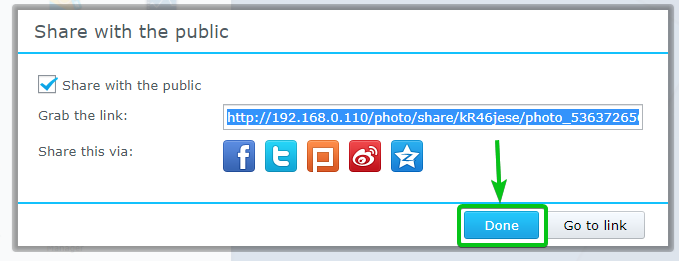
Once y'all're washed, click on OK.
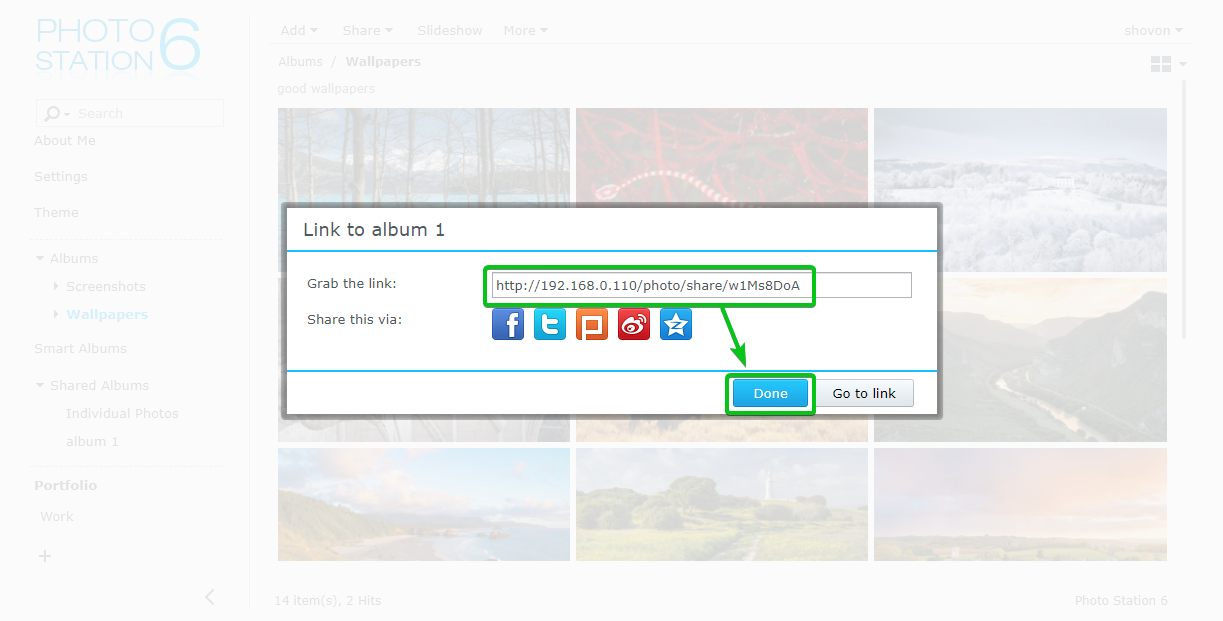
A sharing link for the album should be generated, as you can see in the screenshot beneath.
You tin can copy the share link and send it to your friends and family.
In one case you're washed, click on Done.
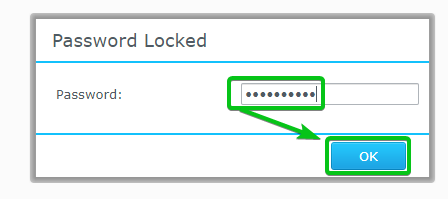
As I take ready a password for the shared anthology, if anyone tries to access the share, they volition be prompted for the password, every bit shown in the screenshot below.

Type in the shared password and click on OK.
The shared photograph album should be displayed, as you can come across in the screenshot below.

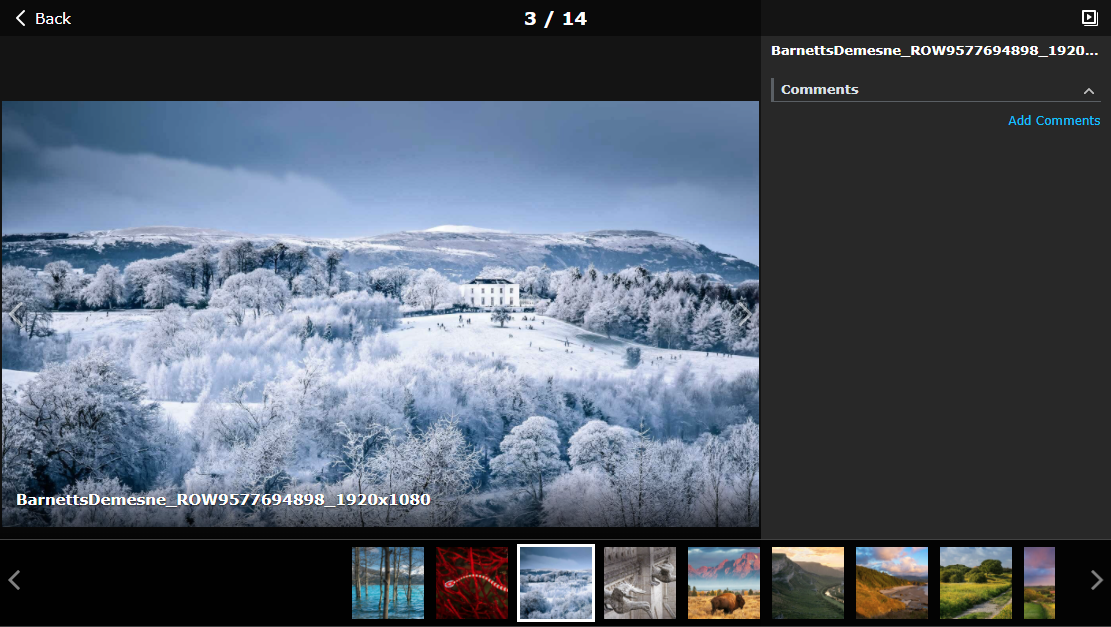
You tin can click on any photo from the album to open it with the epitome viewer, as shown in the screenshot below.
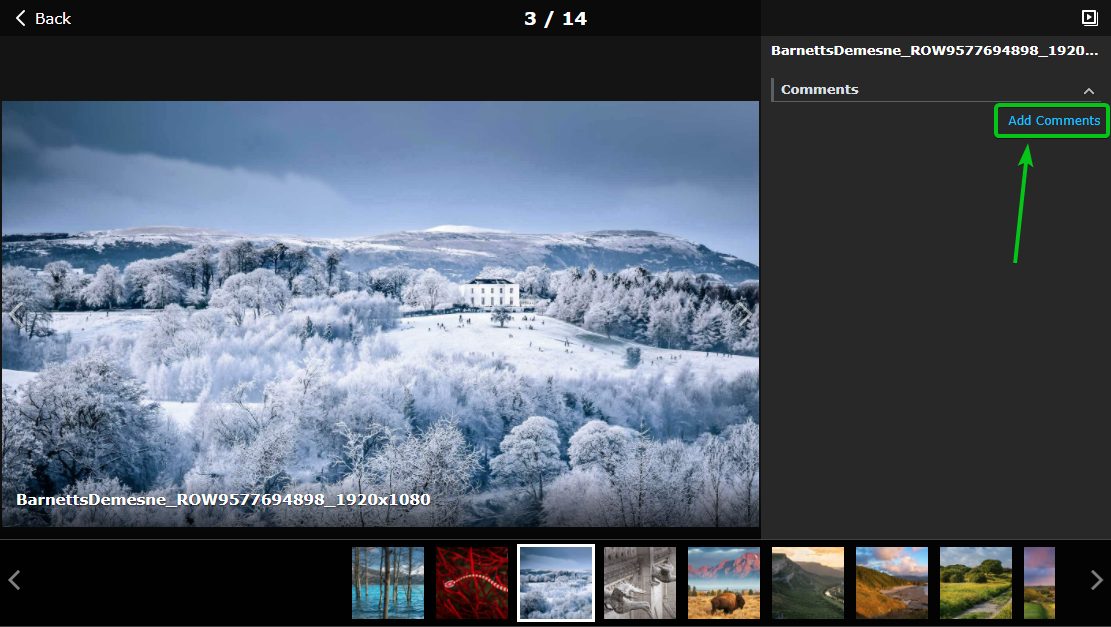
As I have allowed commenting on the photos in the shared anthology, the people who have access to these photos should add comments to the photos.
To add a annotate, click on Add together Comments.
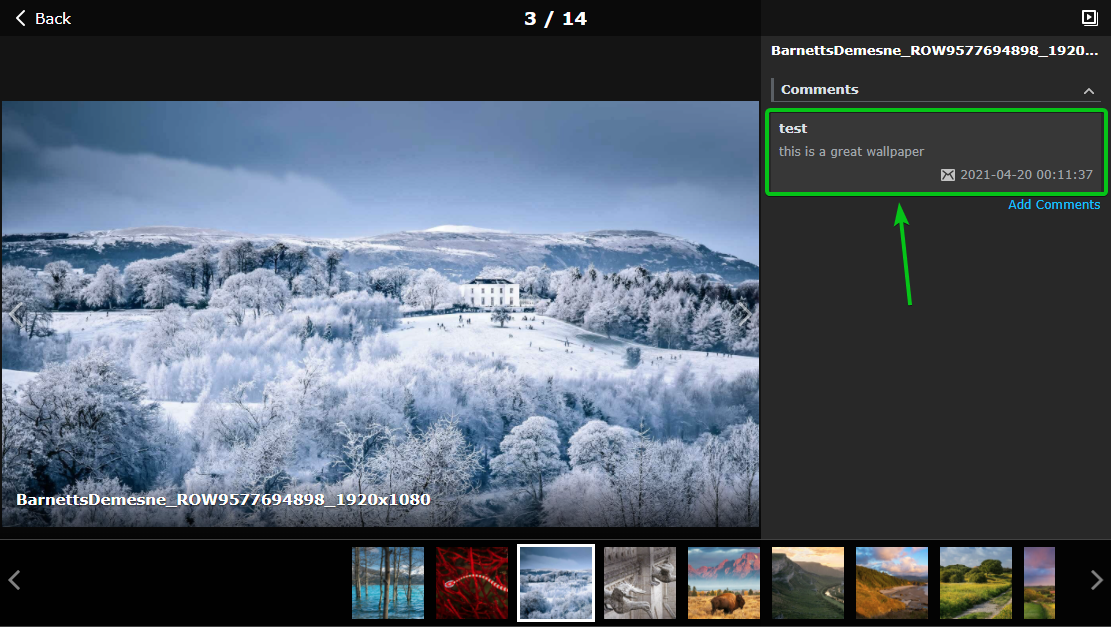
Type in your comment and click on Submit to add it.

As you tin see, the comment is added to the photo.
Sharing a Photo:
You can share a unmarried photo too.
To share a photo, open information technology with the image viewer, equally shown in the screenshot below.
Hover the mouse cursor on the lesser section of the image viewer and click on Share equally marked in the screenshot below.
Unlike sharing methods should be displayed. Yous can choose any 1 of them depending on your need.
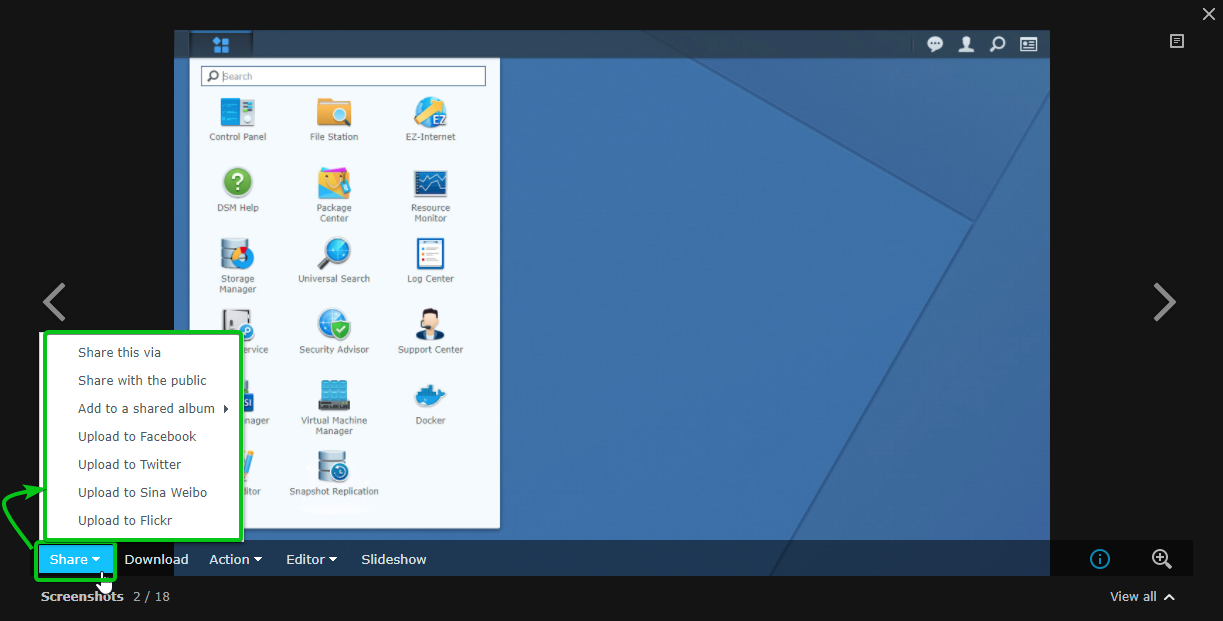
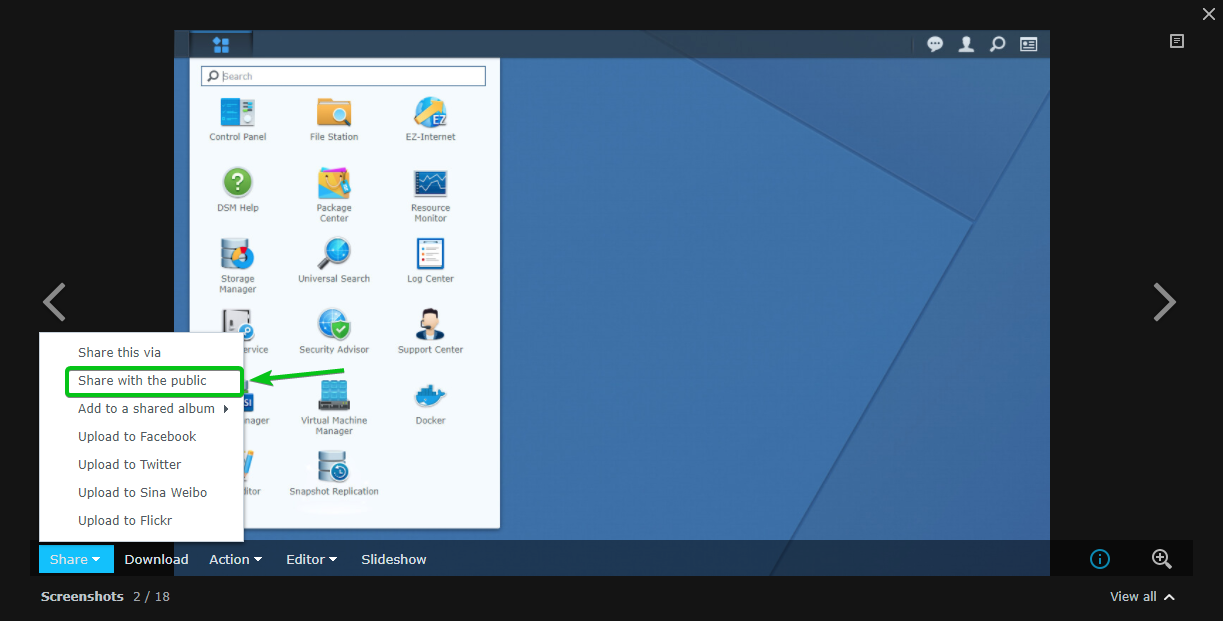
To create a public share link every bit before, click on Share with the public as marked in the screenshot below.
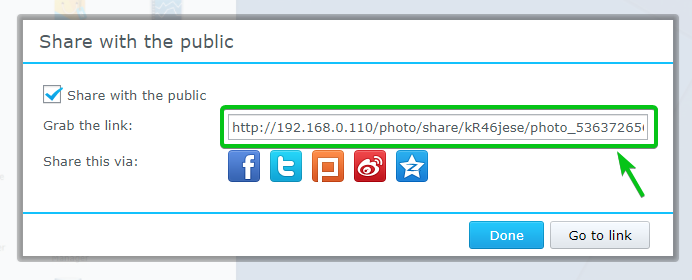
Now, check the Share with the public checkbox to generate a share link for the photograph.
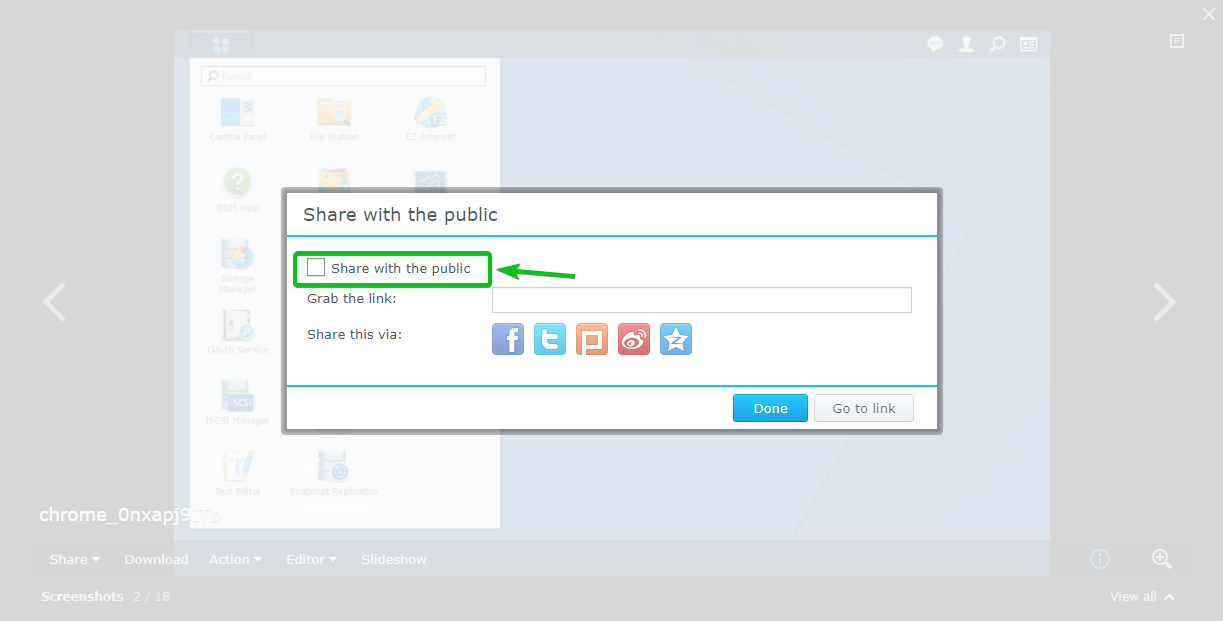
A sharing link should be generated. Copy the link and share it with your friends whom yous want to take access to the share.
Once you're done, click on Done.
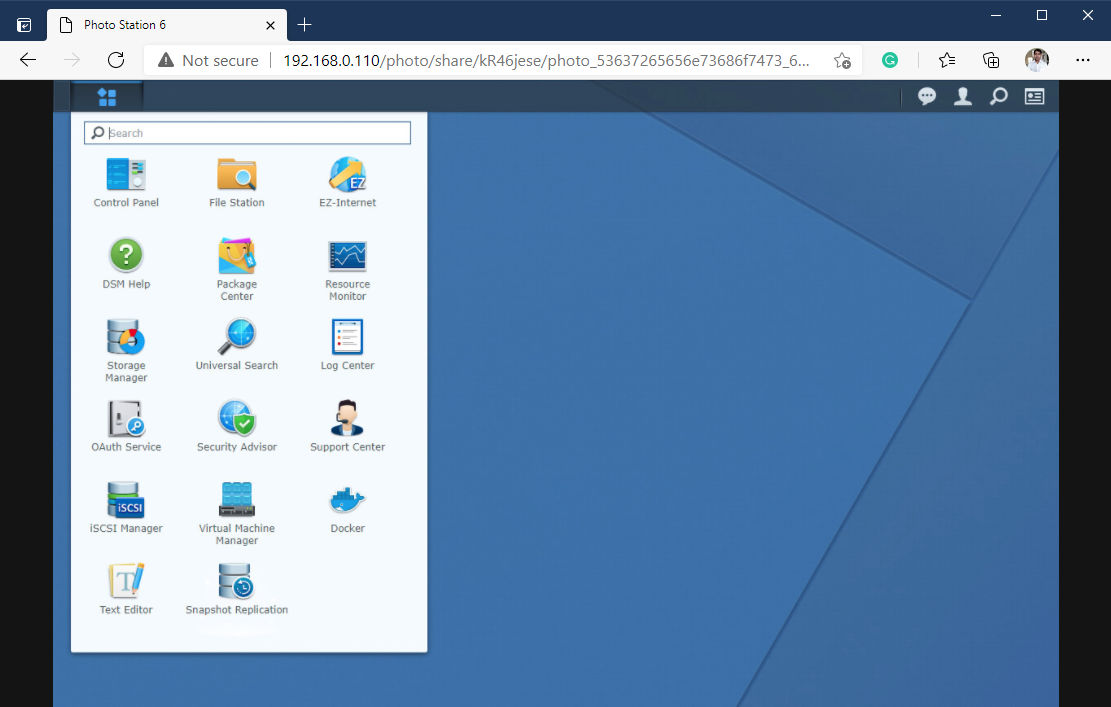
Your friends can admission the photo you've shared with them using the share link, as you can come across in the screenshot below.
Managing Shared Photos and Albums:
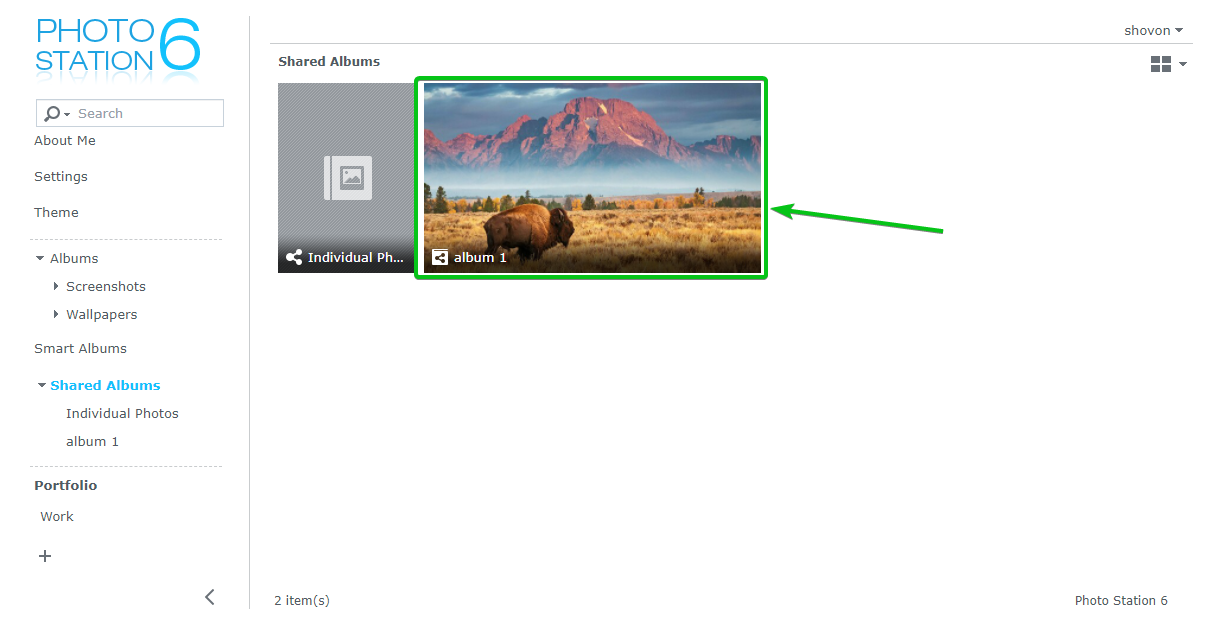
To manage your shared photos and albums, navigate the Shared Albums section of the Photo Station app equally marked in the screenshot below.
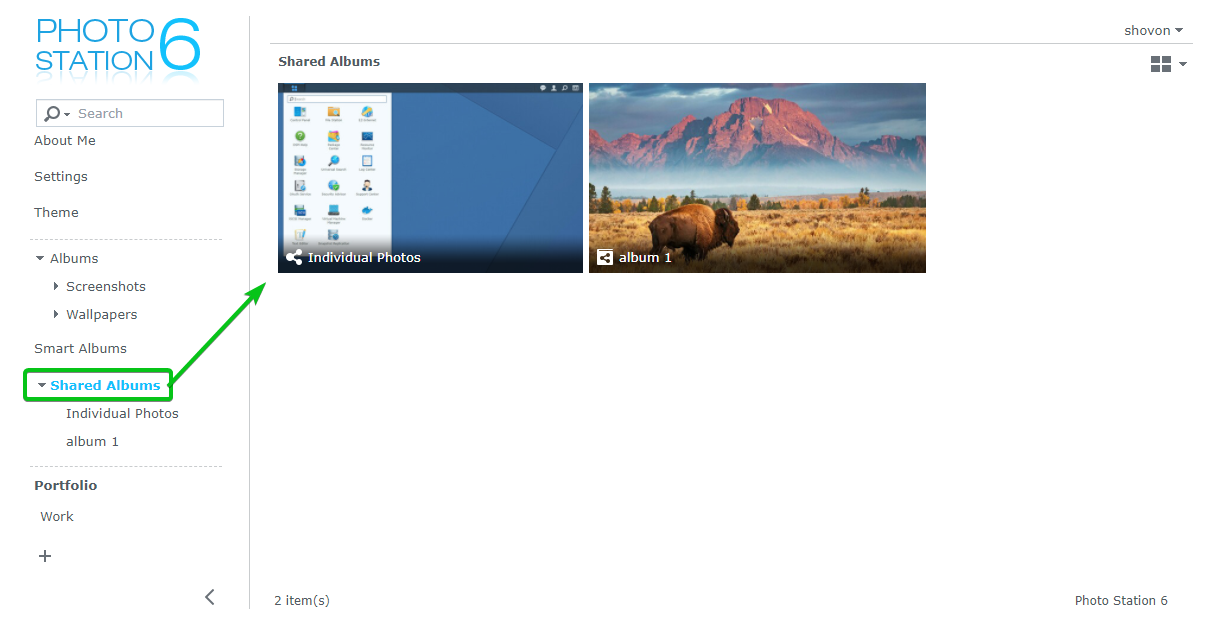
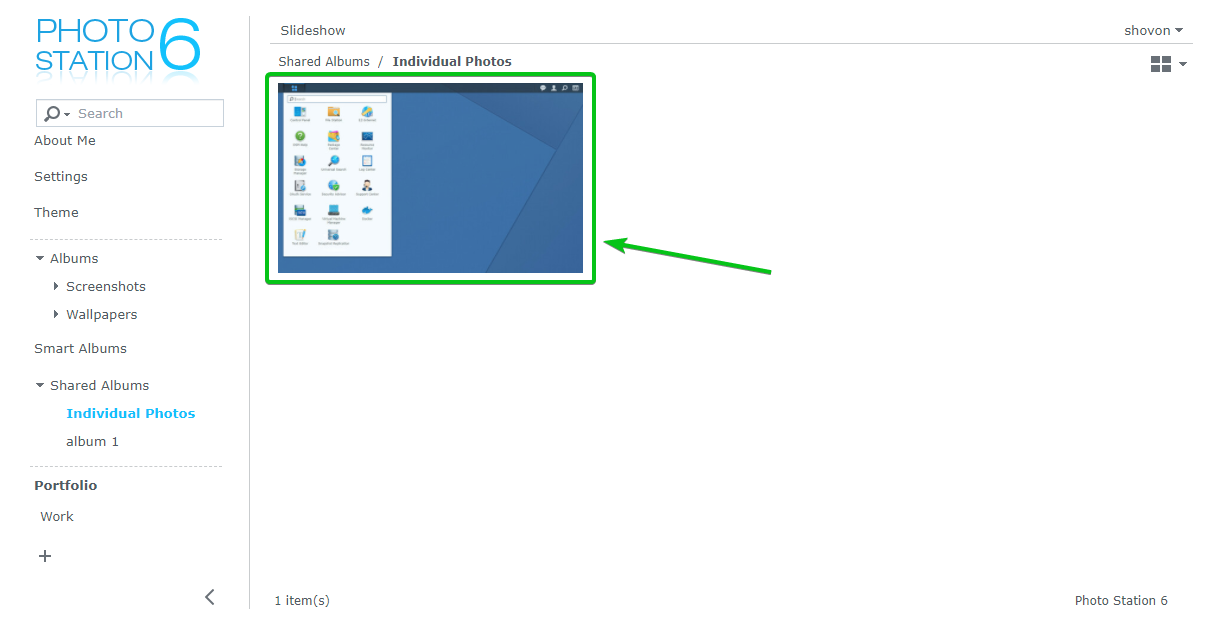
You should find all the photos yous've shared in the Individual Photos album.
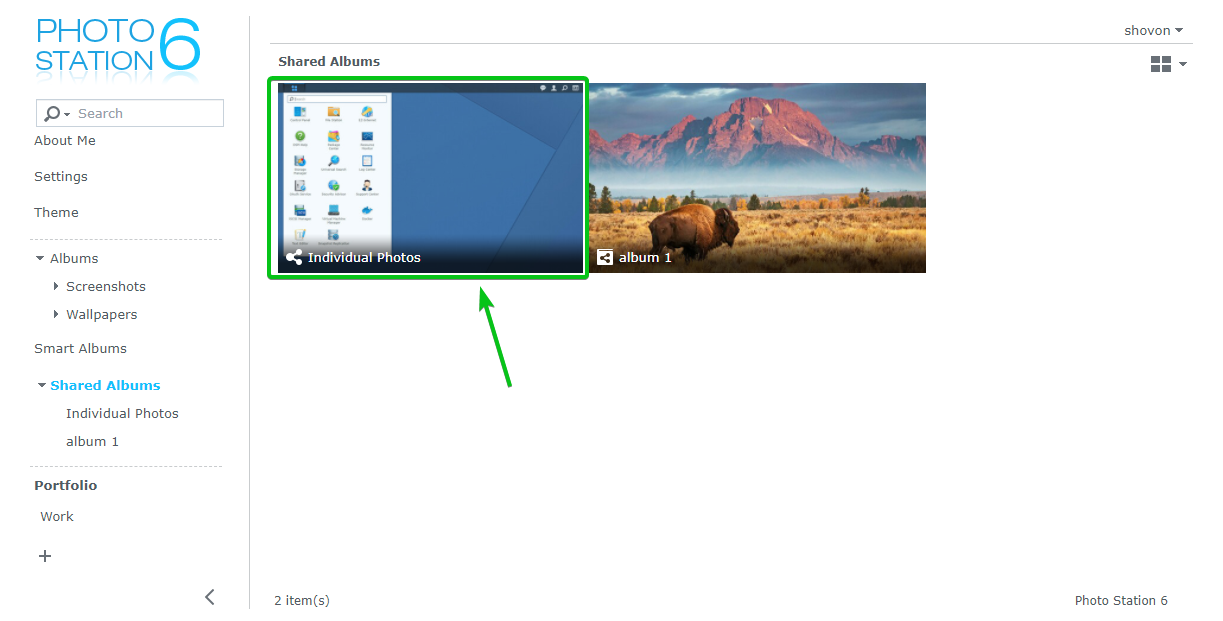
As you can see, the photo I've shared is in the Individual Photos anthology.
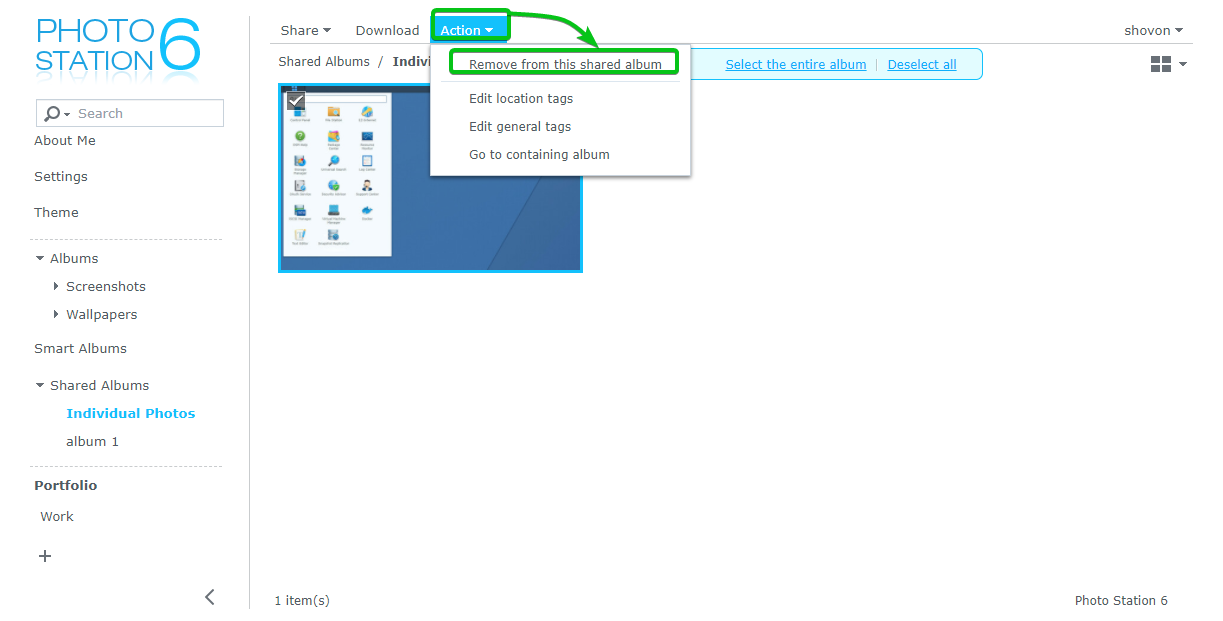
To remove a photo from the share, select it and click on Action > Remove from this shared album as marked in the screenshot below.
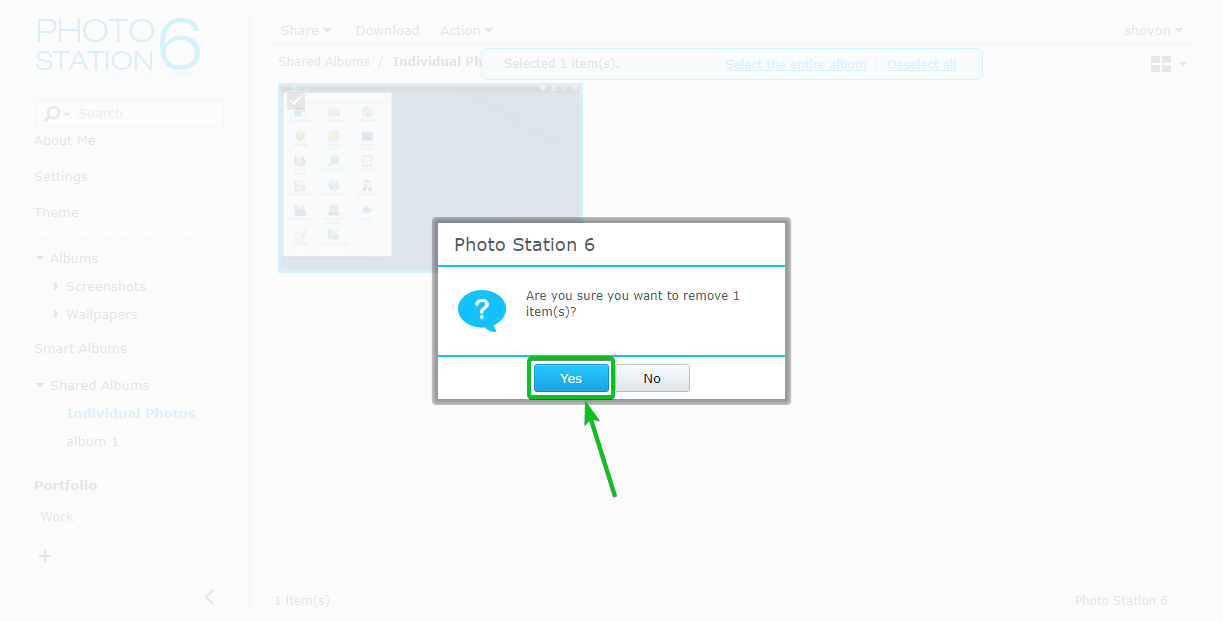
To confirm the removal operation, click on Yes.
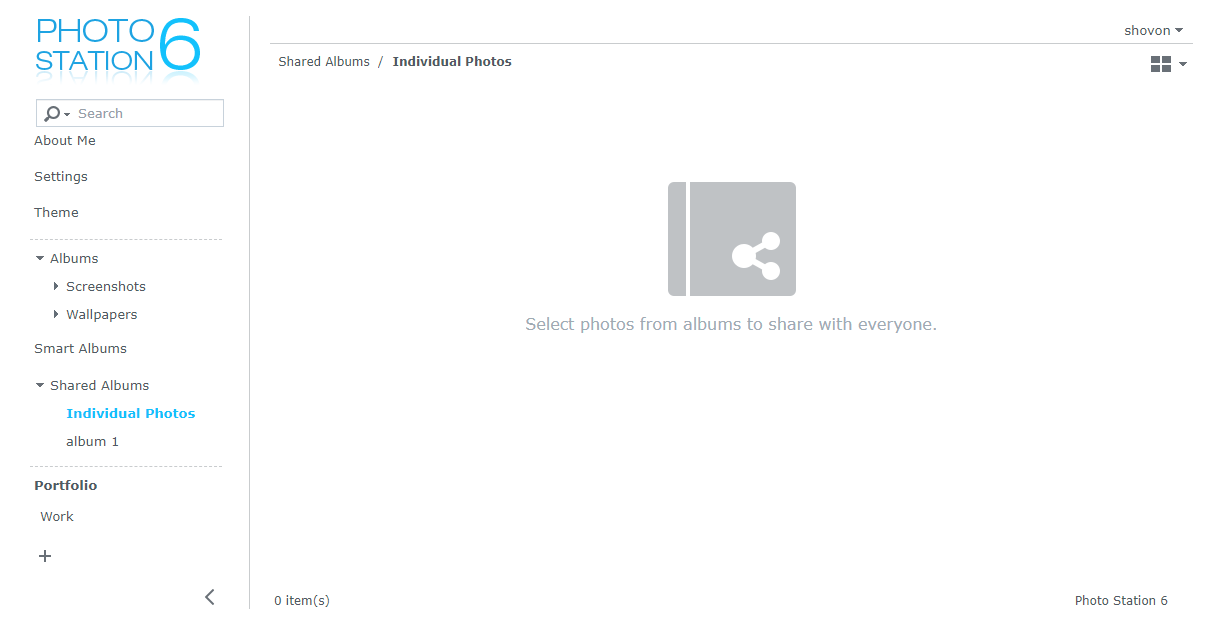
The photo should be removed from the Individual Photos album, and the share link would no longer piece of work.
In the same way, yous can remove a photograph anthology that y'all've shared from the Shared Albums section as well.
To remove a photo anthology from the share, select information technology and click on Action > Delete as marked in the screenshot below.
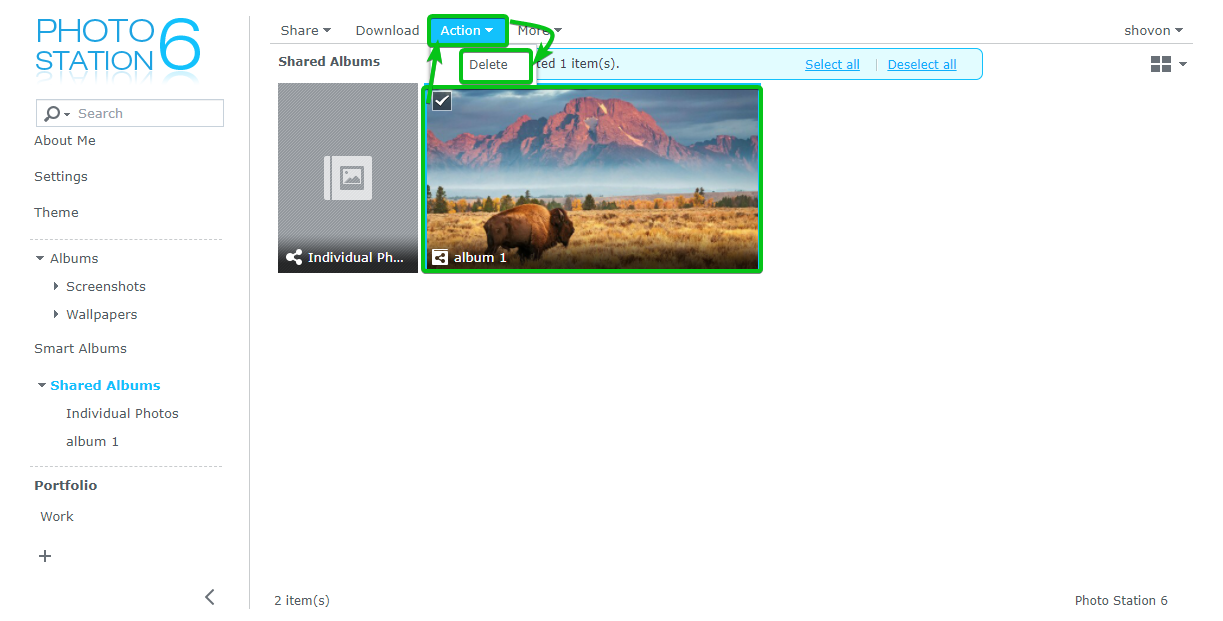
To confirm the removal operation, click on Yes.

The shared photo album should be removed, and the share link would no longer piece of work.

Changing Photo Station Theme:
At the time of this writing, the Photo Station app has 2 themes. A Light theme and a Nighttime theme.
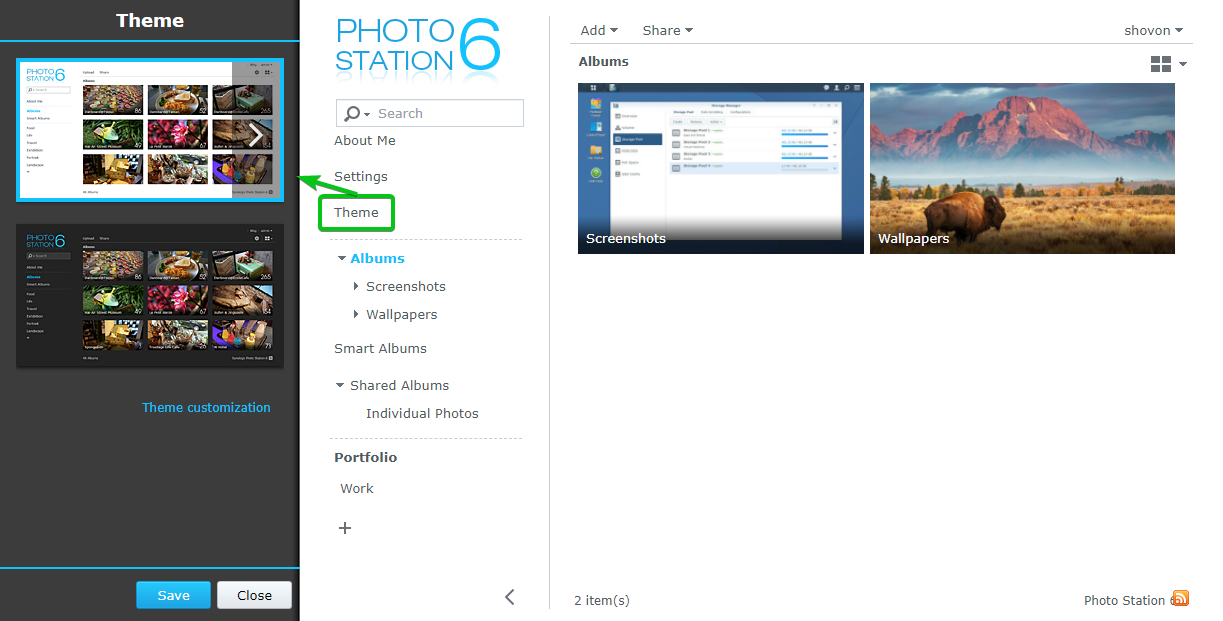
To switch the Photo Station app theme, navigate the Theme department of the Photo Station app equally marked in the screenshot below.
Select the theme yous desire to apply to the Photo Station app from the left side and click on Relieve.
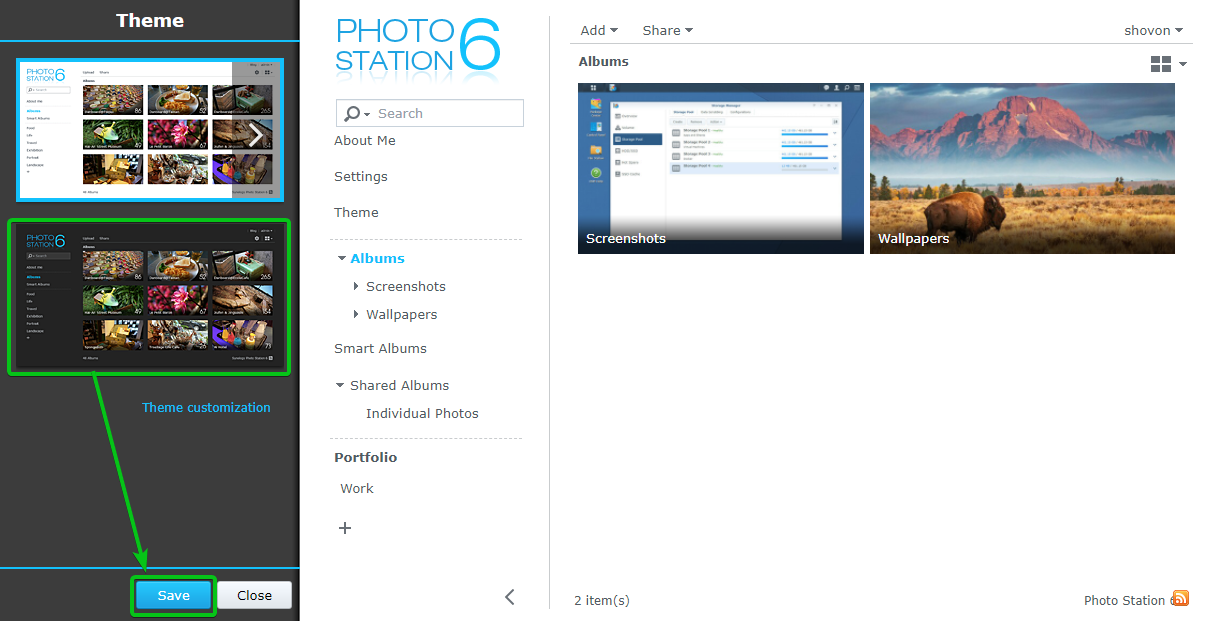
The selected theme should be applied to the Photo Station app, as shown in the screenshot below.
Decision:
This article shows yous how to install the Photo Station app on your Synology NAS. I take besides shown yous how to use the Photo Station app to manage photos like creating new albums, uploading photos to the album, listing photograph albums, rating and tagging photos in the album, creating smart albums, portfolio albums, sharing photos and albums, and managing shared photos and albums. I have shown you how to change the theme of the Photo Station app as well.
Virtually the author
![]()
Freelancer & Linux System Administrator. Also loves Web API development with Node.js and JavaScript. I was built-in in Bangladesh. I am currently studying Electronics and Advice Engineering at Khulna University of Engineering science & Technology (KUET), one of the demanding public technology universities of Bangladesh.
Source: https://linuxhint.com/use-synology-photos/
0 Response to "How to Use Synology Photo Station Uploader for Moments"
Post a Comment